
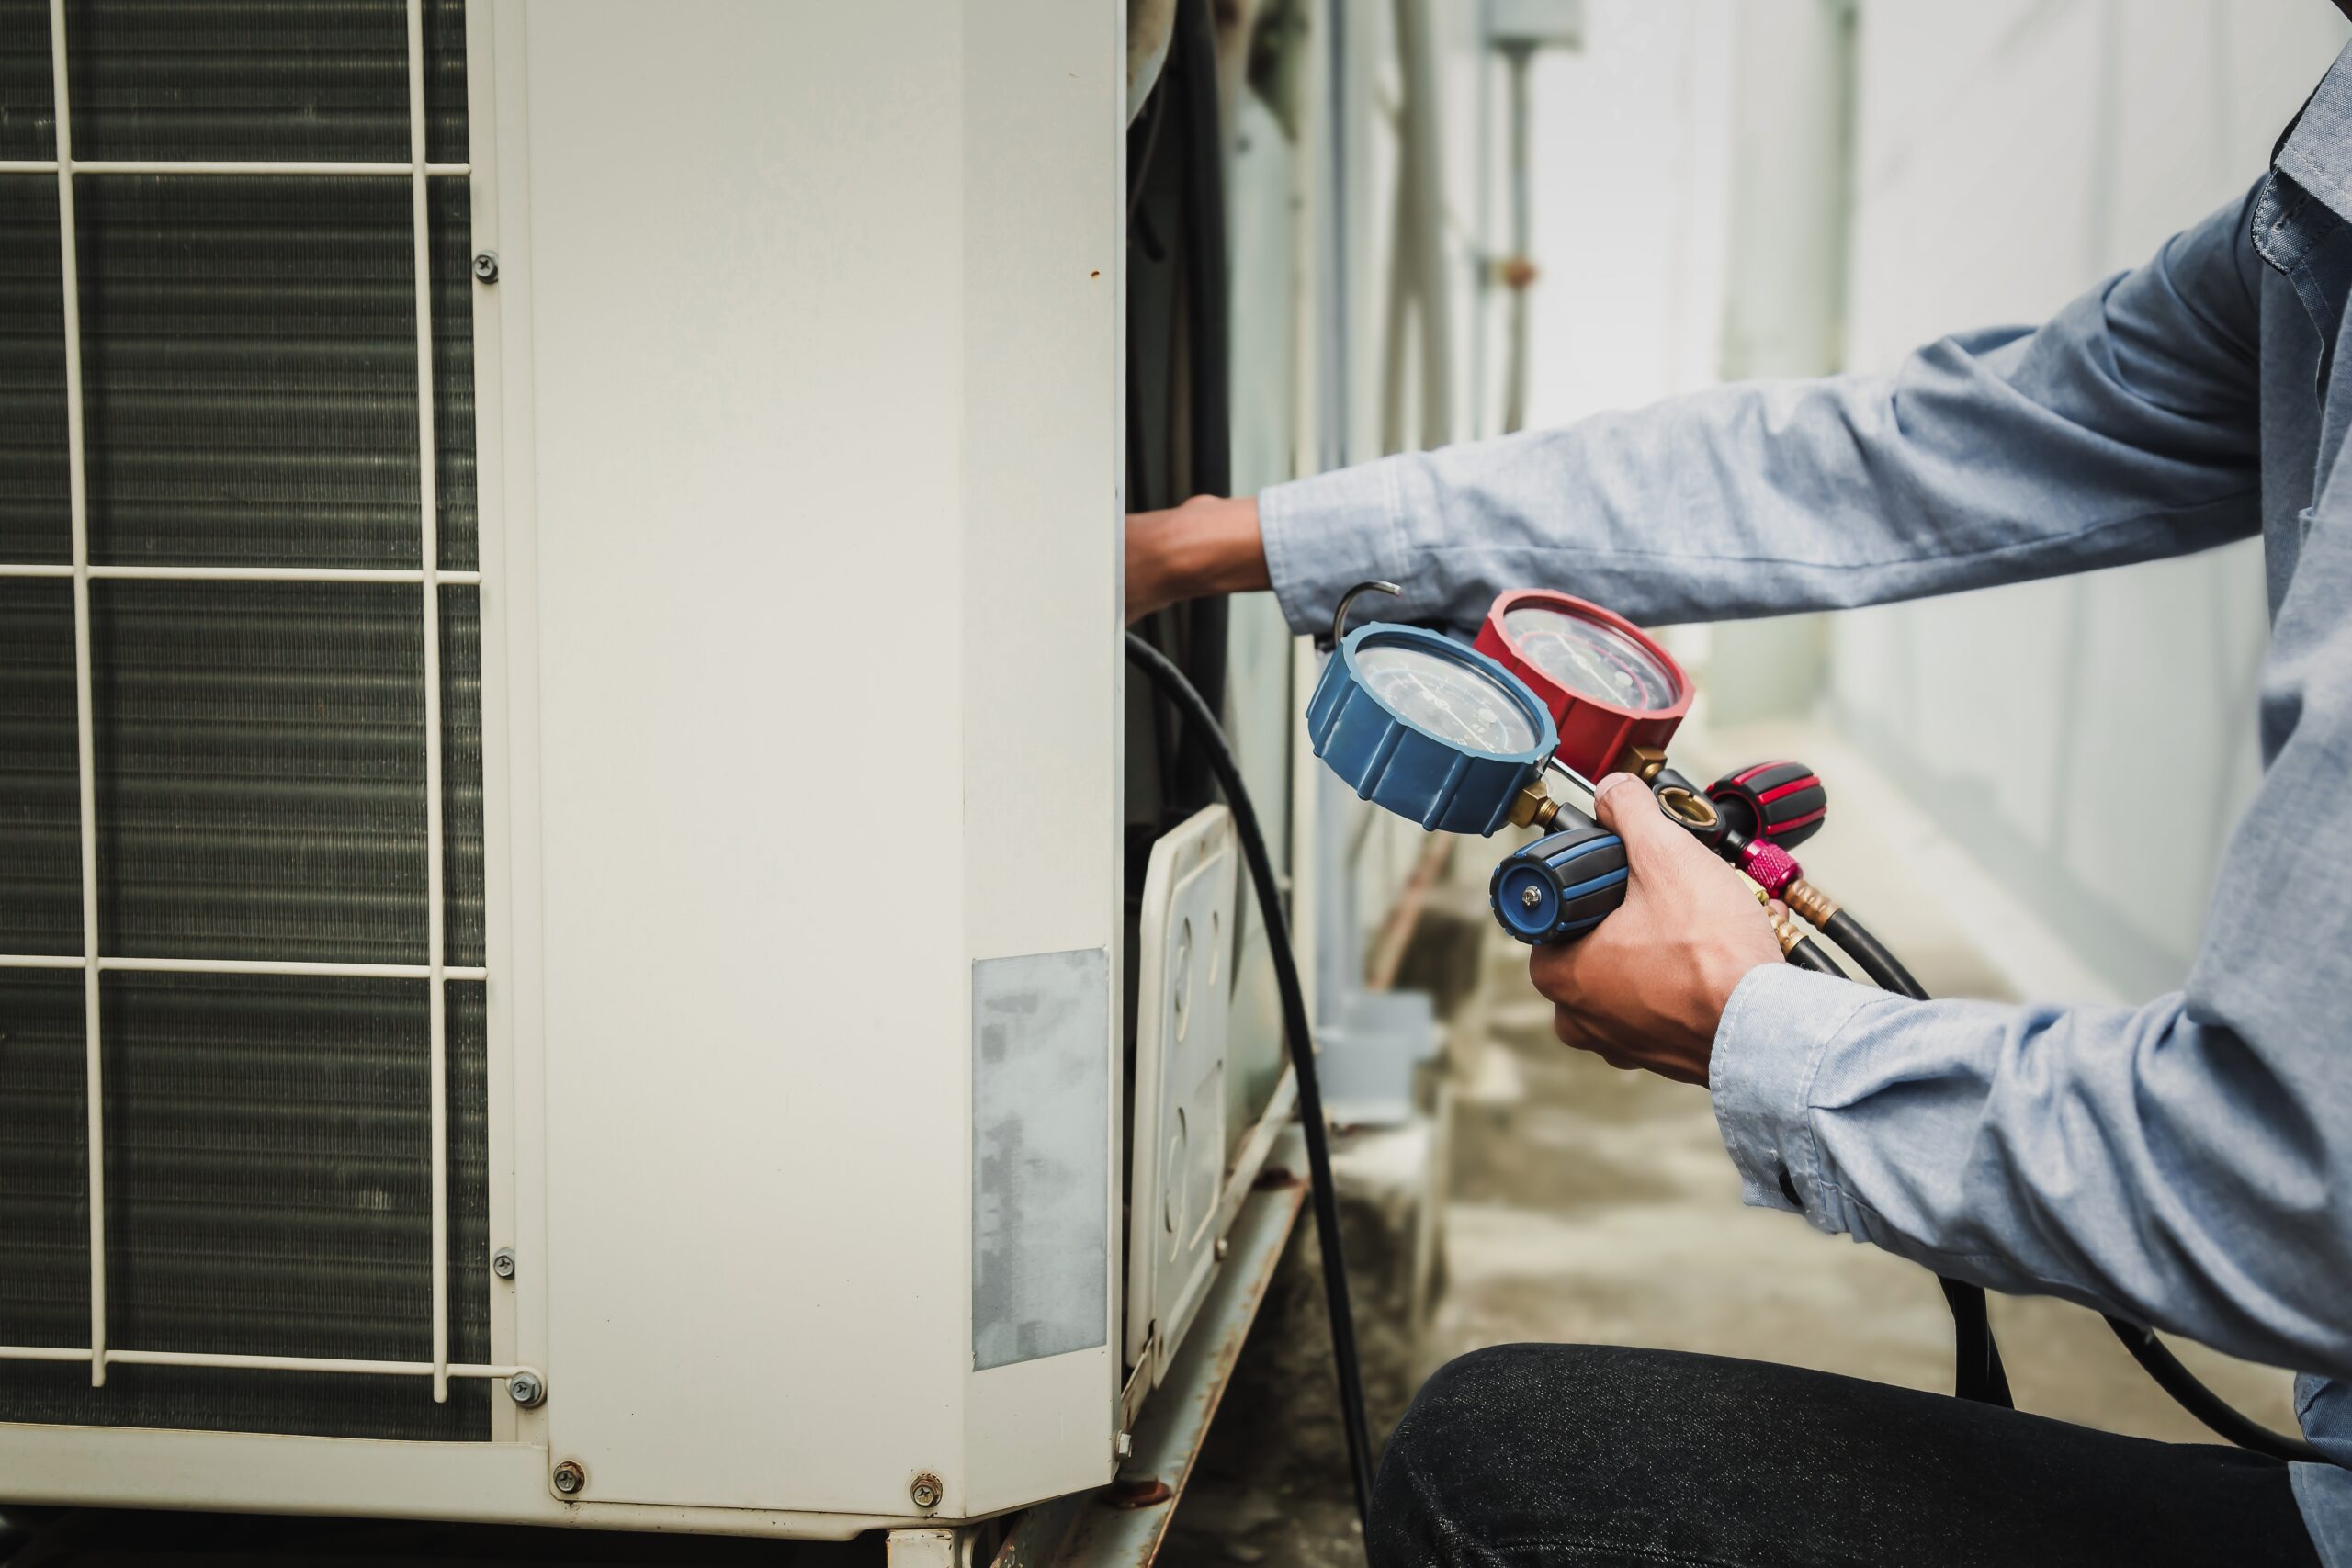

“Low on refrigerant” is the wrong diagnosis made too often. A system with low suction pressure might be undercharged, or it might have a dirty evaporator coil, a restricted metering device, or an airflow problem. The only way to tell the difference is superheat and subcooling. Skip those measurements and a technician is guessing. Guess wrong and the system gets refrigerant it doesn’t need, or the actual problem gets worse while the tech drives away.
The Refrigeration Cycle: Where Each Measurement Lives
- Evaporator coil: Low-pressure liquid refrigerant absorbs heat from return air and boils into vapor. Superheat is measured here, at the suction line leaving the evaporator.
- Compressor: Compresses the vapor, raising pressure and temperature.
- Condenser coil: High-pressure vapor rejects heat to outdoor air and condenses into liquid. Subcooling is measured here, at the liquid line leaving the condenser.
- Metering device (TXV or fixed orifice): Meters liquid refrigerant into the evaporator, dropping pressure and temperature.
Superheat: What It Measures and Why It Matters
Superheat is how much hotter the refrigerant vapor is than its saturation temperature at the measured suction pressure. It confirms the refrigerant has fully boiled off before reaching the compressor. Liquid refrigerant reaching the compressor causes liquid slugging, which is mechanical damage from trying to compress an incompressible fluid.
- High superheat (above target): refrigerant is evaporating early, leaving dry coil surface. Usually means undercharge, restricted metering device, or low airflow.
- Low superheat (below target): refrigerant is not fully boiling off in the evaporator. Usually means overcharge, metering device stuck open, or airflow too high.
- Superheat is used to charge fixed orifice (piston) systems. TXV systems are charged by subcooling, not superheat.
Subcooling: What It Measures and Why It Matters
Subcooling is how much cooler the liquid refrigerant is than its saturation temperature at the measured condensing pressure. It confirms the refrigerant leaving the condenser is fully liquid, not a vapor-liquid mix.
- A TXV requires a solid column of subcooled liquid at its inlet to meter correctly. Flash gas at the TXV inlet causes inefficient metering, poor cooling, and system hunting.
- High subcooling (above target): excess refrigerant backing up in the condenser, or a restriction in the liquid line.
- Low subcooling (below target): insufficient refrigerant, or the condenser isn’t rejecting heat effectively due to a dirty coil or high ambient temperature.
- Subcooling is used to charge TXV-metered systems, which are common on modern residential split systems.
Tools Needed
- Digital manifold gauge set with P/T chart (or separate Pressure/Temperature Chart reference)
- Temperature clamp or insulated temperature probe
- Psychrometric calculator or wet bulb thermometer (for fixed orifice superheat only)
- Manufacturer charging chart (required for fixed orifice systems)
Browse HVAC replacement parts and tools at SupplyHouse. Digital manifolds that calculate superheat and subcooling automatically save time and reduce math errors in the field.
How to Measure Superheat (Fixed Orifice Systems)
Prerequisites: system must run at least 15 to 20 minutes before taking readings. Airflow must be confirmed correct. A dirty filter or blocked coil produces readings that don’t reflect actual charge.
- Connect the blue (low side) gauge hose to the suction line service valve on the condensing unit. Read suction pressure in PSI.
- Convert to saturation temperature using the P/T chart for the system’s refrigerant. For R-410A at 120 PSI suction pressure, saturation temperature is approximately 40 degrees F.
- Clamp a temperature probe to the suction line (the large insulated copper line) approximately 6 inches from the service valve. Read actual line temperature.
- Calculate superheat: actual line temp minus saturation temp. Example: 55F line temp minus 40F sat temp = 15F superheat.
Target range for fixed orifice systems: typically 10 to 18 degrees F, but the correct target shifts with outdoor dry bulb and indoor wet bulb temperature. Always use the manufacturer’s charging chart.
| Measured Superheat | Likely Cause | Action |
| Above target | Low charge, restricted metering device, or low airflow | Verify airflow first. Add refrigerant only if airflow is confirmed correct. |
| Below target | Overcharge or metering device stuck open | Recover refrigerant if airflow confirmed correct. |
| On target | Charge is correct for current conditions | No action needed. |
How to Measure Subcooling (TXV Systems)
- Connect the red (high side) gauge hose to the liquid line service valve. Read head pressure in PSI.
- Convert to saturation temperature using the P/T chart. For R-410A at 400 PSI head pressure, saturation temperature is approximately 115 degrees F.
- Clamp a temperature probe to the liquid line (the small uninsulated copper line) as close to the liquid line service valve as possible. Read actual line temperature.
- Calculate subcooling: saturation temp minus actual line temp. Example: 115F sat temp minus 101F line temp = 14F subcooling.
Target range for TXV systems: most manufacturers specify 10 to 15 degrees F. Always verify against the unit data plate or installation manual.
| Measured Subcooling | Likely Cause | Action |
| Above target | Overcharge, liquid line restriction, or bad TXV | Check TXV operation. Recover refrigerant if TXV is confirmed functional. |
| Below target | Undercharge or dirty condenser coil | Check condenser coil cleanliness first. Add refrigerant if coil is clean. |
| On target | Charge is correct | No action needed. |
Reading the Whole Picture: Superheat and Subcooling Together
| Superheat | Subcooling | Diagnosis |
| High | Low | Classic undercharge. Find and fix the leak before adding refrigerant. |
| Low | High | Classic overcharge. Recover refrigerant. |
| High | High | Metering device restriction. TXV stuck closed, piston undersized, or liquid line restriction. |
| Low | Low | Metering device passing too much refrigerant. TXV stuck open or piston oversized. |
| Normal | Normal | System is properly charged for current conditions. |
The high superheat / high subcooling combination catches less experienced technicians. It looks like a charge issue because both numbers are off, but adding or removing refrigerant won’t fix a restricted metering device. Inspect the metering device and liquid line filter-drier before adjusting charge.
Frequently Asked Questions
Why does “low on refrigerant” get diagnosed incorrectly so often?
Because low suction pressure is the visible symptom of several different problems, not just undercharge. Without superheat and subcooling readings, there’s no way to tell the difference between a charge issue, an airflow problem, and a metering device failure.
What refrigerant type do I need to know before taking measurements?
The refrigerant type is critical because P/T charts differ between refrigerants. R-22, R-410A, R-32, and R-454B all have different pressure-temperature relationships. R-410A remains common in existing installed systems, while newer equipment is shifting to lower-GWP refrigerants such as R-454B and, in some product lines, R-32.
How long should the system run before taking measurements?
At least 15 to 20 minutes. The system needs to stabilize at steady-state operating conditions. Readings taken at startup don’t reflect actual charge.
What is a normal superheat range for a residential split system?
For fixed orifice systems, the target moves with ambient conditions. Use the manufacturer’s charging chart. A rough field guide is 10 to 18 degrees F, but this can legitimately vary at extreme ambient conditions.
Does subcooling measurement change with a liquid line filter-drier in place?
Yes. A significant temperature drop across the filter-drier (more than 2 degrees F) indicates a restriction. Always measure subcooling on the condenser side of the filter-drier.
Can superheat and subcooling be measured on mini-split systems?
Yes, though port access varies by brand. Many mini-splits have Schrader ports on the outdoor unit. Some manufacturers also provide diagnostic mode data on the indoor unit display that includes operating pressures.
Why does the manufacturer charging chart matter for fixed orifice systems?
Because the correct superheat target changes with outdoor and indoor conditions. A system charged in 60-degree weather has a different target than the same system in 100-degree weather. Without the chart, the target is a moving target with no map.
What is the difference between evaporator superheat and total superheat?
Evaporator superheat is measured at the coil outlet. Total superheat is measured at the suction line service valve. The difference accounts for heat picked up by the suction line running through unconditioned spaces. For charging purposes, measuring at the service valve is standard.
Can I use a digital manifold instead of analog gauges?
Digital manifolds are preferred. They calculate superheat and subcooling automatically from pressure and temperature inputs, eliminating manual P/T chart lookups and reducing the chance of calculation error in the field.
What if the system has no service valves?
Most residential split systems have Schrader valve ports at the service valves. Systems without accessible ports require saddle valves or a different diagnostic approach.
Getting the Charge Just Right
Superheat and subcooling are not just diagnostic tools. They are the two-number proof that a refrigerant charge is correct. Any technician adding or removing refrigerant without taking and interpreting both measurements is guessing. That guess might be right sometimes. But it creates overcharged and undercharged systems that fail early, draw more power, and call back in August. Get the gauges on, let the system stabilize, and let the numbers do the talking.
Related: How to Choose the Right Mini-Split System for refrigerant circuit fundamentals on ductless systems.