
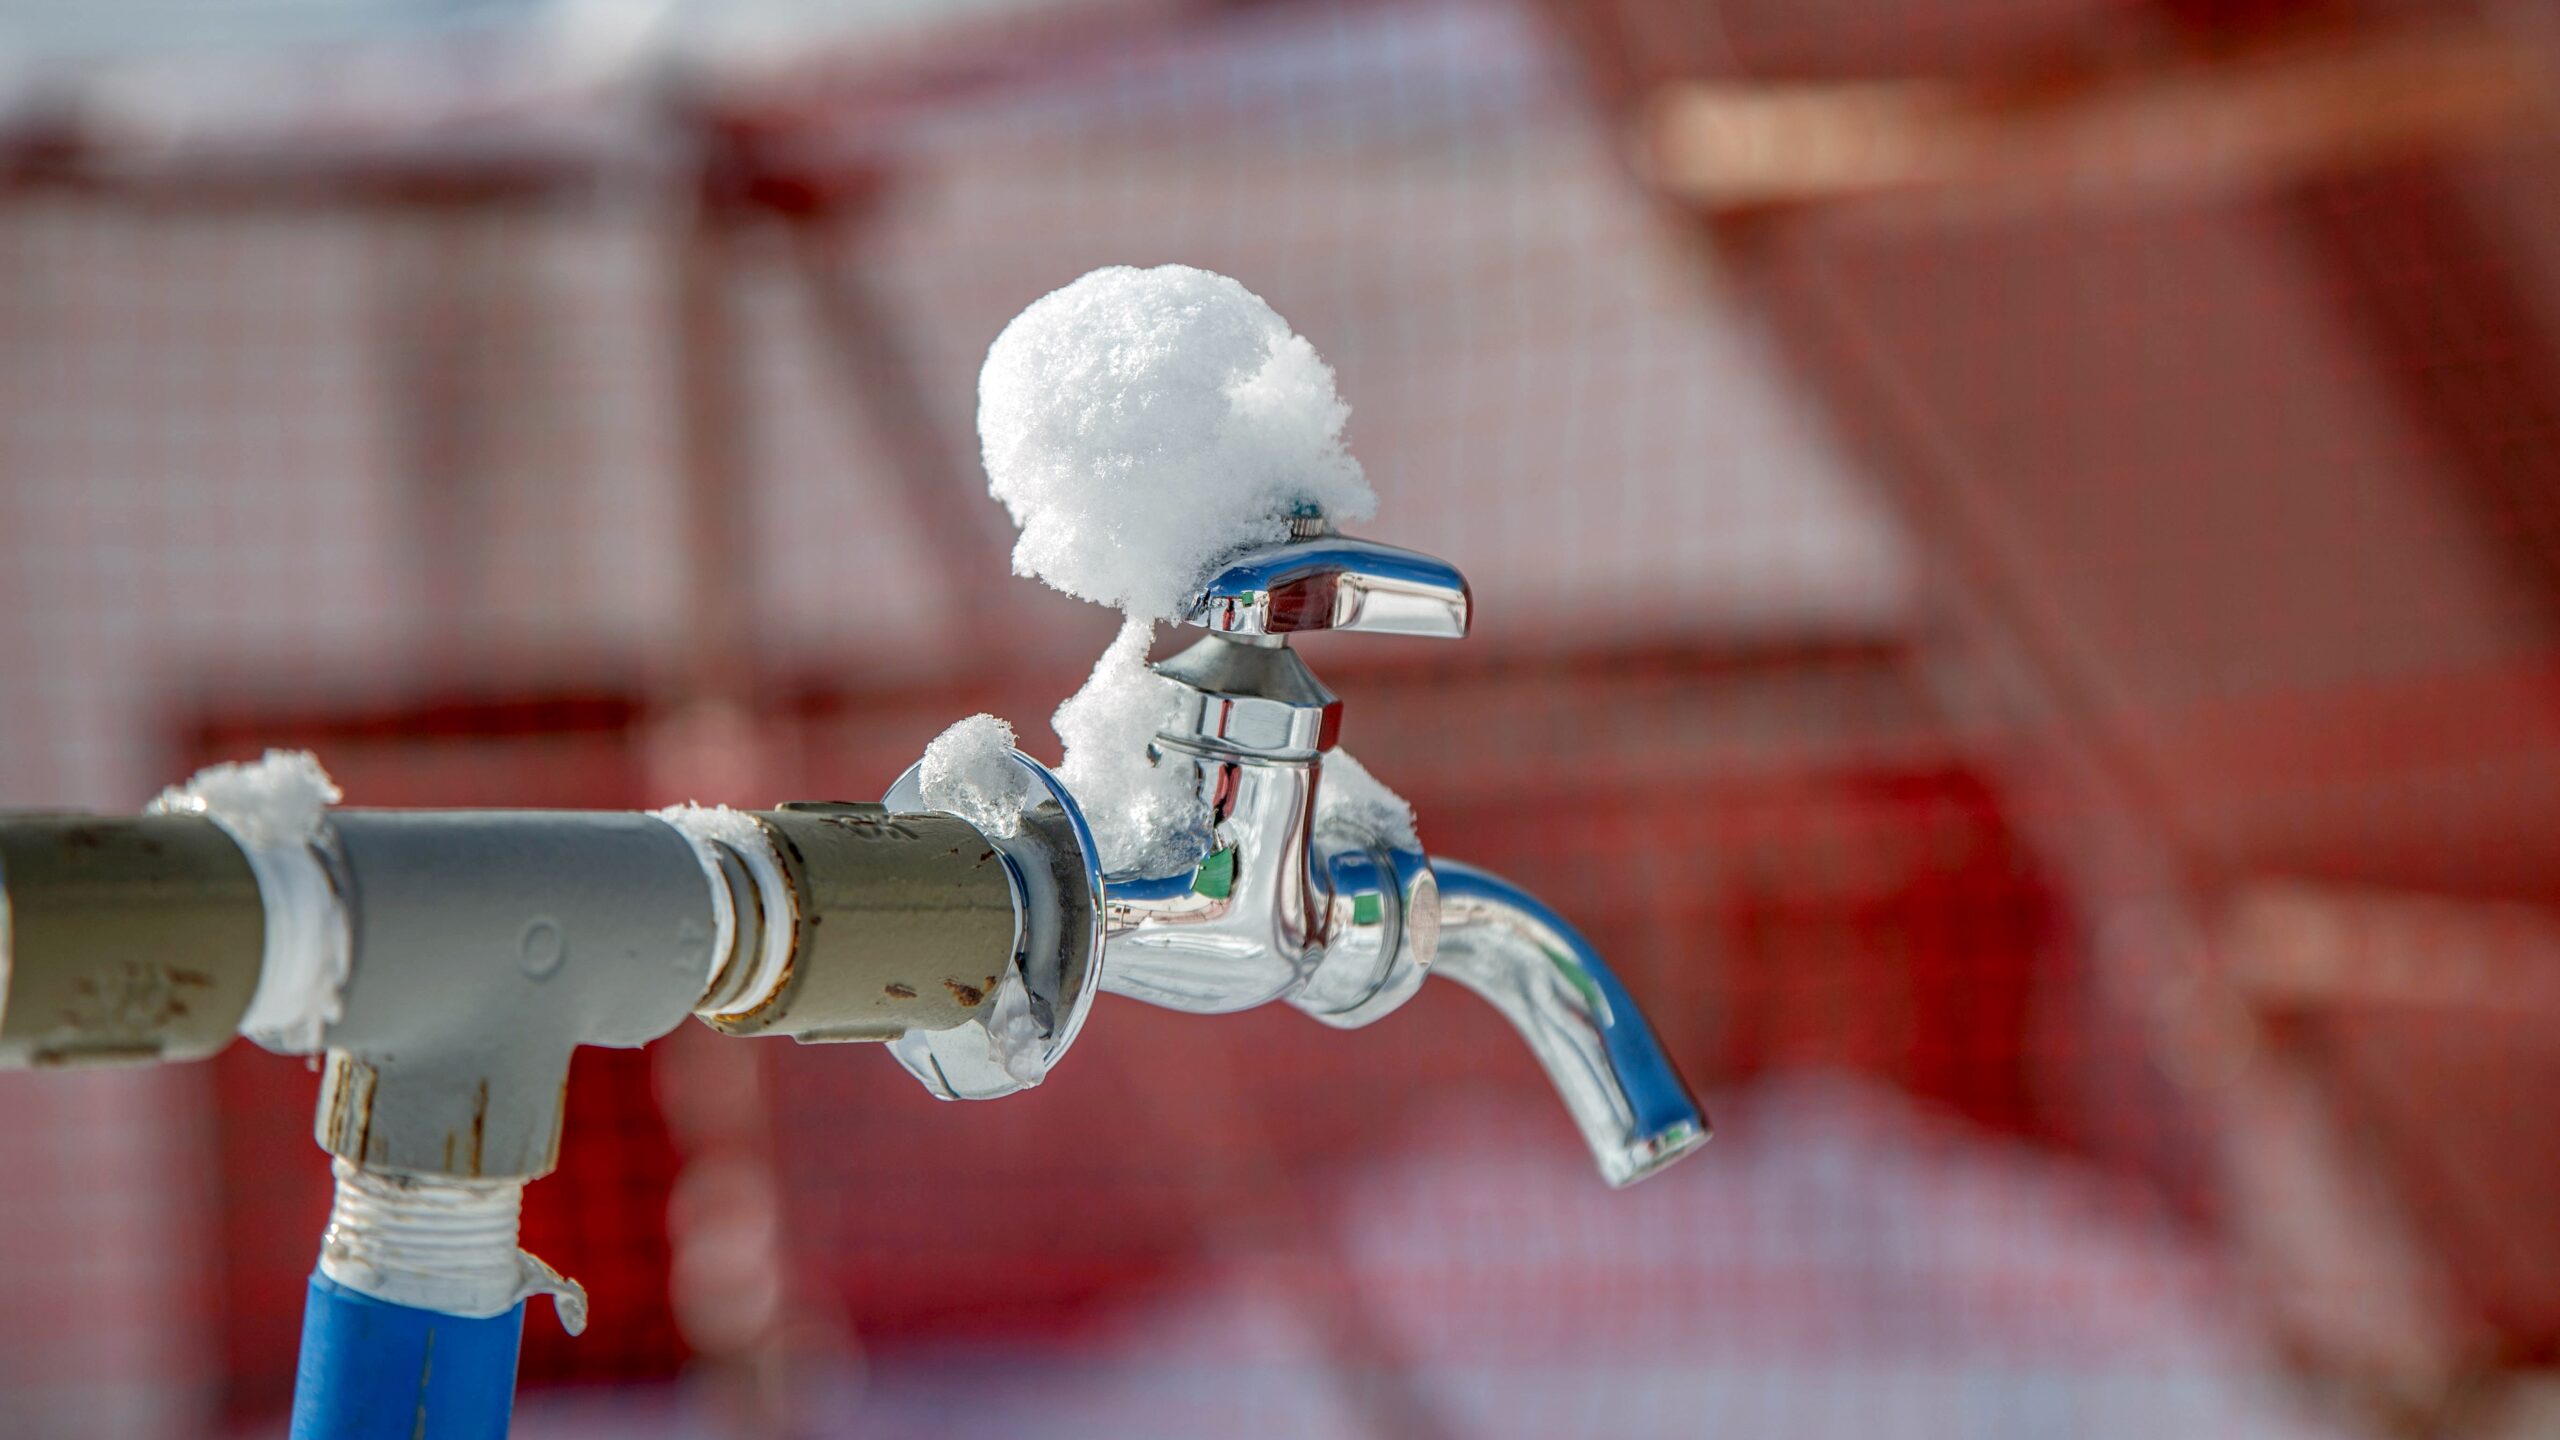
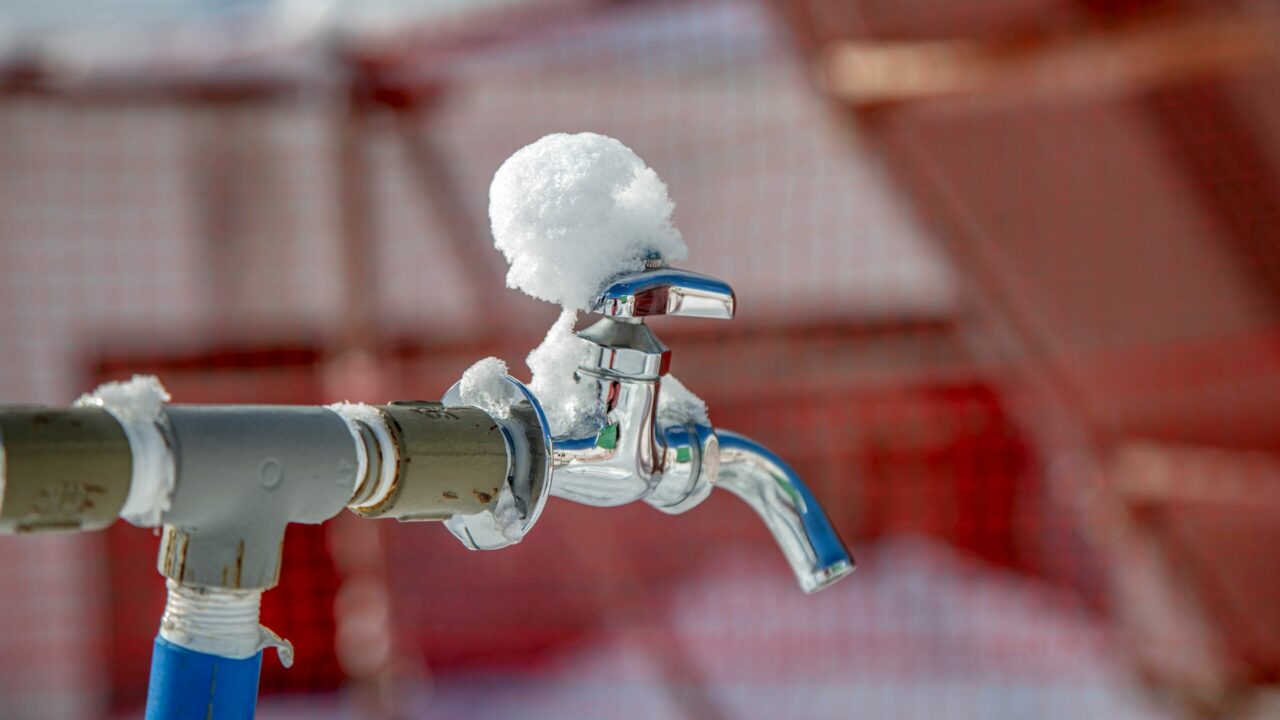
Outdoor plumbing freezes early and often in cold weather. The hose bib on the north side of the house, the irrigation backflow preventer in the front bed, the sillcock the landscaper left a hose attached to in October: these are the calls that arrive in November after the first hard freeze. A 30-minute walkthrough in early fall can prevent many of them. Here’s how to do it correctly.
Standard Hose Bib vs. Frost-Free Sillcock: Know the Difference
Not all outdoor faucets are created equal, and understanding the difference determines what needs servicing versus what needs replacing.
A standard hose bib has the shutoff seat at the exterior of the wall. When closed, water remains in the body of the faucet between the seat and the outlet. In freezing temperatures, that water freezes, expands, and cracks the body.
A frost-free sillcock has a long stem that moves the shutoff seat 4 to 12 inches inside the heated wall. When closed, the exterior portion drains automatically by gravity, leaving no water to freeze. The only way to defeat this protection is to leave a hose attached, which prevents drainage.
The practical takeaway: any standard hose bib in a climate with freezing temperatures should eventually be replaced with a frost-free sillcock. In the meantime, the interior shutoff is the protection.
Browse frost-free sillcocks at SupplyHouse. The SharkBite 18″ Anti-Siphon Frost-Free Sillcock uses a push-to-connect inlet compatible with copper, PEX, CPVC, or PE-RT, with an integrated anti-siphon backflow preventer. Browse all sillcocks and hose bibbs.
How to Shut Off Standard Hose Bibs for Winter
- Locate the interior shutoff valve for each exterior faucet. These are typically on short branches near where the pipe exits through the foundation or rim joist.
- Remove any hoses connected to outdoor faucets. Even on frost-free sillcocks, an attached hose traps water in the outlet and defeats freeze protection.
- Close the interior shutoff valve for each exterior faucet.
- Return outside and open the exterior faucet fully to drain remaining water from the line between the shutoff and the outlet. Leave it open until all dripping stops.
- After draining, leave the faucet open unless the valve manufacturer’s instructions call for a different position.
On a stop-and-waste valve, open the small drain cap on the side of the valve body while the valve is closed. This allows the line downstream to drain completely.
How to Inspect and Service a Frost-Free Sillcock
Even frost-free sillcocks need annual attention in fall:
- Remove all attached hoses. A hose left on a frost-free sillcock prevents drainage and completely eliminates its freeze protection.
- Inspect the vacuum breaker on anti-siphon models. The anti-siphon cap should spin freely. A seized cap indicates a stuck vacuum breaker.
- Check for drips at the packing nut behind the handle. A dripping sillcock often has a worn packing washer. Close the interior shutoff, remove the handle and stem, and replace the washer.
- Verify the sillcock pitches slightly downward toward the outside. A level or upward-pitched frost-free sillcock won’t drain when closed. Check pitch with a level if freeze damage occurred in prior years.
How to Replace a Standard Hose Bib with a Frost-Free Sillcock
Replace any standard hose bib that has been freeze-damaged before, has no accessible interior shutoff, or is on a north-facing wall with high freeze exposure.
- Shut off the interior water supply to the bib.
- Open the existing bib to drain residual pressure.
- Unscrew or cut the existing bib from the supply pipe.
- Select the correct length frost-free sillcock for wall thickness. Common lengths are 6″, 8″, 12″, and 18″.
- Thread or solder the new sillcock into the supply pipe. For PEX supply lines, the SharkBite push-to-connect sillcock eliminates soldering entirely.
- Secure the mounting flange to the exterior wall with screws.
- Restore water supply and check for leaks at the connection.
- Verify the sillcock drains when closed by listening for the brief hiss of drainage after shutoff.
How to Winterize an Irrigation System
Irrigation systems are the most freeze-vulnerable outdoor plumbing component on most residential properties. A few inches of PVC or poly tubing near the surface, filled with water, freeze and shatter on the first hard frost.
Manual drain method: close the main isolation valve and open manual drain valves at system low points. Valves must be installed at the true low points of the system for complete drainage; if the system was not designed with drain valves at every low point, some water will remain trapped.
Automatic drain method: systems with spring-loaded automatic drain valves drain passively when pressure drops below 10–15 PSI. Close the main isolation valve and verify each valve is actually draining by listening for flow.
Blow-out method: the most reliable for polyethylene and PVC systems. An air compressor pushes water out of every zone through the heads. Use 20 to 50 CFM at 50 PSI for residential poly systems; lower PSI for PVC. Run each zone separately for 2 to 3 minutes. Never stand over or near heads during blow-out.
Critical point: the backflow preventer on the irrigation supply must be drained and protected separately. Most irrigation backflow preventers are installed above grade and are fully exposed to freezing temperatures. Drain it, insulate it, or both.
Frequently Asked Questions
I left a hose on my frost-free sillcock all summer. Did it cause damage?
During warm weather, no. The risk is if freezing temperatures arrived with the hose still attached. If the sillcock froze with a hose on it, inspect for cracks in the body, which show up as a slow leak from behind the wall when the sillcock is opened in spring.
My interior shutoff valve is stuck and won’t close. What do I do?
Do not force it. Forcing a seized gate valve can break the stem. Shut off the main water supply, replace the stuck valve with a ball valve, then proceed with winterization. A gate valve replacement with a ball valve is an upgrade worth making.
How deep does an irrigation line need to be to avoid winterization?
In most of the continental US, shallow irrigation lines at 6 to 12 inches deep are not protected by soil temperature alone. Winterization is required for any zone with lines above the local frost depth.
What is the anti-siphon device on a frost-free sillcock and does it need maintenance?
The anti-siphon device (vacuum breaker) prevents contaminated hose water from being siphoned back into the potable supply. It should be inspected annually. Signs of failure include a cap that doesn’t spin freely, visible cracking, or continuous dripping from the cap during use.
Can I use heat cable instead of shutting off outdoor faucets?
Self-regulating heat cable is effective for pipes that can’t be fully drained, such as irrigation backflow preventers or supply branches in unheated outbuildings. It’s not a substitute for proper winterization on lines that can and should be drained.
What should I do with the backflow preventer on my irrigation system?
Follow the manufacturer’s winterization guidance for the specific backflow assembly. As a general approach, shut off the irrigation supply, relieve pressure, open the test cocks to drain the device, and leave valves and cocks in the recommended winter position. In some systems, insulation or a protective cover is also used
Conclusion
Outdoor plumbing winterization is the fastest category of fall preventive work for the payoff it delivers. Two hours walking a house in October can prevent many common freeze-related failures later in winter. Remove hoses, shut off interior valves, drain the lines, and note which standard hose bibs are overdue for a frost-free upgrade. SupplyHouse stocks frost-free sillcocks in every standard configuration ready for next-day delivery when the upgrade call comes in.
Browse frost-free sillcocks, including the SharkBite Anti-Siphon Frost-Free Sillcock and all sillcocks and hose bibbs at SupplyHouse. Related: How to Prevent Frozen Pipes.