
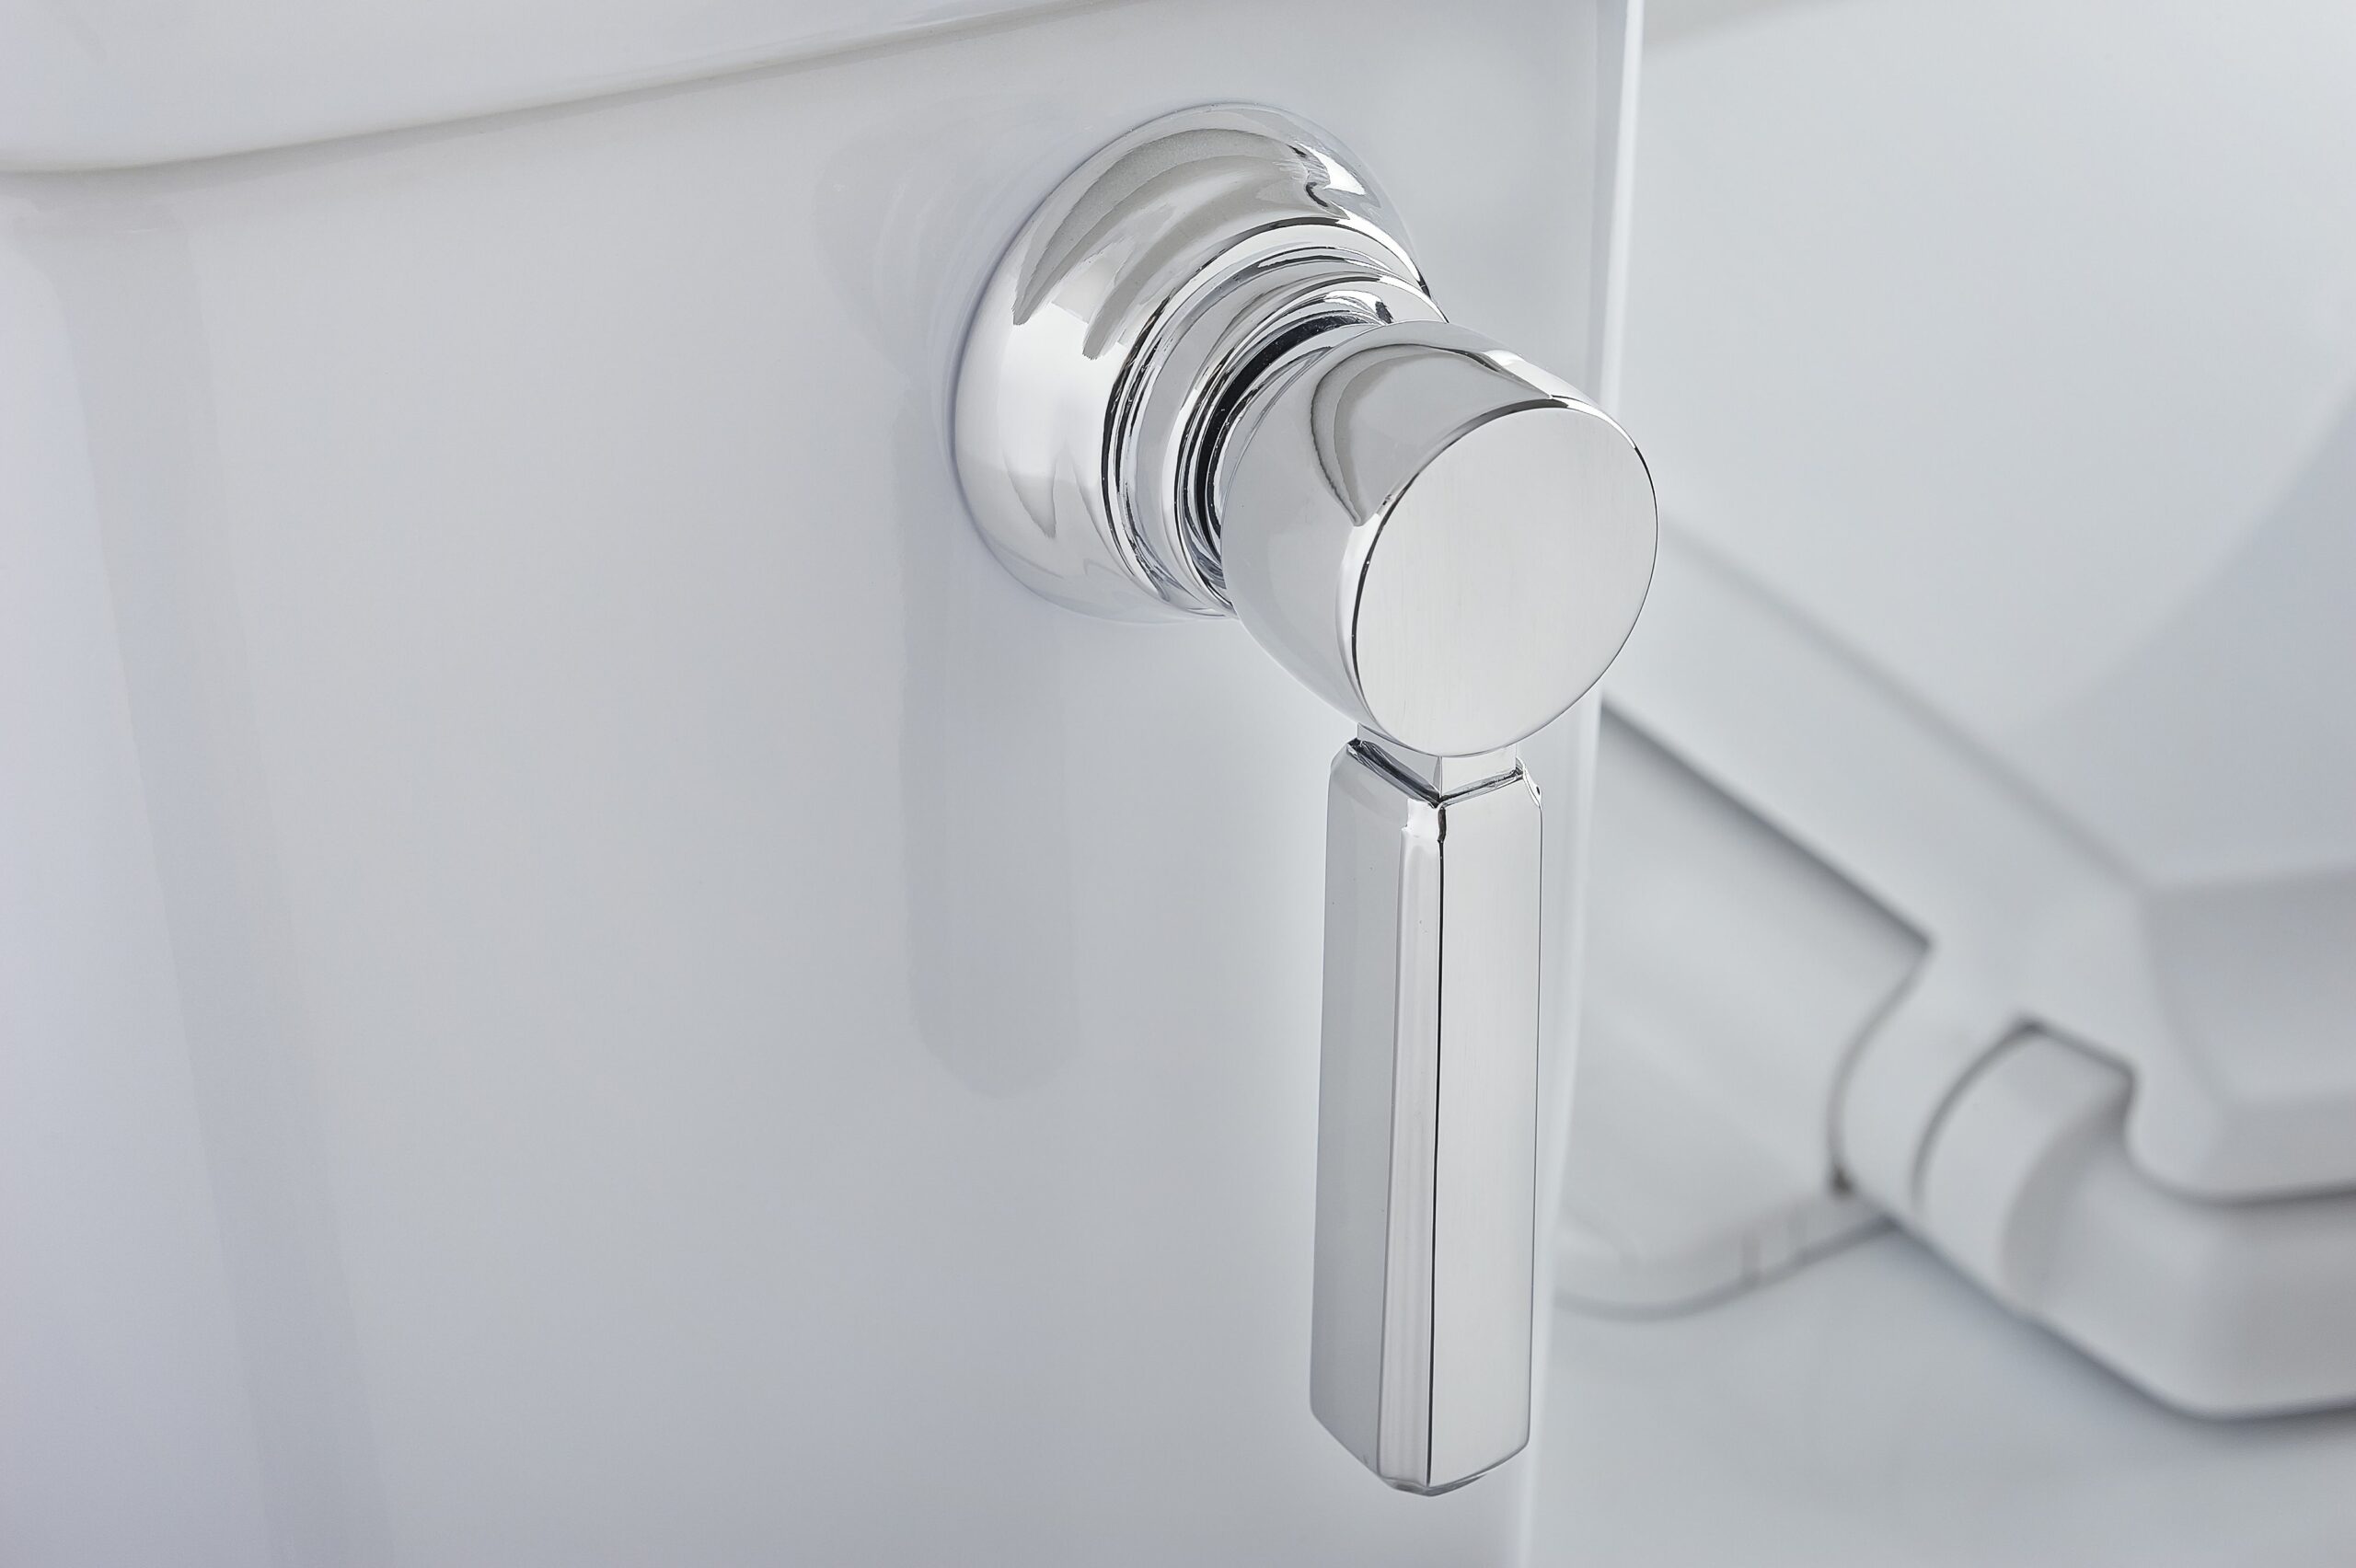
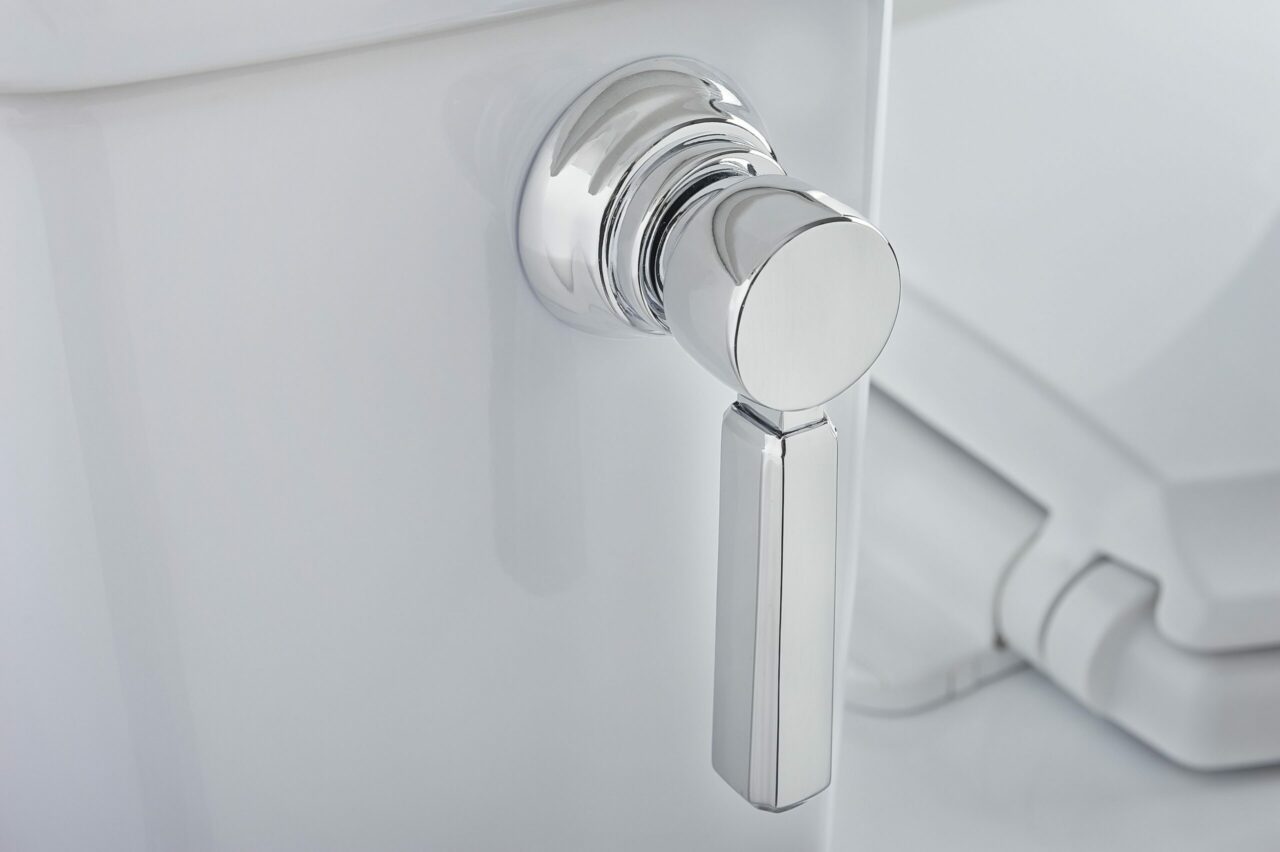
A toilet handle gets used anywhere from 6 to 10 times a day. That adds up fast, and at some point the lever corrodes, snaps, or starts requiring a full forearm press just to get a flush. The fix takes about 15 minutes, costs almost nothing, and requires exactly one tool. The catch is understanding how the lever mounts to the tank, because getting that wrong means fighting reverse threads, a broken chain connection, or a handle arm that hits the lid every time. Get those details right first, and the rest is straightforward.
How the Handle System Works
The flush handle is a two-part assembly. Outside the tank sits the visible lever or button. Inside the tank, a metal or plastic arm extends horizontally and connects to the flapper or flush valve via a chain or lift wire. Pressing the handle rotates the arm, lifts the chain, and opens the flapper. Release it and the flapper drops back down.
The whole assembly passes through a hole in the left side of the tank and is secured by a single locknut on the inside. That locknut uses a reverse (left-hand) thread. To loosen it, turn clockwise. To tighten it, turn counterclockwise. Getting that backward is the number-one installation mistake.
Identifying the Handle Mount Position
Before ordering a replacement, identify the mount position. Most tanks fall into one of three categories:
| Mount Type | Description | Common On |
| Front Mount | Handle on the front face of the tank | Most American Standard, Crane, and older universal toilets |
| Side Mount | Handle on the left side of the tank (standard) | Kohler, Mansfield, most residential toilets |
| Angle Mount | Handle at roughly 45 degrees on the corner | Eljer, some American Standard models |
| Right-Hand Mount | Handle on the right side of the tank | TOTO and some modern low-profile designs |
Universal replacement levers from Fluidmaster and Korky are designed to adapt to all four positions. The arm rotates or telescopes to reach the flapper chain regardless of where the handle sits. Brand-specific levers match one position only and must match the original OEM mount.
Universal vs. OEM-Specific Levers
Two lever categories are stocked at SupplyHouse. The right choice depends on the toilet brand and whether a finish match matters.
| Type | Advantages | When to Use |
| Universal | Adjustable arm fits front, side, angle, and right-hand tanks. Telescoping or pivoting arm eliminates bending. Works with 2-inch and 3-inch flappers and canister flush valves. | Most residential service calls. Fast swap with no measuring. |
| OEM-Specific | Exact fit, matching finish. Direct replacement for TOTO, Kohler, and other brand-specific trim. | When the customer wants an exact finish match or the tank has a non-standard hole size. |
Tools and Materials
The handle swap requires almost nothing:
- Slip-joint pliers (optional, for stubborn locknuts)
- Small flathead screwdriver (for any retaining clip)
- Mini hacksaw or utility knife (only if trimming the arm to length)
- Replacement tank lever
- Bucket and sponge (optional, not required for a handle-only swap)
No water shutoff is required for a handle replacement. The tank stays full throughout.
Step-by-Step: How to Replace a Toilet Handle
- Remove the tank lid and set it safely on a flat surface. Porcelain chips easily.
- Unhook the flapper chain from the current lever arm. Note which hole on the arm the chain was clipped to. That position affects flush performance.
- Locate the locknut on the inside of the tank. It threads onto the lever from inside. Remember: this is a reverse thread. Turn it clockwise to loosen.
- Use slip-joint pliers if the nut is corroded. Wrap the nut with a cloth first to avoid scratching the porcelain.
- Slide the nut off the lever arm and pull the old lever out through the tank hole from the outside.
- Check the tank hole size. Most tanks use a standard hole. If the opening is oversized, the new lever may include an adapter sleeve. Attach it to the mount base before installation.
- Insert the new lever mount through the tank hole from the outside until it sits snugly against the wall of the tank. Do not force it.
- Thread the locknut onto the mount from inside the tank, turning counterclockwise. Hand-tighten only at this stage.
- Adjust the arm. On universal levers, unlock the latch (flip it up) so the arm moves freely. Position the arm parallel to the front wall of the tank, with the end of the arm pointing directly above the flapper. Then lock the arm in place.
- On telescoping-arm models (such as the Fluidmaster 641 Perfect Fit), rotate the arm to the correct position for the mount type (front, side, angle). The arm clicks into place.
- If the arm is too long, adjust it according to the manufacturer’s instructions. Trim the arm only if the instructions identify cutting points. Do not cut a Fluidmaster 641 arm; shorten its telescoping arm instead.
- Hand-tighten the reverse-threaded locknut by turning counterclockwise. Do not overtighten.
- Attach the flapper chain to one of the holes on the arm. Per Fluidmaster instructions, the chain should have approximately 1/2 inch of slack when the flapper is in the closed position. Too tight prevents the flapper from sealing. Too loose produces a weak flush.
- Attach the lever or trim piece to the outside of the mount by aligning the teeth and pushing until it clicks.
- Test the flush. The handle should move smoothly and produce a full, clean flush. If the toilet runs after flushing, the chain has too little slack. Add one more link and retest.
Chain Slack and Flush Performance
Chain length is the detail most often overlooked on a handle swap, and it’s directly responsible for a toilet that runs continuously or flushes weakly.
| Chain Condition | Symptom | Fix |
| Too tight (no slack) | Toilet runs continuously after flush. Flapper can’t seal. | Move chain to a hole closer to the pivot point. Add 1/2 inch of slack. |
| Correct (1/2″ slack) | Full flush, flapper drops cleanly, tank refills and stops. | No adjustment needed. |
| Too much slack | Weak or incomplete flush. Chain may catch under the flapper. | Move chain to a hole farther from the pivot point. Shorten slack. |
Replacing a Push-Button Handle
Some American Standard toilets use a push-button mechanism instead of a traditional lever. The mounting principle is the same, but the internal connection differs.
- Push-button models connect to the flush valve via a wire lift rod rather than a chain.
- The lock nut still uses a reverse thread (loosen clockwise, tighten counterclockwise).
- Replacement options include the Fluidmaster 691 push-button lever, which trims and bends to fit most side and angle mount tanks and fits most American Standard and Universal-Rundle models.
- After installation, verify the wire lift rod engages the flush valve fully on each press. If the rod is too short, the valve won’t open completely. If it’s too long, the flush valve may not reset properly.
Choosing the Right Lever Finish
For trade professionals, chrome is the standard stocking choice. It works in virtually any bathroom and matches most fixture finishes. For homeowners or renovation jobs where finish matching matters, brushed nickel and oil-rubbed bronze options are available.
| Finish | Best For | Available At SupplyHouse |
| Chrome | Standard residential and commercial service calls | Fluidmaster 690X, Fluidmaster 641, Korky 6051BP |
| Brushed Nickel | Renovations where faucets and accessories are brushed nickel | Korky 6071BP |
| OEM (TOTO) | TOTO toilets requiring exact match | TOTO THU808-CP-A |
When to Replace vs. Adjust
Not every loose or sticky handle needs a full replacement. A quick diagnosis first:
| Symptom | Likely Cause | Action |
| Handle is loose but not broken | Locknut has loosened over time | Tighten the locknut counterclockwise. No replacement needed. |
| Handle moves but nothing flushes | Flapper chain disconnected from arm | Reconnect or replace the chain. No handle swap needed. |
| Handle is cracked, corroded, or broken | Physical failure of lever or mount | Replace the full lever assembly. |
| Handle requires heavy force | Corroded locknut binding the mount or kinked arm | Attempt to loosen and readjust. If the nut won’t turn, replace the assembly. |
| Handle feels fine but toilet runs | Chain too tight or flapper worn | Adjust chain slack. If toilet still runs, the flapper needs replacement. |
Stocking Recommendations for Plumbers
A handle swap is a quick add-on during any tank repair visit. Carrying two or three SKUs covers the vast majority of residential toilets:
- Fluidmaster 641 Perfect Fit Chrome (SKU: 641-FLUIDMASTER). Telescoping arm adjusts to front, side, angle, and right-hand positions. Covers TOTO, Kohler, American Standard, Mansfield, and Eljer.
- Korky 6051BP StrongARM Chrome (SKU: 6051BP). Reinforced arm, adjustable to all four positions. Works with 2-inch and 3-inch flappers and canister valves. 5-year warranty.
- Fluidmaster 691 Push Button Chrome (SKU: 691). Trims and bends to fit. Covers American Standard and Universal-Rundle push-button toilets.
- Fluidmaster PRO45K Complete Toilet Repair Kit (SKU: PRO45K). When the tank needs more than a handle, the PRO45K includes a fill valve, flush valve, flapper, and tank lever in one box.
FAQs
What is the reverse thread on a toilet tank locknut?
The locknut that secures the lever inside the tank is left-hand threaded. Turn it clockwise to loosen it, counterclockwise to tighten. Standard tools apply, just in the opposite direction from usual. Forgetting this is the most common cause of a cracked locknut or porcelain damage.
Does the water need to be turned off to replace the handle?
No. The handle assembly threads through the outside wall of the tank and is secured internally. No water lines are involved in the swap. The tank stays full throughout.
How much chain slack is correct?
Per Fluidmaster installation instructions, 1/2 inch of slack in the chain when the flapper is fully closed. Too little slack prevents the flapper from sealing and the toilet runs continuously. Too much slack produces a weak or double flush.
Can a universal lever replace a TOTO handle?
Yes, with the right model. The Fluidmaster 641 Perfect Fit lists direct compatibility with TOTO, Kohler, Mansfield, Eljer, and American Standard. For an OEM match on TOTO in chrome, the TOTO THU808-CP-A is the standard replacement lever stocked at SupplyHouse.
What if the tank hole is larger than the lever mount?
Some universal levers include an optional adapter sleeve. Per Fluidmaster installation instructions for the 670 system, slide the sleeve over the square bushing on the lever mount before inserting it into the oversized hole. The sleeve fills the gap and prevents the mount from rocking.
What if the locknut won’t loosen?
Mineral buildup and corrosion are the usual culprits on older toilets. A small amount of penetrating oil applied to the threads and left for a few minutes usually breaks it free. If the nut is cracked or stripped, replace the full lever assembly rather than trying to salvage it.
How do I trim the lever arm if it hits the tank lid?
Measure the old arm length before removal. Use the notch lines on the new arm as guides and trim with a mini hacksaw. Per Fluidmaster instructions, trimming should not be required for most standard installations; it applies mainly to older tanks with non-standard interior dimensions.
Will any replacement handle work with a pressure-assisted toilet?
No. Pressure-assisted toilets (Flushmate-style) use a push-button mechanism connected directly to the sealed pressure vessel, not a standard flapper-and-chain arrangement. Replacing the handle on a pressure-assisted toilet requires a Flushmate-compatible part. Using a standard gravity-tank lever will not work.
Is there a difference between a tank lever and a trip lever?
Functionally, no. The terms refer to the same part. Trip lever is the plumbing trade term; tank lever or flush handle is the consumer term. Both describe the assembly that includes the external handle and the internal arm connected to the flapper chain.
When should the whole tank be repaired rather than just the handle?
If the toilet was already running before the handle failed, check the flapper and fill valve while the tank lid is off. A handle swap is a fast add-on, and combining it with a flush valve or fill valve replacement during the same visit saves a callback. See the Real Talk guide How to Replace a Toilet Flush Valve for the full flush valve procedure.
Get a Handle on It
A toilet handle is one of those repairs that looks trivial until someone installs the locknut in the wrong direction, over-tightens it into the porcelain, and turns a 15-minute swap into a cracked tank. The reverse thread, the 1/2-inch chain slack, and the arm adjustment are the three details that separate a clean fix from a callback. Get those right and the job’s done before the homeowner realizes anyone was there.
For replacement levers in chrome, brushed nickel, and OEM finishes, the full selection is at supplyhouse.com/Tank-Levers-14782000. For complete tank repair kits when more than the handle needs attention, the Fluidmaster PRO45K covers the fill valve, flush valve, flapper, and lever in one box. And if the repair turns into a full toilet swap, the Real Talk guide to replacing a toilet has that covered too.