
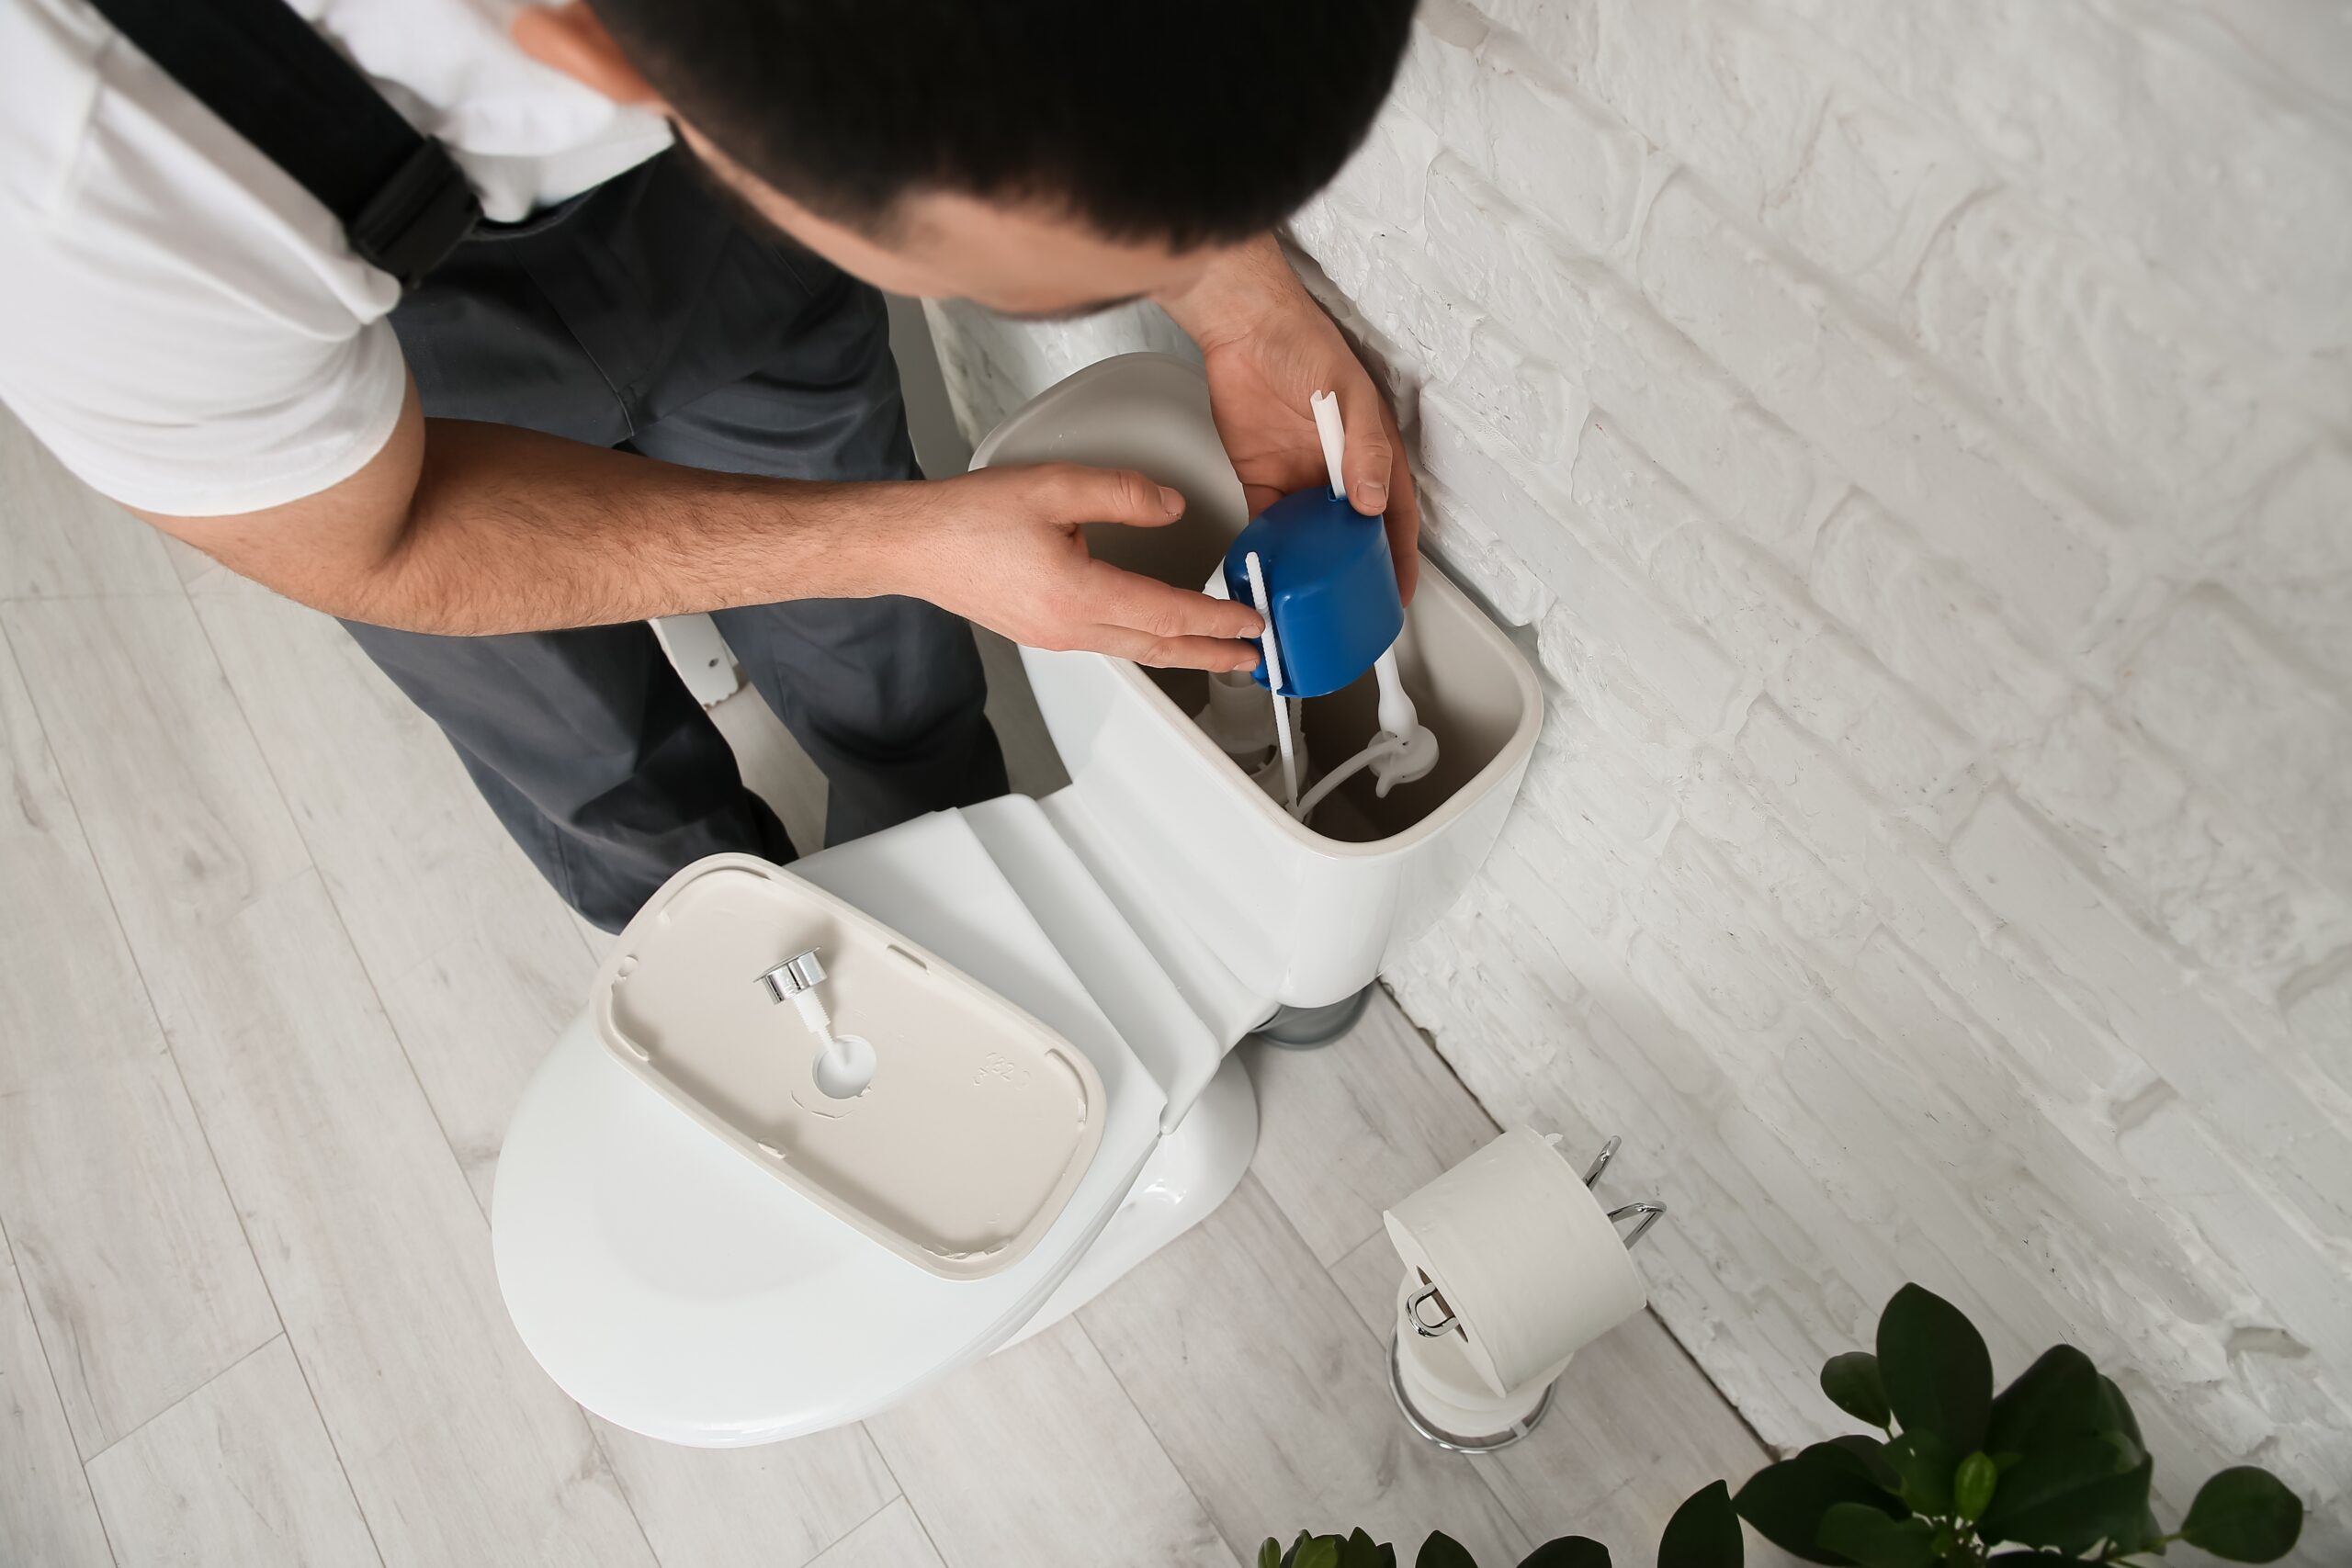
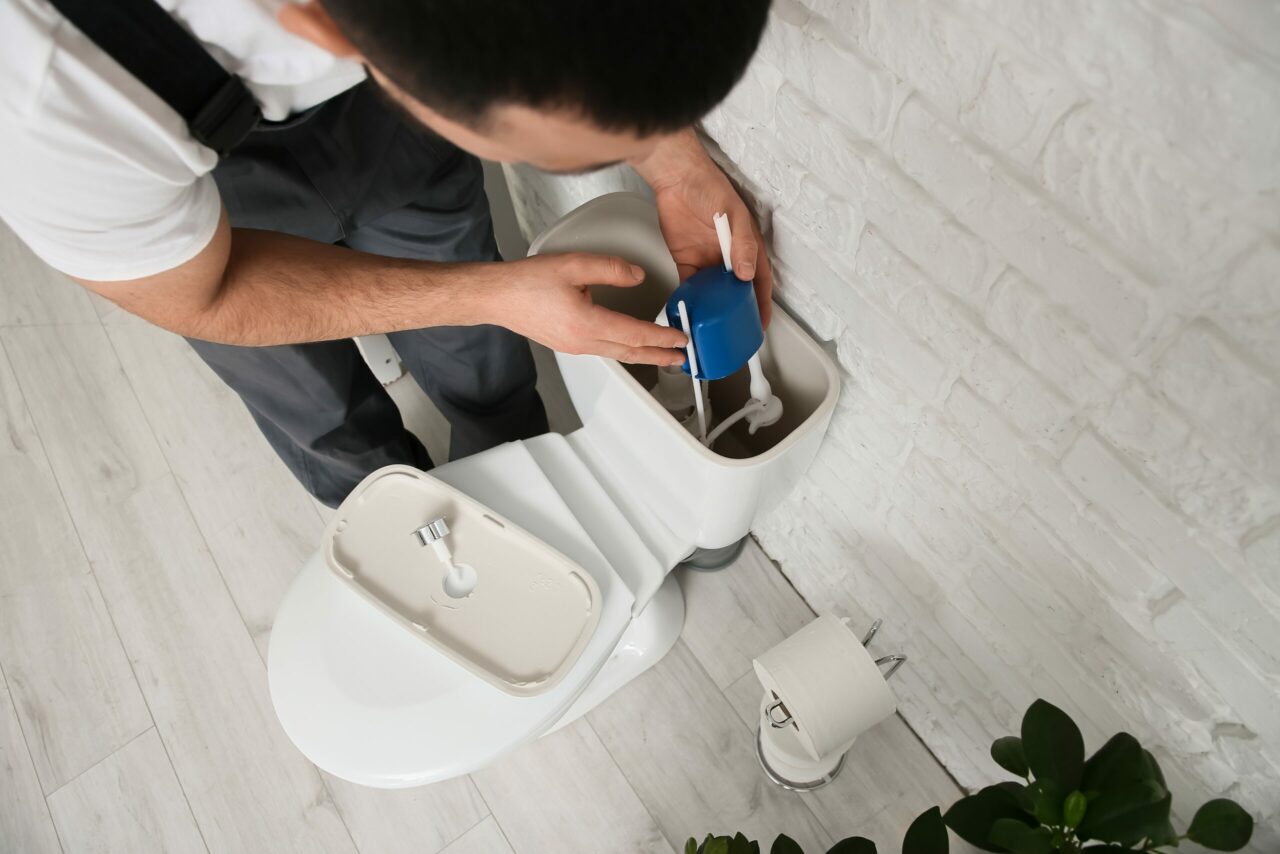
A toilet that runs all night is money down the drain. Literally. The fill valve, the component responsible for refilling the tank after every flush, is one of the most common reasons a toilet won’t stop running, fills too slowly, or hisses between flushes. The good news is that replacing one requires no soldering, no special tools, and under 30 minutes on most jobs. The part that trips people up isn’t the removal. It’s knowing exactly what specs matter, what the manufacturer requires, and what’s likely to go wrong on the first turn of water after. Here’s the right way to do it.
What a Fill Valve Does and Why It Fails
The fill valve controls water flow from the supply line into the toilet tank. After a flush empties the tank, the fill valve opens and refills until the float reaches the set level, then cuts off. On older toilets, a ballcock-style valve handles this with a horizontal ball float and arm. Modern replacements use a vertical float cup or tower that’s more compact, faster, and quieter.
Fill valves fail for a handful of predictable reasons:
- Debris lodges under the valve cap and seat, preventing full shutoff or restricting flow
- The diaphragm seal hardens or deteriorates over time and loses its watertight fit
- The float sticks or gets waterlogged, causing the valve to run continuously
- Mineral scale from hard water builds up on internal surfaces and restricts the valve
- In-tank bleach or chlorine tablets degrade rubber components. Fluidmaster’s installation instructions carry an explicit warning against this, noting it voids the warranty and can cause flooding
Most of these conditions produce recognizable symptoms before full failure. Knowing what to look for before ordering parts saves the diagnostic call.
Diagnosing the Fill Valve Before Ordering Parts
Two quick checks confirm the fill valve is the issue before anything gets pulled.
- Dye test for the flapper. Add food coloring to the tank without flushing. Wait 15 minutes. Color in the bowl means the flapper is leaking, not the fill valve. Both components can fail at the same time, so a positive dye test doesn’t rule out the fill valve. Start with the flapper if that’s where the dye goes.
- Water level check. Lift the tank lid. Fluidmaster’s installation instructions specify the water level should sit approximately 1/2″ below the top of the overflow pipe. If the level is at or above the overflow tube, water is continuously trickling into the overflow and the toilet will never fully stop running. Adjust the float first. If the level is correct and the valve is still hissing or cycling, the valve needs replacement.
- Cap cleaning test. Before writing off the valve, try Fluidmaster’s recommended flush procedure: remove the valve cap, hold a cup inverted over the open valve body, turn the supply on full for 10 to 15 seconds, then repeat once. This clears debris from the seat. If the valve still hisses after cleaning, replace the diaphragm seal with a genuine Fluidmaster 242 seal. If the problem continues after that, replace the valve entirely.
Choosing the Right Fill Valve
Most modern fill valves are designed to fit the majority of two-piece toilets, but the fit isn’t universal. Verify tank depth and shank clearance before ordering. Here’s a quick reference:
| Valve / SKU | Best For | Height Range | Key Feature |
| Fluidmaster PRO45 (SKU: PRO45) | Most 2-piece toilets; ballcock replacement | 9″-14″ | Anti-siphon; adjustable float arm |
| Fluidmaster PRO45B (SKU: PRO45B) | Hard-water installs; brass-shank durability | 9″-14″ | Brass shank resists corrosion vs. plastic |
| Fluidmaster 400H PerforMAX (SKU: 400H-002-P10) | 1.28 GPF and 1.6 GPF HET toilets | 9″-14″ | 2x refill rate vs. standard; ultra-quiet |
| Korky 528GT Genuine TOTO (SKU: 528GT) | All TOTO models (Drake, Ultramax, Eco Drake) | 7-3/4″-13-1/2″ | Twist-lock height adjust; no tools required |
| Fluidmaster PRO45K Kit (SKU: PRO45K) | Full tank rebuild (fill + flush + flapper + lever) | N/A | One box covers all internals |
TOTO toilet owners should look specifically at the Korky 528GT. Its shank length is engineered for TOTO’s tank geometry. Third-party options with a slightly longer shank can cause fitment problems on rigid chrome supply tubes. For a full tank rebuild in one trip, the Fluidmaster PRO45K Complete Toilet Repair Kit covers fill valve, flush valve, flapper, and lever in one box.
Browse the full fill valves category at SupplyHouse.
Tools and Materials Needed
- Adjustable wrench or channel-lock pliers
- Small bucket and sponge
- New fill valve matched to the toilet model
- Replacement braided stainless supply line (Fluidmaster recommends replacing if over 5 years old)
- Flat-blade screwdriver (for clip-style height adjustments on some models)
- Towel or small rag for drips
Step-by-Step: How to Replace a Fill Valve
- Shut off the water supply. Turn the angle stop clockwise until closed. Test by lifting the tank lid and watching whether the water level keeps rising. If the stop won’t fully close, shut the main water supply for the home before continuing.
- Flush and drain the tank. Hold the flush handle down to drain as much water as possible. Use a sponge and bucket to remove the remaining water at the tank bottom. Even a small amount will follow the old valve out during removal, so get the tank as dry as possible.
- Disconnect the supply line. Place a bucket under the supply line connection at the tank base. Turn the supply line nut counterclockwise. Have the bucket ready for water still in the line. Fluidmaster’s installation instructions recommend replacing the supply connector if it is worn or over 5 years old to prevent flooding and property damage. This is the right moment to swap it.
- Remove the old fill valve. From inside the tank, hold the valve body steady. From beneath the tank, turn the locknut counterclockwise by hand or with pliers. Once the nut is off, lift the old valve straight up and out. Note the height setting and the refill tube routing.
- Set the new valve height. For Fluidmaster models: the top of the fill valve cap must measure approximately 3″ above the top of the overflow pipe. This automatically positions the Critical Level (C.L.) mark 1″ above the overflow pipe, a requirement of the Universal Plumbing Code to prevent back-siphonage into the water supply. Adjust height by twisting the shank in or out of the valve body. Do not move the lock ring.
- Korky 528GT height adjustment (TOTO). Extend the valve to full height. Place it in the tank. Press the top down until the water level mark sits approximately 1/2″ below the top of the overflow tube. Twist the top clockwise to lock. Ribs align with pegs when properly locked.
- Install the valve. Insert the shank through the tank hole. Press down on the shank from inside the tank while hand-tightening the locknut underneath. Fluidmaster’s instructions are explicit: hand-tighten only. Do not overtighten. Overtightening may crack the fill valve or tank, potentially causing flooding. Confirm the float cup moves freely and doesn’t contact tank walls or the flush valve.
- Attach the refill tube. Clip the refill tube to the overflow pipe so the open end sits just above (not inside) the overflow pipe opening. Fluidmaster’s installation instructions warn specifically: do not insert the refill tube down into the overflow pipe. A submerged tube creates a siphon effect that causes the valve to turn on and off repeatedly as it tries to keep the tank full. If the tube is too long, trim it.
- Reconnect the supply line. Thread the supply line coupling nut onto the fill valve shank by hand first to avoid cross-threading. Fluidmaster’s instructions say hand-tighten only, then turn on water and check for leaks. If there’s leaking at the base of the tank, tighten just enough to stop it. Do not overtighten. Browse toilet supply connectors at SupplyHouse.
- Turn the water on and set the level. Open the stop valve slowly. Once the tank fills, confirm the water level sits at the fill line marked on the tank or approximately 1/2″ below the top of the overflow pipe per Fluidmaster’s specification. To raise level: turn the water level adjustment screw clockwise. To lower: counterclockwise. Flush to reset and confirm the level holds.
- Inspect for leaks. Check the supply line connection and the shank locknut beneath the tank. A dry exterior and a quiet fill cycle confirm a clean installation. Flush three times to verify.
Common Problems After Installation
| Symptom | Likely Cause | Fix |
| Tank won’t stop running after fill valve replacement | Flapper leaking into bowl; fill level set above overflow tube | Run dye test to isolate flapper. Lower float so water sits 1/2″ below overflow tube. (Fluidmaster 400A installation instructions) |
| Slow or incomplete refill | Debris under valve cap; stop valve not fully open | Remove valve cap, hold cup inverted over opening, run water full for 10 to 15 seconds to flush debris. (Fluidmaster maintenance guide) |
| Hissing or whining between flushes | Worn diaphragm seal or debris in valve seat | Remove cap and flush debris. Replace seal with genuine Fluidmaster 242 seal. Replace valve if hiss continues. (Fluidmaster 400A instructions) |
| Drip at shank / supply connection | Loose locknut or worn shank washer | Hand-tighten locknut only. Replace supply line if over 5 years old. (Fluidmaster installation instructions) |
| Sporadic phantom fill cycles | Fill level too high; flapper leaking slowly | Lower float to 1/2″ below overflow tube. Dye test for flapper leak. (Fluidmaster troubleshooting guide) |
| Refill tube siphons water continuously | Refill tube pushed down into overflow pipe | Pull refill tube out. Clip it so it sits just above (not inside) the overflow pipe opening. (Fluidmaster 400A instructions; Korky installation guide) |
| Weak flush after new fill valve | Water level set too low | Raise float so water level reaches 1/2″ below overflow tube top. (Fluidmaster fill valve & flapper instructions) |
When to Replace More Than Just the Fill Valve
- Toilet still runs after a new fill valve: Run the dye test. If color shows in the bowl without flushing, the flapper is leaking into the flush valve seat. The fill valve cycles because the tank level keeps dropping. A running toilet combined with the dye test pointing to the bowl is a flapper problem, not a fill valve problem.
- Weak or incomplete flushes: If the flush valve is weak and the water level is set correctly, the issue may be the flapper or flush valve. Fluidmaster’s flush valve instructions note that giving the flapper chain approximately 1/2″ of slack helps. A chain that’s too tight lifts the flapper off the seat prematurely. The How to Replace a Toilet Flush Valve guide covers that repair.
- Stop valve won’t close: A stop valve that fails during the fill valve swap should be replaced during the same visit. The tank is already drained, and the repair is straightforward compared to an emergency callback.
- Multiple aging components: On a toilet older than 10 years with a noisy fill valve, worn flapper, and sluggish lever, the Fluidmaster PRO45K Complete Kit replaces all internals at once. Swapping everything in a single visit is more cost-effective than returning for each component individually.
FAQs
How do I know if the fill valve is the problem and not the flapper?
Add food coloring to the tank and don’t flush. Wait 15 minutes. Color in the bowl without a flush means the flapper is leaking. If the tank water level keeps dropping until the fill valve kicks back on, the fill valve is the issue. Both can fail at the same time.
Where exactly should the water level sit in the tank?
Fluidmaster’s installation instructions specify the water level should be approximately 1/2″ below the top of the overflow pipe. The Critical Level (C.L.) mark on the fill valve itself must sit at least 1″ above the overflow pipe. This is a Universal Plumbing Code requirement that protects the drinking water supply from back-siphonage.
How long does a toilet fill valve last?
Korky’s installation guide states fill valves typically have a lifespan of 5 to 7 years, depending on water quality. Hard water carrying sediment can shorten that window. Fluidmaster’s maintenance guidance recommends replacing the water supply connector if it is worn or over 5 years old.
Should the supply line be replaced at the same time as the fill valve?
Yes. Fluidmaster’s installation instructions explicitly state to replace the water supply connector if it is worn or over 5 years old to prevent flooding and property damage. A fresh braided stainless line at the same time as the fill valve swap eliminates one of the most common callback sources.
How tight should the locknut be?
Hand-tight only. Fluidmaster’s installation instructions warn explicitly: do not overtighten or the tank or fill valve may crack, potentially causing flooding. Tighten the locknut by hand. If a leak persists at the shank after turning the water on, snug the nut just enough to stop it.
Why does the refill tube cause the toilet to keep running?
Inserting the refill tube down into the overflow pipe creates a siphon effect. Fluidmaster’s instructions warn specifically against this: the tube should be clipped so flow enters just above the overflow pipe opening, not submerged in it. A submerged tube causes the valve to turn on and off repeatedly as it tries to maintain the tank level.
Can a fill valve be cleaned instead of replaced?
In some cases. Fluidmaster’s maintenance guidance recommends once a year, or any time the fill valve won’t shut off, removing the cap assembly and using an inverted cup over the uncapped valve body to flush debris with full water pressure for 10 to 15 seconds, then repeating once. If the valve still doesn’t seat after cleaning, replace the diaphragm seal with a genuine Fluidmaster 242 seal. If issues continue after that, replace the valve.
Does the TOTO fill valve install differently than a standard valve?
The Korky 528GT uses a twist-lock height adjustment rather than a screw-style mechanism. Korky’s installation guide instructs extending the valve to full height first, then pressing the top down in the tank until the water level mark sits approximately 1/2″ below the top of the overflow tube. Twist clockwise to lock. No tools are required for the height adjustment. The mounting nut installs hand-tight only.
What’s the correct height setting for the fill valve?
For Fluidmaster models, the top of the fill valve cap should measure approximately 3″ above the top of the overflow pipe when installed. This automatically positions the Critical Level (C.L.) mark 1″ above the overflow pipe as required by the Universal Plumbing Code. For Korky models, the water level mark on the valve should sit 1/2″ below the top of the overflow tube after height adjustment.
Are in-tank bleach tablets safe to use with a new fill valve?
No. Fluidmaster’s installation instructions carry an explicit warning: do not use in-tank drop-in toilet bowl cleaners containing bleach or chlorine. Use of such products will result in damage to tank components, may cause flooding and property damage, and will void the Fluidmaster warranty. Fluidmaster’s Flush ‘n Sparkle bowl cleaning system is listed as a safe alternative because it delivers cleaner only to the bowl, keeping the solution away from tank components.
Ready for the Next Flush
A running toilet is almost always a fill valve problem, and a fill valve problem is almost always a 30-minute fix with the right part. Know the specs that matter: the C.L. mark sits 1″ above the overflow pipe, the water level sits 1/2″ below it, the locknut goes hand-tight only, and the refill tube clips above the overflow pipe, not inside it. Get those four things right and the callbacks from this service call go to zero. Stock a few fill valves on the truck alongside fresh supply lines and a TOTO-specific option for those jobs, and any toilet call closes in one visit.
Browse fill valves, the Fluidmaster PRO45K Complete Toilet Repair Kit, the Fluidmaster 400H PerforMAX Fill Valve, the Korky 528GT TOTO Fill Valve, and toilet supply connectors at SupplyHouse, with free shipping on orders over $99.