
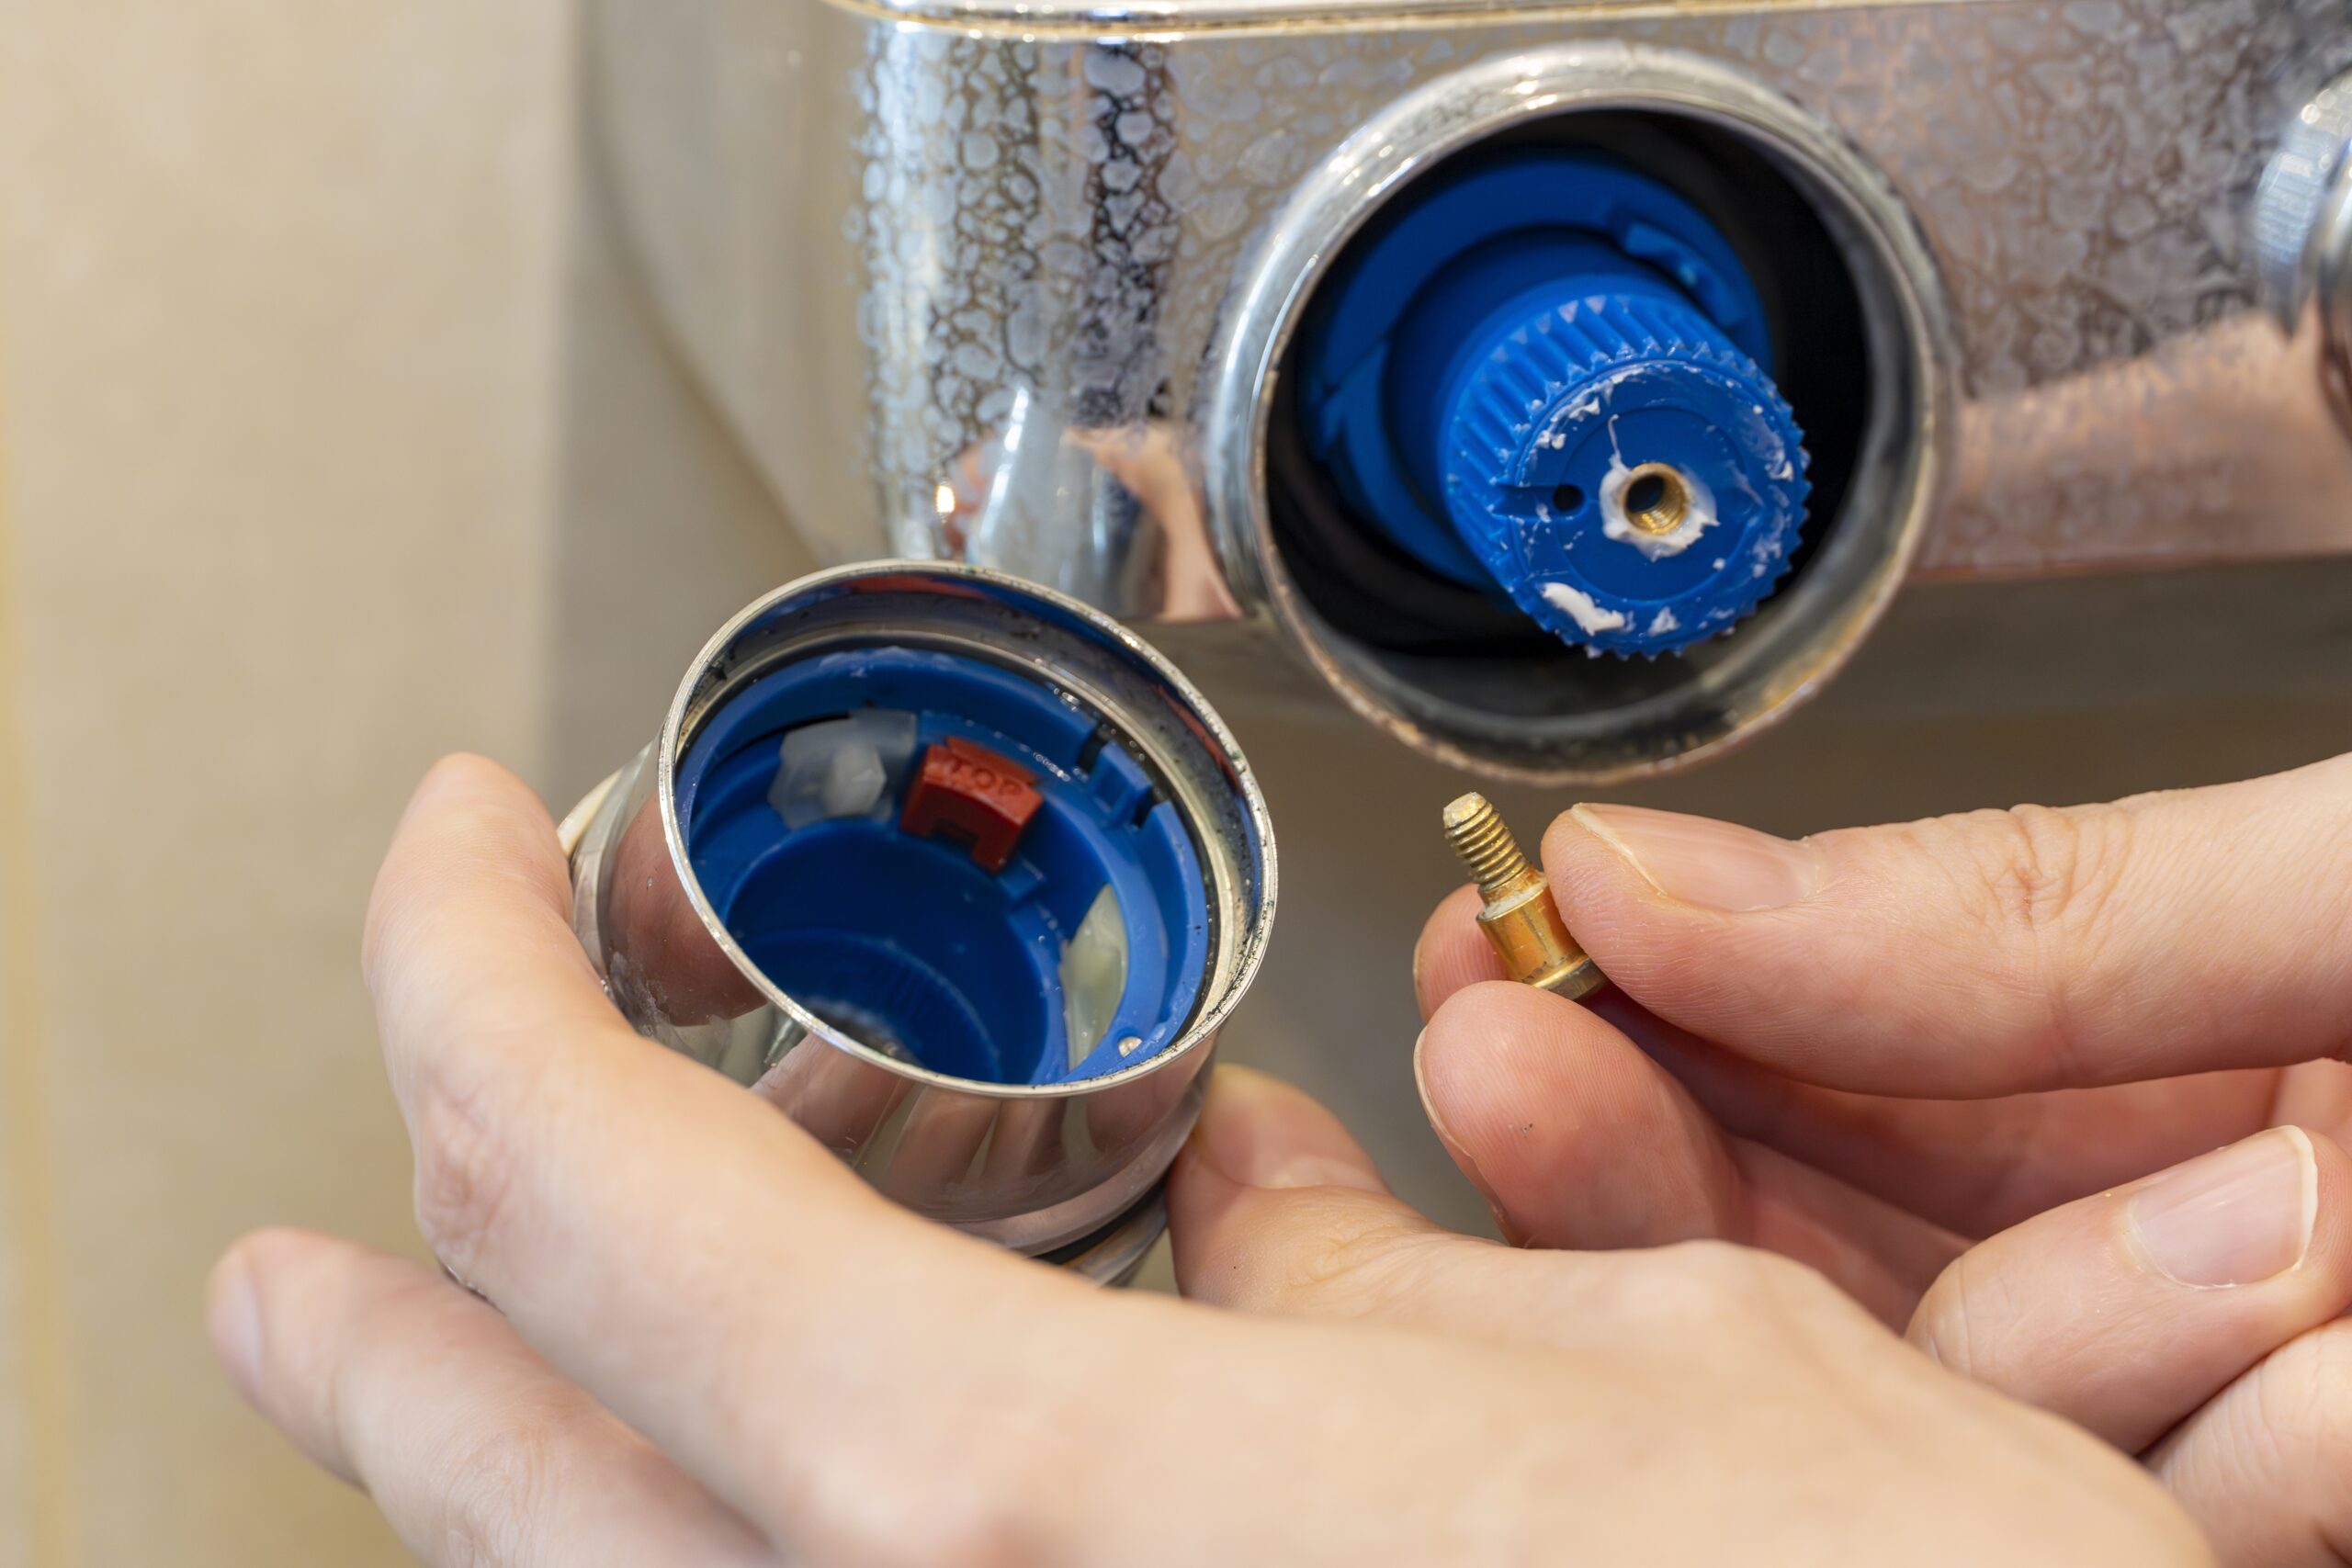
 A shower that drips after the handle is off, runs hot when it should run cold, or surges between scalding and freezing isn’t a comfort issue. It’s a cartridge issue. The cartridge is the workhorse inside the valve body, the removable insert that controls water flow, temperature mix, and pressure balance every time the handle moves. When it wears out, the whole shower tells you. The good news: the valve body stays in the wall. Only the cartridge comes out, and replacing it is a job that falls well within the skill set of any licensed plumber or experienced HVAC/plumbing tech, and, with the right part in hand, a capable DIYer.
A cartridge replacement done right takes about 30 to 60 minutes. Done wrong, with the wrong part or a backward installation, it creates a callback. This guide walks through every step, from reading the symptoms to verifying the fix, across all the major valve brands and cartridge types found in North American residential construction.
What a Shower Cartridge Actually Does
The shower valve body is the permanent brass fitting sweated or threaded into the wall. It doesn’t move, wear out, or get replaced during a standard repair. The cartridge is the removable internal component that fits inside it. Turn the handle and the cartridge rotates or slides to open internal ports, letting hot and cold water in, blending them to temperature, and directing flow to the showerhead or tub spout.
Most modern shower cartridges are ceramic or brass. They contain O-rings, seals, and internal passages that take a daily beating from water pressure, temperature swings, and mineral content. An average cartridge in a residential shower lasts 8 to 15 years depending on water quality and use frequency. Hard water shortens that window significantly, because calcium and magnesium deposits build up inside the cartridge passages and against the O-rings.
A cartridge is not the same as a valve body. A customer asking, “can I just replace the whole valve?” usually doesn’t need to. The valve body stays. The cartridge swaps. That distinction matters before ordering any parts.
Symptoms: When the Cartridge Is the Problem
Most cartridges don’t fail overnight. They give signals over time. Recognizing the pattern early prevents water damage and unnecessary callbacks.
|
Symptom |
Likely Cause |
Correct Action |
|
Constant drip when handle is off |
Worn O-rings or cartridge seals |
Replace cartridge |
|
Hot and cold reversed |
Cartridge installed 180° off | Re-orient cartridge; most have a marked “hot” side |
| Temperature swings midshower | Failing pressure-balance mechanism |
Replace pressure balancing cartridge; do not substitute a non-pressure balancing type |
|
Stiff or gritty handle |
Mineral buildup on cartridge body | Remove, soak in white vinegar, inspect; replace if worn |
| Low flow from showerhead only | Sediment clogging cartridge passages | Remove, flush, soak; replace if blocked passages persist |
| Leak behind the wall | Cracked cartridge body or failed O-rings |
Replace cartridge; inspect valve body for corrosion before reinstalling |
One symptom worth calling out: a persistent drip at the showerhead when the handle is fully off almost always means the cartridge seals have given up. A worn O-ring can’t hold back line pressure, so water finds its way through. Tightening the handle won’t fix it. The cartridge needs to come out.
Cartridge Types: Know What’s in the Wall Before Ordering
Cartridges are proprietary by brand and often by product series within a brand. A Moen Posi-Temp cartridge does not fit a Delta Monitor valve body. A pressure-balancing cartridge cannot be substituted with a standard single-handle cartridge without losing the anti-scald function, which in many jurisdictions is a code violation. Here are the four cartridge types encountered most commonly in residential showers:
|
Cartridge Type |
Where Found | Common Brands | Key Characteristic |
| Pressure- Balancing | Most common in U.S. homes; required by code since 1992 | Moen Posi-Temp, Kohler Rite-Temp, Delta Monitor 13/14 series |
Prevents scald when toilet flushes; limits temp fluctuation to ±3°F in well-designed valves |
|
Thermostatic |
Premium residential and commercial installs | Grohe Grohtherm, Kohler DTV+,
Symmons Temptrol |
Sets a fixed output temperature; cartridge senses actual water temp via wax or bimetallic element |
| Ceramic Disc | High-end fixtures; quarter-turn operation | Grohe, Hansgrohe, some American Standard models |
Two ceramic discs control flow; highly durable, long service life, less vulnerable to mineral wear |
|
Ball Valve |
Older Delta single handle designs | Delta single-handle ball valves (now mostly replaced by cartridge systems) |
Ball and seat system; repair kits often more practical than full cartridge replacement |
Pressure-balancing cartridges deserve special attention. ASSE 1016, the standard that governs shower valves in most U.S. building codes, requires pressure-balanced or thermostatic protection in new construction and renovation. When replacing a pressure balancing cartridge, always replace it with the same type. Installing a non-pressure balancing cartridge in a valve designed for one removes scald protection from the system.
How to Identify the Correct Replacement Cartridge
Getting the right cartridge before disassembly is non-negotiable. The wrong part means a second trip or a second service call.
Step 1: Identify the brand. Check the trim plate (escutcheon), the handle cap, and the back of the handle. Every major manufacturer marks their product. If the brand name isn’t visible on the trim, look for a logo: Moen’s name in raised letters, Delta’s triangular logo, the Kohler “K”. A professional-grade identification step: take the handle off and look for a model number stamped directly on the valve body inside the wall cavity.
Step 2: Find the valve series. Many brands use multiple cartridge types across their product lines. A Moen Posi-Temp shower valve takes a 1222 cartridge; a standard Moen single-handle faucet takes a 1225. They look similar and don’t interchange. When in doubt, remove the old cartridge first and bring it to the supply house, or cross-reference the model number against the manufacturer’s parts diagram.
Step 3: Use OEM when possible. Aftermarket cartridges from Kissler, Danco, and Brasscraft exist for most major brands and work in many applications. For callbacks sensitive work, an OEM cartridge built to the valve body’s exact tolerances is the lower risk choice. The dimensional fit is tighter, the O-rings are sized correctly, and the material spec matches what the manufacturer designed the valve body around.
|
Brand |
How to Identify | Common Cartridge (shower) | Notes |
| Moen | Name stamped on escutcheon or handle back; “Moen” in raised letters | Posi-Temp (1222) for single-handle pressure balancing; 1225 for another single handle; 1224 for two-handle |
Retaining clip at top of cartridge; cartridge puller recommended |
|
Delta |
Triangular logo on handle or trim plate | 13/14 Series (RP46074) for single-handle; R11000 for diverter rough-in | Seats and springs are separate wear parts; replace alongside cartridge on older valves |
| Kohler | “K” logo on escutcheon; often stamped inside handle | K-1372972 or KGP876851 for RiteTemp shower valves |
See our Kohler Faucet Repair guide for full Kohler-specific procedure |
|
American Standard |
Brand name on trim or handle back | 023529-0070A for Colony/Ceramix single-handle pressure-balance | 47mm ceramic disc cartridge; confirm series before ordering |
| Pfister | “Pfister” or “Price Pfister” on handle; butterfly logo | Identify by valve series; Kissler aftermarket options widely available |
Many Pfister valves use a bonnet nut to secure the cartridge |
|
Symmons |
“Symmons” stamped on valve body or escutcheon | Temptrol series: KN-113 (cold), KN114 (hot) |
Temptrol is a pressure-balancing design; parts are brand-specific |
Tools and Materials
Gather everything before shutting the water off. Searching for a cartridge puller with an open valve is an experience to avoid.
- Replacement cartridge matched to brand, valve series, and cartridge type (OEM preferred)
- Flathead and Phillips screwdrivers
- Allen wrench set (many handle set screws are hex-head)
- Adjustable wrench and needle-nose pliers
- Cartridge puller tool (brand-specific; Moen, Kohler, and Delta each make one, strongly recommended for stuck cartridges)
- Silicone plumber’s grease: critical for O-ring lubrication and seating; petroleum based grease degrades rubber seals and must not be used
- Bucket and towels for residual water when the cartridge is pulled
- Penetrating oil (PB Blaster or similar) for mineral-locked retaining clips or cartridges that haven’t moved in 10+ years
On silicone grease: it’s not optional. Every O-ring on the replacement cartridge needs a thin coat of silicone-based plumber’s grease before installation. Dry installation tears O-rings on the way in, creating an immediate leak. Silicone grease is safe for rubber, safe for potable water systems, and rated across a wide temperature range. Petroleum products (Vaseline, WD-40) are not substitutes. They attack rubber compounds and accelerate seal failure.
Step-by-Step: How to Replace a Shower Cartridge
Important: The steps below apply to most single-handle pressure-balancing shower valves, the most common residential configuration in North America. Two-handle valves and thermostatic valves follow the same general sequence but may have different retaining mechanisms and require brand-specific tooling. Always reference the manufacturer’s installation documentation for valves you haven’t serviced before.
- Shut off the water supply. Check for dedicated shutoff valves (service stops) on the hot and cold supply lines first. You can usually reach them through an access panel in an adjacent room or closet. If you don’t find any, check whether your valve body has built-in screwdriver stops. These are slotted screws on the sides of the valve body, usually visible once you remove the handle and trim plate. Some valves have them, like the Delta R10000-UNWS MultiChoice Valve Body with Screwdriver Stops, and others don’t, like the Delta R10000-UNBX MultiChoice Rough-In Valve Body. Use a flathead screwdriver to turn each stop to the closed position. Screwdriver stops can get rusty or seized over time. If one won’t turn with moderate pressure, don’t force it, because you can strip the slot or snap the stop. Shut off the main water supply to the house instead. If there are no service stops at all, also shut off the main. Once the water is off, open the shower handle to relieve pressure and confirm the water is fully off.
- Protect the drain. Stuff a rag in the shower drain. Small retaining clips, screws, and cartridge parts have a habit of disappearing the moment they’re freed. Cover the drain first.
- Remove the handle. Pry off the decorative index cap (the small cap at the center of the handle, usually marked H, C, or a temperature indicator) with a flathead screwdriver. Beneath it: the handle screw. Remove the screw and pull the handle straight off the stem. Some handles require a slight twist to release.
- Remove the escutcheon plate. The escutcheon is the decorative trim plate against the wall. On most valves, it unscrews counterclockwise. On some, it’s held by two screws at the outside edges. Set it aside carefully: it’s cosmetic and scratches easily.
- Note the cartridge orientation before touching anything. Look at the cartridge as it sits in the valve body. Most cartridges have a directional indicator: a tab, a ridge, a stamped “H” or “HOT” that must face toward the hot supply (typically the left side). Photograph it before removal. Installing a new cartridge in the wrong orientation reverses hot and cold output, or in a pressure-balancing valve, can compromise the anti-scald function.
- Remove the retaining clip or nut. Most cartridges are held in place by a horseshoe-shaped retaining clip at the top of the cartridge body. Use needle-nose pliers to pull it straight out. Some brands (Kohler, Grohe, Symmons) use a retaining nut instead of a clip. Unscrew it counterclockwise with an adjustable wrench or the manufacturer’s bonnet tool.
- Pull the cartridge. Grip the cartridge stem (the part the handle attached to) and pull straight out. On a recently installed or well-lubricated cartridge, it comes out smoothly. On a cartridge that’s been in place for a decade or more, expect resistance. Use a cartridge puller tool, a threaded puller that attaches to the cartridge stem and provides mechanical advantage without stressing the valve body. Rocking the cartridge slightly side to side while pulling helps break mineral bonds. Penetrating oil applied 10 minutes before removal speeds things up considerably.
- Inspect the valve body. Before installing the new cartridge, look inside the valve body with a flashlight. Check the seating surface for corrosion, pitting, or scale buildup. Light scale can be scrubbed with a soft brush and white vinegar. Heavy corrosion or physical damage to the valve body seats typically means the valve body needs replacement; a bigger job that the cartridge swap alone won’t fix.
- Prepare and install the new cartridge. Coat all O-rings on the new cartridge with silicone plumber’s grease. Confirm the orientation matches what was photographed in Step 5, hot side marking facing the hot supply. Slide the cartridge straight into the valve body. It should seat fully with firm hand pressure. Never force it with a hammer or heavy tool. If it won’t seat, check the orientation and ensure no O-ring is rolled or pinched.
- Reinstall the retaining clip or nut. Press the retaining clip back into its slot (it should snap home), or thread the retaining nut clockwise by hand and snug to a quarter-turn beyond hand-tight. Don’t overtighten.
- Reinstall the escutcheon and handle. Reverse the disassembly order. Reinstall the handle, thread in the handle screw, and snap the index cap back on.
- Restore water supply and test. Turn the service stops or main supply back on slowly. Run the shower through its full temperature range. Verify no dripping when the handle is off. In a pressure-balancing valve, confirm temperature holds steady when another fixture runs simultaneously. Flush a toilet, run a sink faucet. Check for leaks at the handle base and at the escutcheon seal for several minutes before considering the job complete.
Common Mistakes and How to Avoid Them
- Wrong cartridge ordered. Verify brand AND series before purchasing. A Moen 1222 (Posi-Temp, pressure-balancing) and a Moen 1225 (standard single-handed) are both Moen cartridges and are not interchangeable.
- Cartridge installed backward. Every major cartridge has an orientation indicator. Missing it produces reversed temperatures or a non-functional antiscald mechanism. If temperatures feel wrong after installation, the cartridge is almost certainly 180° off. Pull it, rotate, reinstall.
- Petroleum-based lubricant on O-rings. Vaseline, WD-40, and similar products degrade rubber. Silicone-based plumber’s grease is the only acceptable option for O-ring lubrication in a potable water valve.
- Forcing a stuck cartridge. Brute force on a stuck cartridge risks cracking the valve body, which turns a cartridge replacement into a full valve replacement and a tile demolition job. Use a cartridge puller, penetrating oil, and patience.
- Skipping the valve body inspection. Installing a new cartridge in a corroded valve body produces an immediate re-callback. Inspect the seats every time.
- Not covering the drain. A retaining clip in the drain trap retrieval process is an exercise in frustration. Cover the drain before the first screw comes out.
When the Cartridge Isn’t the Problem
Not every shower problem traces back to the cartridge. A few scenarios where the cartridge swap won’t resolve the complaint:
- Low flow from showerhead, not shower-specific. If other fixtures in the house have the same pressure issue, the problem is upstream: pressure regulator, supply valve, or water main. The cartridge controls per-fixture flow but can’t increase pressure that isn’t there.
- Leaks from the showerhead arm, not the valve. A dripping showerhead connection is a thread seal or showerhead issue, not a cartridge issue.
- Temperature control impossible despite a new cartridge. Some thermostatic valves have a separate temperature limit stop adjustment that controls maximum hot output. If the limit stop is set wrong, temperature complaints persist regardless of cartridge condition. Check the limit stop before ordering parts.
- Cracked valve body. A valve body that’s corroded through, physically cracked, or has damaged seating surfaces needs full valve replacement. Cartridge swaps don’t fix structural damage.
Maintaining Cartridge Life
A cartridge replacement is a good moment to talk through practices that extend the next cartridge’s service life:
- Whole-house water softeners or scale inhibitors reduce mineral accumulation on cartridge internals. In hard water areas, they can nearly double cartridge service life.
- Avoid gripping the shower handle with excessive force. Cartridge stems wear faster when handles are cranked rather than turned. A handle that requires force to move is already signaling cartridge wear.
- Occasional vinegar soaks (remove cartridge, soak in white vinegar for 2 to 4 hours, rinse and reinstall) can clear light scale before it progresses to a seal damaging level. Worth doing at the first sign of stiffness in the handle.
- When doing any remodel work that involves tile or grout, cap the valve body before starting. Construction debris in the valve body damages the cartridge seating surface and can destroy a brand-new cartridge within weeks.
Frequently Asked Questions
What’s the difference between a shower cartridge and a shower valve?
The shower valve is the permanent brass body fitted into the wall during rough-in. The cartridge is the removable insert that goes inside the valve body and controls water flow and temperature. Cartridges wear out and get replaced. Valve bodies generally stay in place for the life of the installation.
Can a cartridge be the same across different brands?
No. Cartridges are brand-specific and often series-specific within a brand. A Moen PosiTemp 1222 cartridge doesn’t fit a Kohler Rite-Temp valve body. Always identify the brand and series before ordering a replacement.
How long does a shower cartridge replacement take?
With the correct cartridge on hand and no complications (stuck cartridge, corroded valve body, no service stops), a replacement takes 30 to 60 minutes for an experienced plumber. Add time for penetrating oil soak if the cartridge is mineral-locked, and allow for disassembly order verification on unfamiliar valve brands.
What happens if the cartridge is installed backward?
Hot and cold output reverses. Turning the handle toward “hot” produces cold water and vice versa. In a pressure-balancing valve, incorrect orientation can also disable or degrade the anti-scald function. If temperatures feel wrong after installation, re-orient the cartridge 180° before any other troubleshooting.
Is there a universal shower cartridge that works in any valve?
No. Universal-fit cartridges don’t exist for shower valves. Valve body dimensions, port locations, stem configurations, and retaining mechanisms vary significantly between manufacturers and product lines. Always match the replacement to the specific brand and series.
Can mineral deposits cause a cartridge to fail?
Yes, and it’s one of the most common causes of premature cartridge failure in hard water areas. Calcium and magnesium deposits accumulate on the cartridge body and inside the internal passages, creating friction against the seals and partially blocking flow. A vinegar soak can address minor scale. Once the O-rings are cracked or the passages are significantly blocked, replacement is more reliable than cleaning.
Should the O-rings on a new cartridge be greased?
Always. All O-rings on the replacement cartridge need a light coat of silicone-based plumber’s grease before installation. Silicone grease protects the rubber from tearing on insertion, ensures a proper seal, and extends seal life. Petroleum-based lubricants (Vaseline, WD-40, general-purpose grease) degrade rubber and must not be used.
Is a cartridge replacement code-compliant if the valve is a pressure-balancing type?
It is, provided the replacement cartridge is the same type. ASSE 1016 requires pressure-balanced or thermostatic protection in new shower installations and renovations in most U.S. jurisdictions. Replacing a pressure-balancing cartridge with a non-pressure-balancing type removes that protection and may not be code-compliant. Always replace like-for-like.
What if the cartridge puller won’t seat properly?
Check that the puller is matched to the correct brand. Moen, Kohler, and Delta each produce brand-specific pullers designed to engage the cartridge stem correctly. A universal puller works in many cases but may not seat cleanly on all designs. If the cartridge won’t release after applying mechanical force with the puller and penetrating oil, the valve body may have corroded around the cartridge, which warrants a closer assessment of whether valve body replacement is the more practical path.
How do I know when to replace the whole valve instead of just the cartridge?
Replace the valve body when: the seating surfaces inside the body are heavily corroded or physically damaged; the valve body is cracked; repair parts for the brand or series are no longer available; or the valve has no service stops and access requires cutting water to the whole house on repeated service calls. A cartridge replacement is always the first path to try. Valve body replacement is a much larger job involving tile work and rough-in.
The Fix Is Usually Just the Cartridge
A dripping shower, reversed temperatures, and pressure swings all point to the same place: the cartridge. It’s a 30-minute fix when the right part is on the truck. The valve body stays in the wall. The cartridge comes out, the replacement goes in, and the shower works again. The most common mistakes, wrong cartridge ordered, wrong orientation on reinstall, petroleum grease on rubber, are all avoidable with preparation. Know the brand and the series before disassembly. Photograph the cartridge orientation before pulling it. Use silicone grease on every O-ring. Cover the drain.
Working on a Kohler valve? The Kohler Faucet Repair guide covers Rite-Temp and diverter cartridges in full brand-specific detail.
Shop the full Tub & Shower Cartridges catalog at SupplyHouse, covering Moen, Delta, Kohler, American Standard, Grohe, Symmons, and more, with fast shipping to get the job closed the same day.