
Sediment is the quiet enemy of a water heater. Mineral deposits, primarily calcium and magnesium drawn from the water supply, settle at the bottom of a tank over time. On a gas unit, that layer sits between the burner and the water, forcing longer heating cycles and slower recovery. On an electric unit, it buries the lower heating element and can burn it out. On a tankless unit, scale coats the heat exchanger walls and restricts water flow. Left unaddressed, it leads to premature component failure. The fix is a flush. For a tank heater, that means draining out the accumulated sediment. For a tankless, it means circulating a descaling solution through the heat exchanger. Both procedures take under two hours, require basic tools, and protect a significant investment. Here is how to do both correctly.
Why Flushing Matters
Tank water heaters accumulate sediment in proportion to the mineral content of the local water supply. Harder water deposits more calcium carbonate per heating cycle. Over time, the buildup forms an insulating layer across the bottom of the tank. On a gas heater, that insulation sits between the burner and the water, driving up run time and operating costs. On an electric heater, sediment buries the lower element, causing it to overheat. Manufacturers including A.O. Smith describe this as producing slower recovery, less available hot water, and higher operating costs. The longer a flush is deferred, the worse those outcomes become.
Tankless units face a different version of the same problem. There is no sediment to pile up, but mineral scale coats the internal passages of the heat exchanger. Major tankless manufacturers document that mineral deposits on the heat exchanger reduce efficiency, restrict water flow, lower overall performance, and can cause premature failure if maintenance is neglected. Bradford White similarly identifies scale accumulation as reducing performance and efficiency in tankless heat exchangers.
Annual flushing is the recommended interval for most residential installations. Hard-water areas may require more frequent service. The point at which a flush is overdue is usually obvious: rumbling or popping noises from a tank heater, longer wait times for hot water, or fluctuating output from a tankless unit. On tankless systems specifically, error codes triggered by scale interference with the flow sensor or heat exchanger are another reliable indicator.
| Symptom | Likely Cause | Recommended Action |
| Rumbling, popping, or banging from tank | Sediment layer trapping water beneath it; steam bursts through as heater fires | Full tank flush |
| Slower recovery, less hot water than expected | Sediment insulating burner or element from tank water | Full tank flush; inspect lower element on electric units |
| Fluctuating output or error codes on tankless unit | Scale restricting heat exchanger flow or interfering with flow sensor | Descale flush |
| Discolored or gritty hot water | Disturbed sediment from temperature swing or demand spike | Flush tank; inspect anode rod |
| Drain valve will not fully close after opening | Sediment lodged in valve seat; worn original valve | Replace drain valve; complete flush |
Tools and Materials
Gathering everything before shutting off the gas or flipping the breaker prevents a mid-drain supply run. Hot water will flow through the drain hose, so set up the drain path before opening any valves.
For a Tank Water Heater
- Garden hose, long enough to reach a floor drain or exterior discharge point
- Replacement drain valve if the existing one shows wear or is the original plastic fitting (Boiler Drains at SupplyHouse)
- Bucket for initial discharge water, which often runs discolored
- Eye protection
For a Tankless Water Heater
- Submersible pump (small utility pump or a dedicated flush kit pump)
- Two washing-machine hoses or equivalent flexible hose with 3/4″ garden hose fittings
- Five-gallon bucket
- 4 gallons of undiluted white food-grade vinegar (Rinnai’s published flush procedure specifies this amount and type)
- Isolation service valves with purge ports, if not already installed (Plumbing Valves at SupplyHouse)
- Eye protection and gloves
How to Flush a Tank Water Heater
The full procedure takes 30 to 60 minutes on a maintained heater. A tank that has never been serviced may require additional cold-flush cycles to run clear.
Step-by-Step: Tank Flush
- Shut off the heating source. For gas heaters, turn the gas valve to the Pilot position. For electric heaters, turn off the circuit breaker feeding the unit. Running the burner or energizing elements against an empty or low tank causes immediate equipment damage. Cut the heat source before any water moves.
- Close the cold water supply valve on the inlet line above the heater.
- Open a hot water faucet anywhere in the house and leave it open for the entire procedure. This breaks the vacuum inside the tank and allows water to drain freely. Without it, flow from the drain valve will be slow or stop entirely.
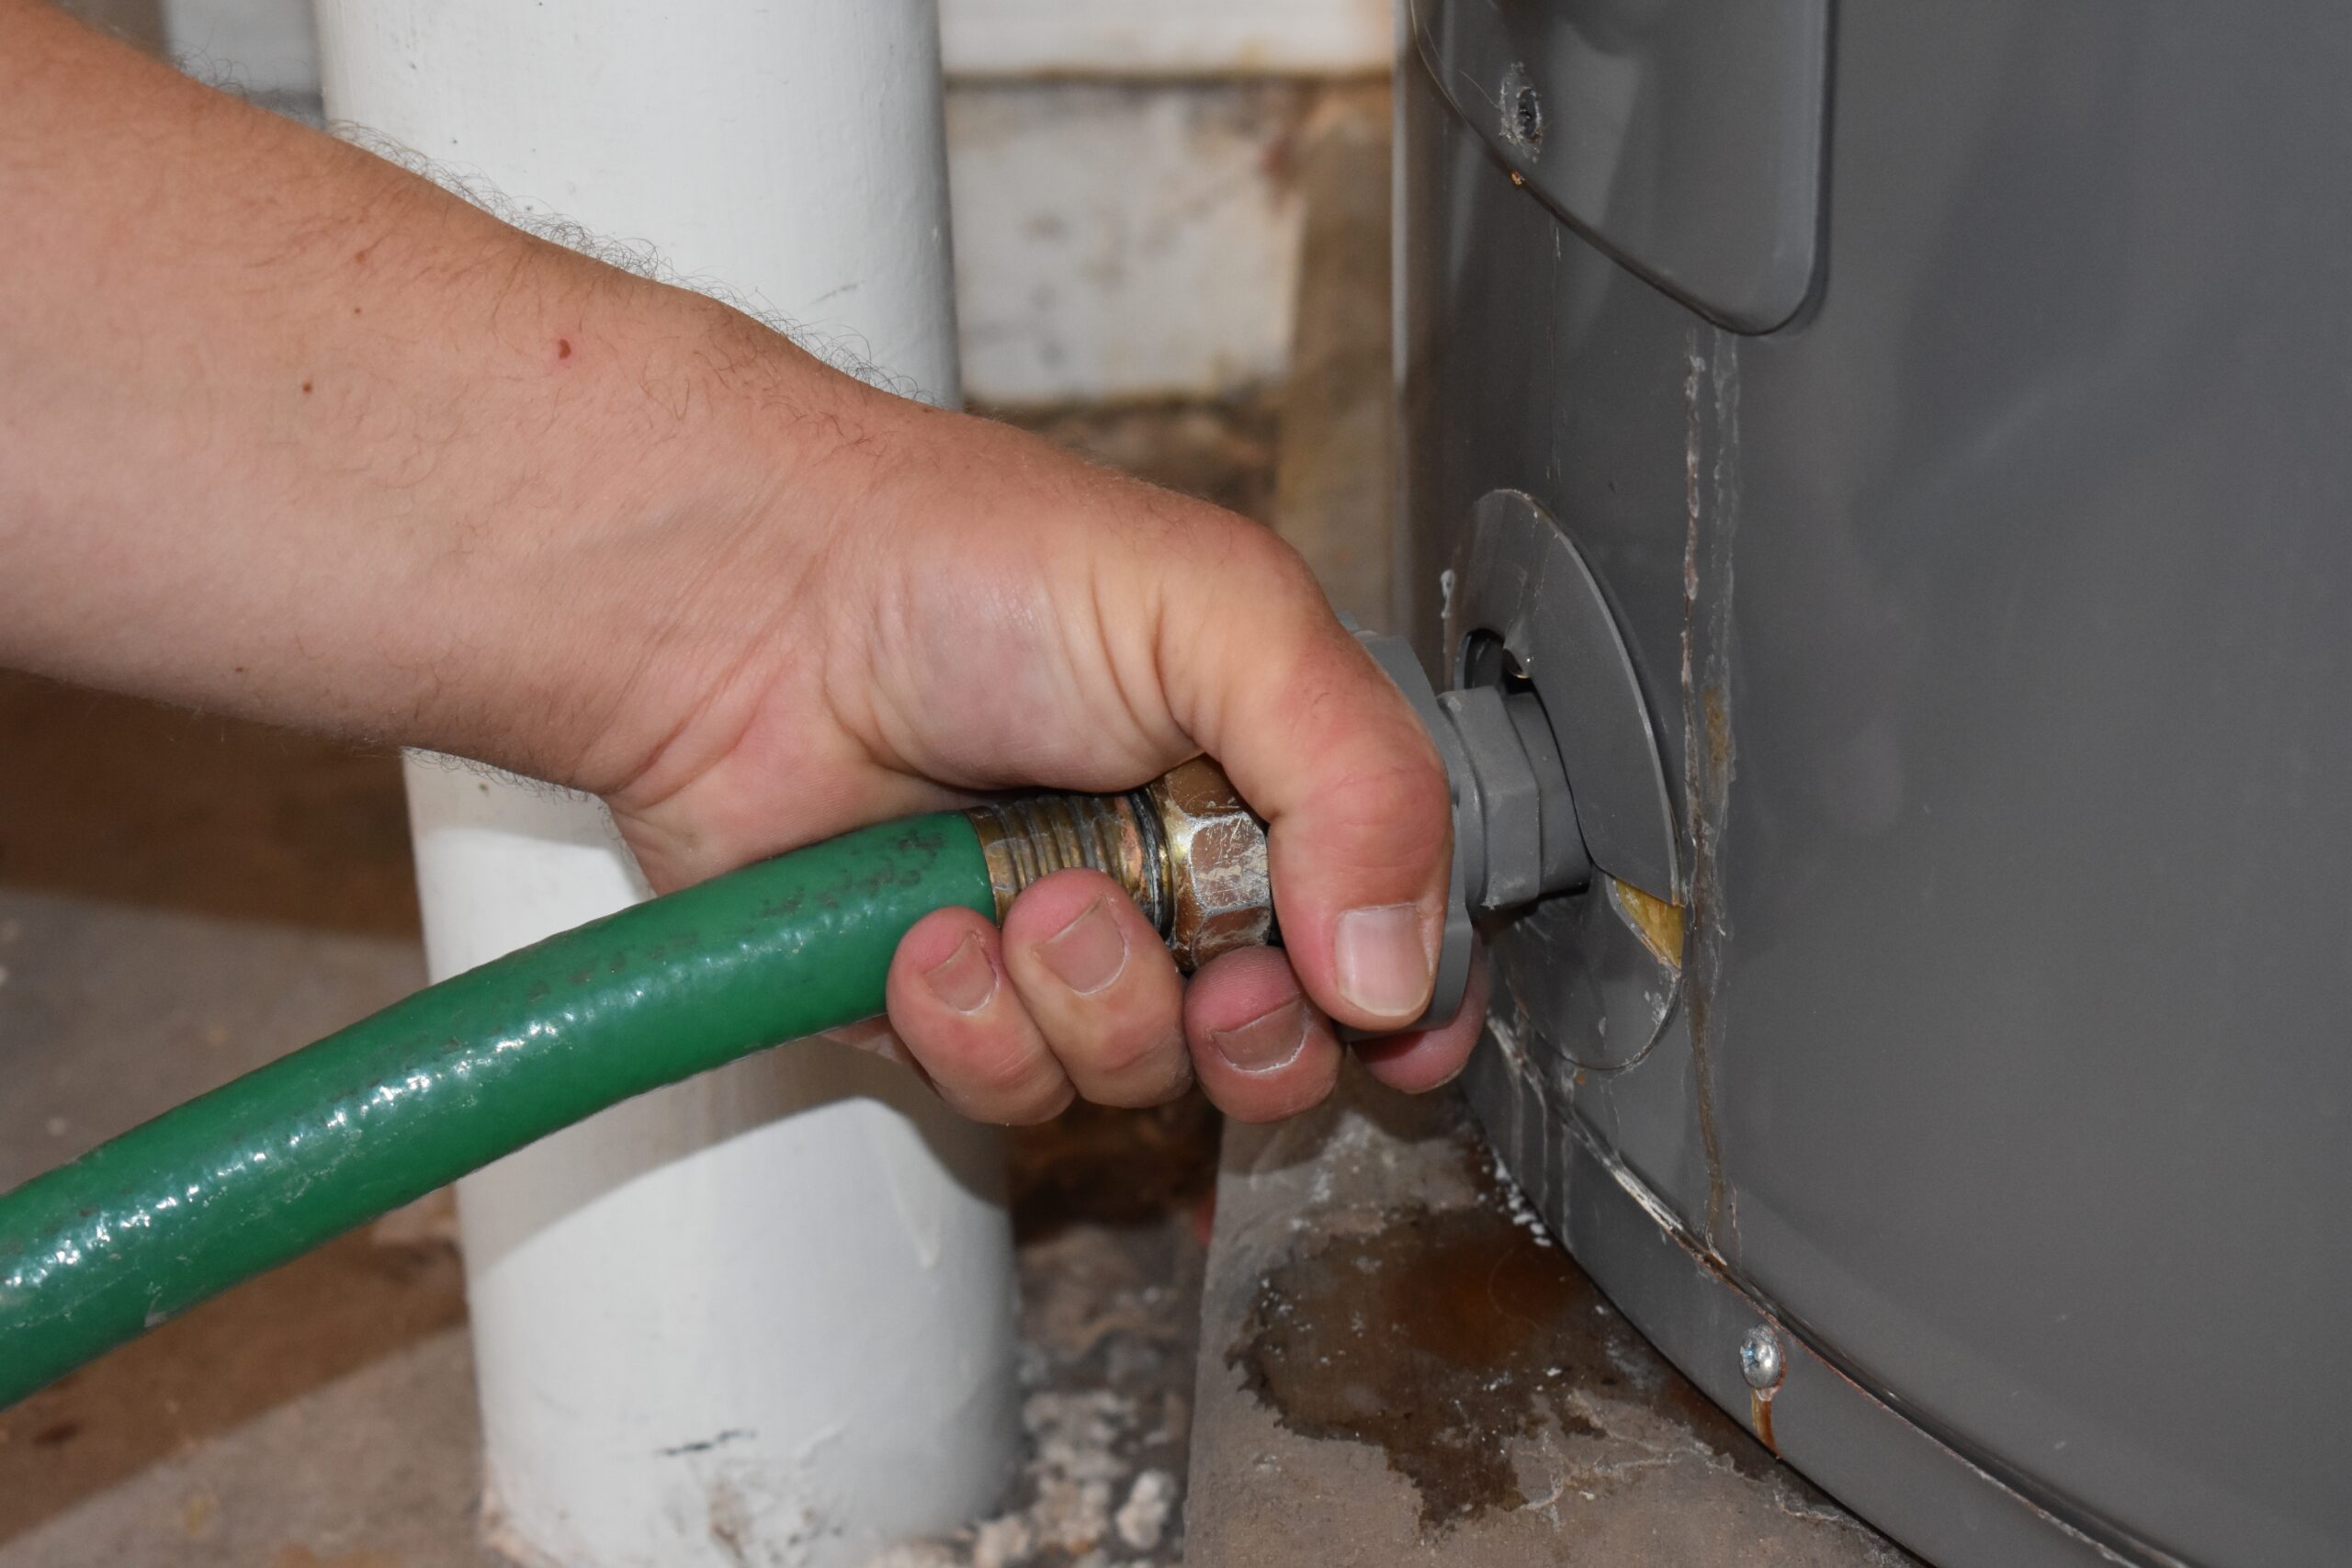
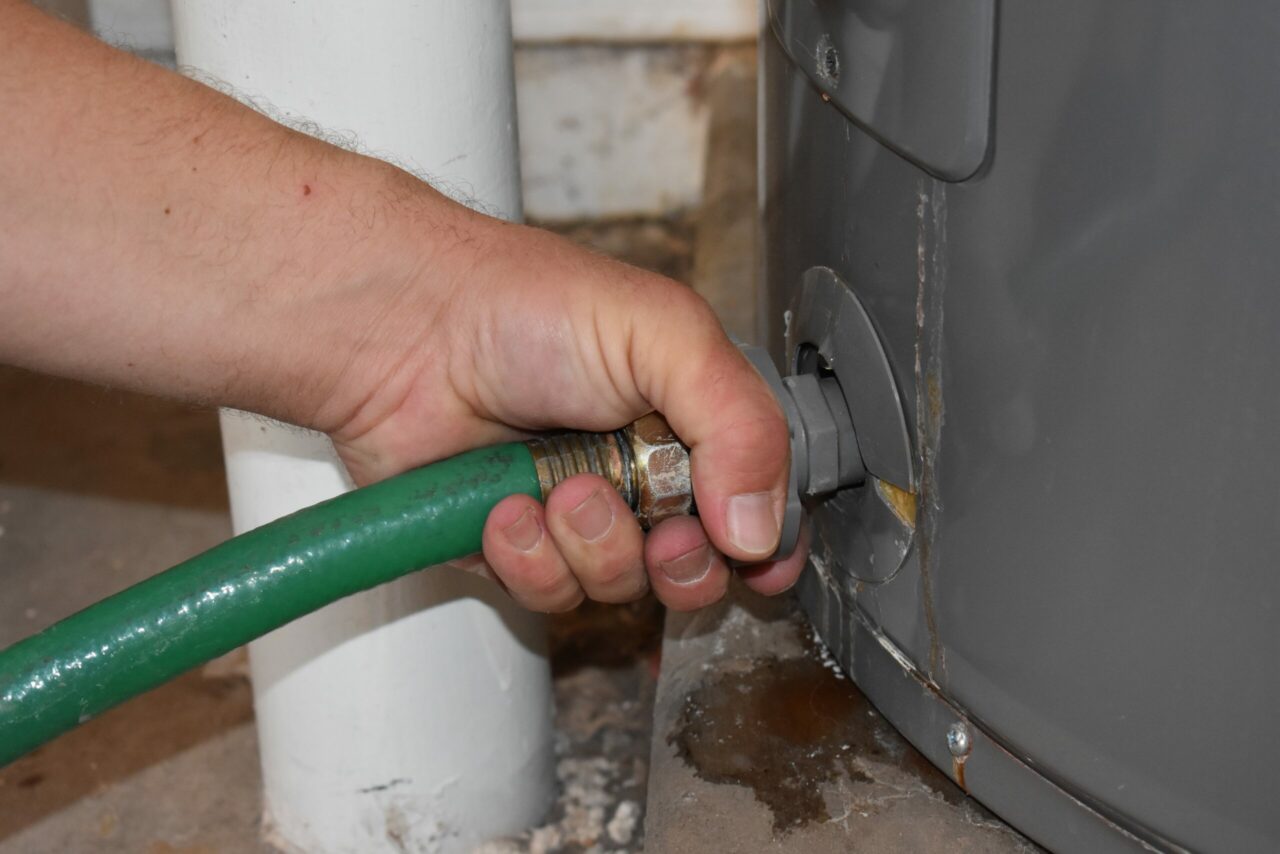
- Connect a garden hose to the drain valve at the tank base. Route the hose to a floor drain, utility sink, or exterior location clear of plants and foot traffic. The water coming out will be hot.
- Open the drain valve. Initial flow is often brown or rust-colored from disturbed sediment. That is expected and normal. Allow the tank to drain completely, which takes 10 to 20 minutes for most residential tanks.
- With the drain valve still open, briefly restore cold water supply. Allow cold water to run through the tank for two to three minutes. The objective is clear water flowing from the hose. If the discharge is still heavily cloudy after five minutes of running cold water, close the supply, allow sediment to resettle, and repeat the drain.
- Once the discharge water runs clear, close the drain valve. Remove the hose.
- Restore cold water supply fully and allow the tank to refill. Keep the hot water faucet open upstairs until water flows in a steady, air-free stream. This purges all air from the tank. On electric heaters specifically, both elements must be fully submerged before power is restored. Energizing an element against trapped air destroys it.
- Restore heat. For gas heaters, return the valve from Pilot to the operating position and relight per the manufacturer’s instructions on the unit. For electric heaters, flip the breaker back on.
PRO TIP: Original plastic drain valves on tank water heaters frequently fail to re-seat cleanly after the first use. If the valve drips after closing, replace it before the next flush. A brass quarter-turn replacement installs in the same 3/4″ port in under 20 minutes and prevents slow water damage between service intervals.
How to Flush a Tankless Water Heater
Tankless units do not store water, so the maintenance task is descaling rather than sediment removal. The goal is circulating an acidic solution through the heat exchanger to dissolve mineral scale before it restricts flow or triggers fault codes. Major tankless manufacturers including Rinnai and Bradford White identify this as required annual maintenance, with increased frequency in hard-water areas.
This procedure requires isolation service valves with purge ports on the cold inlet and hot outlet lines. Most modern installations include them, but if a unit was installed without them, they need to be retrofitted before the first descale. Attempting to descale without proper isolation valves means shutting off building water supply for the entire procedure and eliminates the ability to flush cleanly.
Step-by-Step: Tankless Descale Flush
- Shut off power or gas to the unit. Tankless water heater manufacturers specify that the unit must not fire during the descaling process. Shut off at the breaker for electric units; close the gas supply valve for gas units.
- Close the cold water inlet isolation valve and the hot water outlet isolation valve. Both must be closed before hoses are connected to the purge ports.
- Connect hoses to the service purge ports. Route one hose from the pump outlet to the cold water service port. Route a second hose from the hot water service port back into the bucket. The pump pulls from the bucket, circulates solution through the heat exchanger, and returns it to the same bucket, creating a closed loop.
- Fill the five-gallon bucket with 4 gallons of undiluted white food-grade vinegar. Rinnai’s published flush procedure specifies undiluted white vinegar only and explicitly states never to use chemical cleaning solutions, as these can be harmful given that the water flowing through the unit is used for drinking and bathing. Citric acid-based commercial descalers formulated for water heaters are an accepted alternative. Check the specific unit’s manual before selecting a descaling agent.
- Open the service purge port valves. Start the pump. Circulate the solution through the heat exchanger for 45 to 60 minutes. As the solution passes through, it will often cloud or discolor as it dissolves mineral deposits. That is the process working correctly.
- After the circulation cycle, shut off the pump. Discard the used solution. Refill the bucket with clean water and circulate for a minimum of 10 minutes. Major tankless manufacturers specify at least 10 minutes of clean-water flushing after descaling. Run a second clean-water cycle if any vinegar odor persists.
- Close the service purge ports. Disconnect and remove all hoses. Reinstall purge port caps.
- Restore the cold inlet and hot outlet isolation valves to the open position. Restore power or gas to the unit.
- Open a hot water faucet downstream and run briefly to purge any remaining air. Check for error codes on the unit’s display. Most units will resume normal operation immediately. Any codes that persist after purging warrant a check of the manufacturer’s manual for post-service reset instructions.
PRO TIP: Tankless water heater manufacturers note that failure to perform regular descaling as described in the owner’s manual may void the manufacturer’s limited warranty. Rinnai similarly ties warranty coverage to proper maintenance. Keeping a service record, including date, solution used, and duration, protects warranty claims and establishes a maintenance history.
Flush Frequency by Water Hardness
Both A.O. Smith and major tankless manufacturers state that flush and descale frequency should increase with water hardness. The table below reflects the guidance common across major manufacturers, paired with the standard water hardness classification scale.
| Water Hardness | GPG | Tank Flush Interval | Tankless Descale Interval |
| Soft | < 3.5 | Every 2 to 3 years | Every 2 to 3 years |
| Moderately hard | 3.5 to 7 | Annually | Annually |
| Hard | 7 to 10.5 | Annually, consider twice yearly | Every 6 to 12 months |
| Very hard | > 10.5 | Every 6 months | Every 3 to 6 months |
Annual service is the right default when local water hardness is unknown. Homes with water softeners still benefit from periodic flushing. Softened water reduces calcium scale formation but does not eliminate mineral accumulation entirely, and it can accelerate anode rod depletion in tank heaters. That is another reason the two maintenance tasks are best paired on the same service visit.
When to Replace the Drain Valve
Factory-installed drain valves on residential tank heaters are frequently low-cost plastic fittings. They function adequately when new but can fail to re-seat cleanly after the first time they are opened, particularly on older tanks where mineral buildup has accumulated around the valve body.
If the valve drips from the handle or body after closing, or will not turn at all due to mineral encrustation, replace it before returning the tank to service. A lead-free brass quarter-turn boiler drain installs in the same 3/4″ hose thread opening. Thread in the replacement with PTFE tape, tighten firmly without over-torquing, restore supply, and check for drips. SupplyHouse carries a full selection of boiler drain valves, including lead-free options for potable water applications.
Pairing a Flush with Anode Rod Service
A flush is the natural time to inspect the anode rod. The tank is already partially drained and the system is already offline. Most manufacturers recommend inspecting the anode rod every two years. A rod worn down to the steel core wire needs replacement before the next heating cycle. Full replacement instructions are covered in the SupplyHouse Real Talk guide How to Replace an Anode Rod. For tanks in tight spaces with limited overhead clearance, segmented flexible rods solve the removal problem without moving the unit. See Blue Lightning Flexible Anode Rods: The Right Fix for a Tight Space for installation specifics.
Shop anode rods at SupplyHouse: Anode Rods | Flexible Anode Rods
Troubleshooting Common Issues
Drain valve leaks after flushing
The most common cause on older tanks is an original plastic valve that never fully re-seats after first use. Tightening rarely solves this. Replace the valve. A slow drip from a drain valve in a finished mechanical space will cause floor damage long before most homeowners notice it.
Tank will not drain through the valve
Heavy compacted sediment on tanks that have never been serviced can block the drain port opening. Opening the cold supply briefly while the drain is open agitates the sediment and often restores flow. If that fails, a wet-dry vacuum connected to the drain port can pull material out mechanically. For a completely impacted tank, a licensed plumber with the right equipment is the appropriate call.
Water remains discolored after multiple flush cycles
Persistent discoloration after three or four flush-and-refill cycles usually indicates a depleted anode rod allowing active tank corrosion, not just surface sediment. Inspect the rod. A bare steel core wire with little or no sacrificial material remaining means the rod has been depleted and must be replaced. Discoloration visible at the drain port with a rust-brown tint and metallic smell points to internal corrosion that warrants a closer look at the tank condition.
Tankless unit shows error code after descale
Most codes following a descale procedure are service isolation codes rather than component failures. Consult the model’s owner’s manual for the specific code definition and the reset procedure. Codes related to temperature, flow rate, or gas pressure that persist after completing the reset procedure suggest a sensor issue or underlying component problem requiring a manufacturer service call.
No service ports on tankless unit
Retrofitting isolation valves with purge ports is a one-time install done while the building water supply is shut off. Once in place, every future descale takes under two hours instead of a much longer workaround. Plumbing Valves at SupplyHouse carries compatible hardware for most installation configurations.
FAQs
How often should a tank water heater be flushed?
Most manufacturers, including A.O. Smith, recommend flushing at least once a year. In areas with hard water, more frequent service may be needed. When local water hardness is unknown, annual is the right default.
Can flushing a water heater that has never been flushed cause problems?
Disturbing years of compacted sediment can clog the drain valve as it tries to exit. More commonly, an original plastic drain valve that has never been opened will fail to re-seat cleanly afterward. Having a replacement valve on hand before attempting a first flush on a long-neglected tank is good practice.
Why does flushing improve water heater performance?
Sediment buildup acts as an insulating layer between the burner and the water in a gas tank, and buries heating elements in electric tanks. A.O. Smith’s published service documentation describes this as causing slower recovery, less available hot water, and higher operating costs. Removing the sediment restores the direct contact between the heat source and the water.
Can white vinegar damage a tankless water heater?
White vinegar is in fact the solution Rinnai specifies in its published flush procedure: 4 gallons of undiluted white vinegar. Rinnai explicitly instructs against using chemical cleaning solutions. Citric acid-based descalers formulated for water heaters are also widely accepted. Always verify against the specific unit’s manual before selecting a descaling agent.
What if the drain valve on a tank heater will not open?
Mineral encrustation around the stem is the usual cause. Channel-lock pliers applied carefully to the handle often break it free. If the handle strips or the valve body cracks under pressure, the valve has failed and must be replaced before the tank can be drained. Do not attempt to drain through the T&P valve port, as this can damage or dislodge that valve.
Do tankless water heaters need service more often than tank heaters?
In hard-water areas, yes. Heat exchanger passages in tankless units are narrower than tank interiors, and scale causes disproportionate flow restriction. Major tankless manufacturers including Rinnai recommend annual descaling as the standard, with increased frequency in higher-hardness water. Annual flushing covers most tank installations in the same conditions.
How long does the full procedure take?
A tank flush on a maintained heater takes 30 to 45 minutes. First-time flushes on neglected tanks may take 60 to 90 minutes if multiple cold-flush cycles are needed. A tankless descale, including setup, 45 to 60 minutes of circulation, and rinse cycles, runs 90 minutes to two hours total.
Does the anode rod need to be replaced every time the tank is flushed?
Inspection is needed at every flush; replacement is not always required. A rod with more than half its material intact can typically continue to another service interval. A rod worn to within a fraction of the steel core, covered in heavy calcium scale, or missing sections should be replaced at that visit.
Is it safe to flush a water heater without shutting off power or gas first?
No. Electric heating elements energized against air will burn out immediately. Gas burners that cycle against a draining tank can overheat the flue and thermal cutoff. Always cut power or gas before opening the drain valve, and always confirm the tank is completely refilled before restoring heat.
What is the difference between a maintenance flush and a full drain?
A maintenance flush drains to clear sediment, then restores the tank to service. A full drain removes all water from the system, typically for a repair or replacement, and also involves disconnecting supply, discharge, and fuel connections. The procedure in this guide covers routine maintenance flushing only.
Flush Away the Buildup
Sediment and scale build up one heating cycle at a time. By the time the tank is rumbling, recovery has slowed, or the tankless unit is throwing error codes, the problem has already been running for a while. Annual flushing, tank or tankless, keeps those issues from reaching that point. The tools are basic, the time investment is modest, and the alternative is a shortened equipment life or an early replacement. Shop residential water heaters, tankless water heaters, boiler drains, and anode rods at SupplyHouse. For full installation guidance, see How to Install a Water Heater Correctly on the SupplyHouse Real Talk blog.