
Spring start-up can be quiet and predictable. Or it can start with a drip behind the siding and a sprinkler geyser near the driveway.
Most failures trace back to one mistake: bringing water back too fast.
A controlled start-up prevents split pipes, cracked fittings, and backflow leaks. Both tradespeople and serious DIYers can run the full process in under an hour on a typical home. Larger irrigation systems take longer, but the sequence stays the same.
Quick Summary: Spring De-Winterization Checklist
Outdoor Faucets
- Remove covers, hoses, timers, and splitters
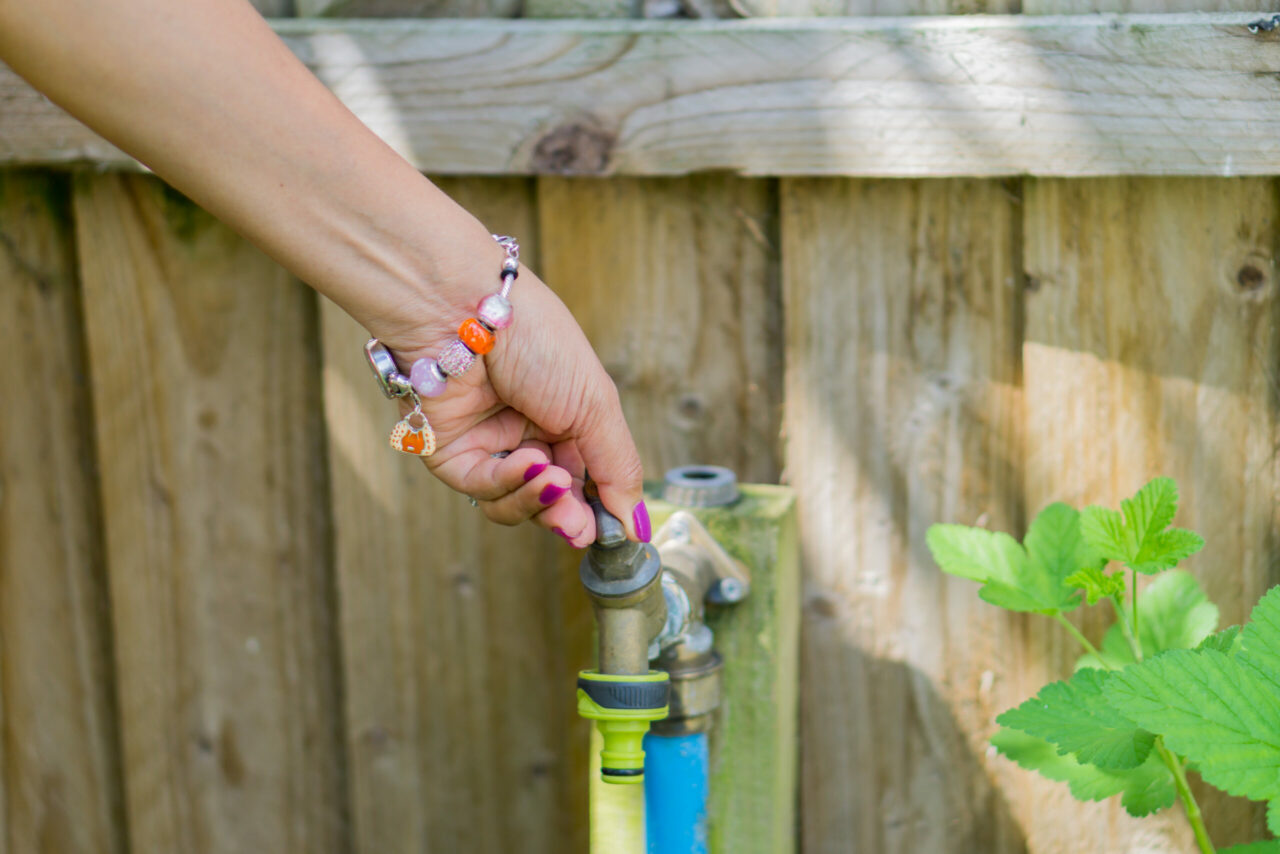
- Open the interior shutoff slowly
- Open the faucet and inspect three leak points
- Replace a leaking vacuum breaker if needed
Irrigation Systems
- Return all valves and test cocks to operating position
- Open the irrigation main valve slowly
- Inspect the backflow device first
- Run every zone and correct leaks or pressure issues
- Reset the controller schedule for spring
Follow the order. Speed is what causes damage.
When to De-Winterize by Region
Turning water on too early can lead to re-freeze damage.
Use a simple rule across the U.S.:
Wait until overnight lows stay above 32°F consistently, then pick a mild day for start-up.
Regional patterns to keep in mind:
- Upper Midwest and Northern New England: Minneapolis, Fargo, Duluth, Bangor often require later spring start-ups.
- Mountain West: Denver, Salt Lake City, Boise can see late cold snaps. Stable overnight temperatures matter.
- Northeast and Mid-Atlantic: Philadelphia, New York City, Boston swing between warm days and cold nights. Pick a steady week.
- Pacific Northwest: Seattle and Portland have fewer deep freezes, but saturated soil exposes irrigation leaks quickly.
- South and Southwest: Atlanta, Dallas, Phoenix start earlier, but pressure spikes still crack weak fittings.
A careful start-up prevents repeat service calls.
Part 1: How to De-Winterize Outdoor Faucets
Outdoor faucet failures usually show up in three locations:
- Inside the wall
- Behind the handle
- At the vacuum breaker
Each location tells a different story.
Step 1: Identify the Faucet Type
Most homes use either:
Standard Hose Bibb
Water shuts off directly behind the handle.
Frost-Free Sillcock
Water shuts off inside the wall. The barrel drains when installed with proper pitch.
If a hose stayed attached during freezing weather, water can remain trapped inside the frost-free barrel. That is a common cause of spring leaks.
Step 2: Remove Covers and Disconnect Everything
Remove:
- Foam covers
- Hoses
- Y-splitters
- Timers
- Quick-connect fittings
Even fittings that look intact may have hairline cracks from freeze events.
Step 3: Open the Interior Shutoff Slowly
Locate the interior shutoff feeding the faucet.
Controlled sequence:
- Open the valve slightly
- Wait 10 to 15 seconds
- Open fully once the line stabilizes
Fast pressurization can turn a weak joint into a visible leak.
Step 4: Open the Faucet and Inspect Three Leak Points
Run water for 30 to 60 seconds. Then check carefully.
Leak Point A: At the Wall or Foundation
Water at siding, rim joist, or foundation often indicates a split pipe inside the wall.
Immediate move: shut off water and repair before using.
Leak Point B: Behind the Handle
A drip here often means the packing nut needs slight tightening. Small adjustments work best. Avoid over-tightening.
Leak Point C: At the Vacuum Breaker
Spray or dripping from the top cap usually signals freeze damage or internal wear.
Replacement backflow and vacuum breaker options:
https://www.supplyhouse.com/Backflow-Preventers-1619000
Outdoor Faucet Troubleshooting
| Symptom | Likely Cause | First Move |
| Water appears inside wall | Split pipe or failed joint | Shut off water and repair |
| Drip behind handle | Packing nut loose | Tighten slightly and recheck |
| Spray at vacuum breaker | Damaged vacuum breaker | Replace breaker components |
| Weak flow | Debris or partially open valve | Flush line and verify valve position |
Why Backflow Protection Matters
Hose connections create contamination risk. Fertilizer sprayers, buckets, and stagnant hoses can pull water backward into potable lines during pressure drops.
ASSE-rated hose connection vacuum breakers exist for that reason.
Browse compliant backflow options:
https://www.supplyhouse.com/Backflow-Preventers-1619000
Part 2: How to De-Winterize an Irrigation System
Irrigation start-up is controlled re-pressurization.
Large systems rarely fail from water alone. They fail when water returns too quickly.
Step 1: Return the System to Operating Position
Winterization usually leaves:
- Main irrigation valve closed
- Drain valves open
- Backflow test cocks open
- Controller powered off
Reset everything before introducing water.
Irrigation parts and repair components:
https://www.supplyhouse.com/Irrigation-Supplies-and-Parts-36380000
Step 2: Pressurize the Mainline Slowly
Open the irrigation main valve gradually.
Pause halfway to let the mainline fill. Once pressure stabilizes, open fully.
Slow filling protects valve bodies, fittings, and backflow assemblies.
Step 3: Inspect the Backflow Device First
Backflow devices sit above grade and experience freeze exposure.
Look for:
- Leaks at unions
- Cracked bodies
- Continuous discharge
Backflow repair and replacement options:
https://www.supplyhouse.com/Backflow-Preventers-1619000
Step 4: Run Every Zone, One at a Time
Run each zone for at least 1 to 2 minutes.
Watch for:
- Bubbling soil near a head, often a cracked riser
- Missing or broken heads
- Low pressure across an entire zone
- A zone that does not shut off
Sprinkler heads and accessories:
https://www.supplyhouse.com/Irrigation-Sprinkler-Accessories-36391000
Step 5: Reset the Controller for Spring
Spring watering requirements differ from peak summer.
Adjust:
- Run times
- Days per week
- Start times
Controller options:
https://www.supplyhouse.com/Irrigation-Sprinkler-Controls-36384000
Irrigation Troubleshooting Table
| Symptom | Likely Cause | Fast Diagnostic Move |
| One zone low pressure | Lateral break or missing head | Walk zone, look for pooling |
| Bubbling around a head | Cracked riser or loose fitting | Dig and replace riser |
| Poor coverage | Clogged or incorrect nozzle | Clean or replace nozzle |
| Zone will not shut off | Valve debris or diaphragm failure | Inspect and rebuild valve |
| Backflow leaks continuously | Freeze damage | Isolate and repair assembly |
A Practical Inspection Sequence
A reliable order keeps spring callbacks down:
- Pressurize slowly
- Inspect backflow
- Run zones
- Fix hard leaks first
- Correct performance issues second
- Adjust controller last
Small discipline early prevents larger repairs later.
FAQs
How long should water run when de-winterizing an outdoor faucet?
Thirty to sixty seconds usually reveals slow leaks. Longer runs help expose seepage behind siding or at the handle.
Why remove the hose before turning water back on?
Hoses and timers trap water inside frost-free barrels. Pressurizing trapped water reveals freeze damage quickly.
What is the most common outdoor faucet leak in spring?
Vacuum breaker leakage and packing nut seepage are common.
What is the safest way to start an irrigation system in spring?
Open the main valve slowly, inspect the backflow device, then run zones individually.
Why does one sprinkler zone have low pressure after winter?
Often caused by a broken lateral line, cracked riser, or missing head. Walking the zone typically identifies the wet spot.
Should compressed air be used during spring start-up?
Compressed air belongs in fall winterization. Spring start-up focuses on controlled refilling and inspection.
What parts commonly need replacement after winter?
Vacuum breakers, cracked risers, swing joints, broken heads, and clogged nozzles.
Irrigation repair categories:
https://www.supplyhouse.com/Irrigation-Supplies-and-Parts-36380000
Final Thoughts
Water does not cause most spring damage. Sudden pressure does.
Slow fill.
Careful inspection.
Zone-by-zone testing.
For frozen pipe prevention context:
https://blog.supplyhouse.com/how-to-prevent-frozen-pipes/
Spring is busy enough already. A controlled start-up keeps it that way.