
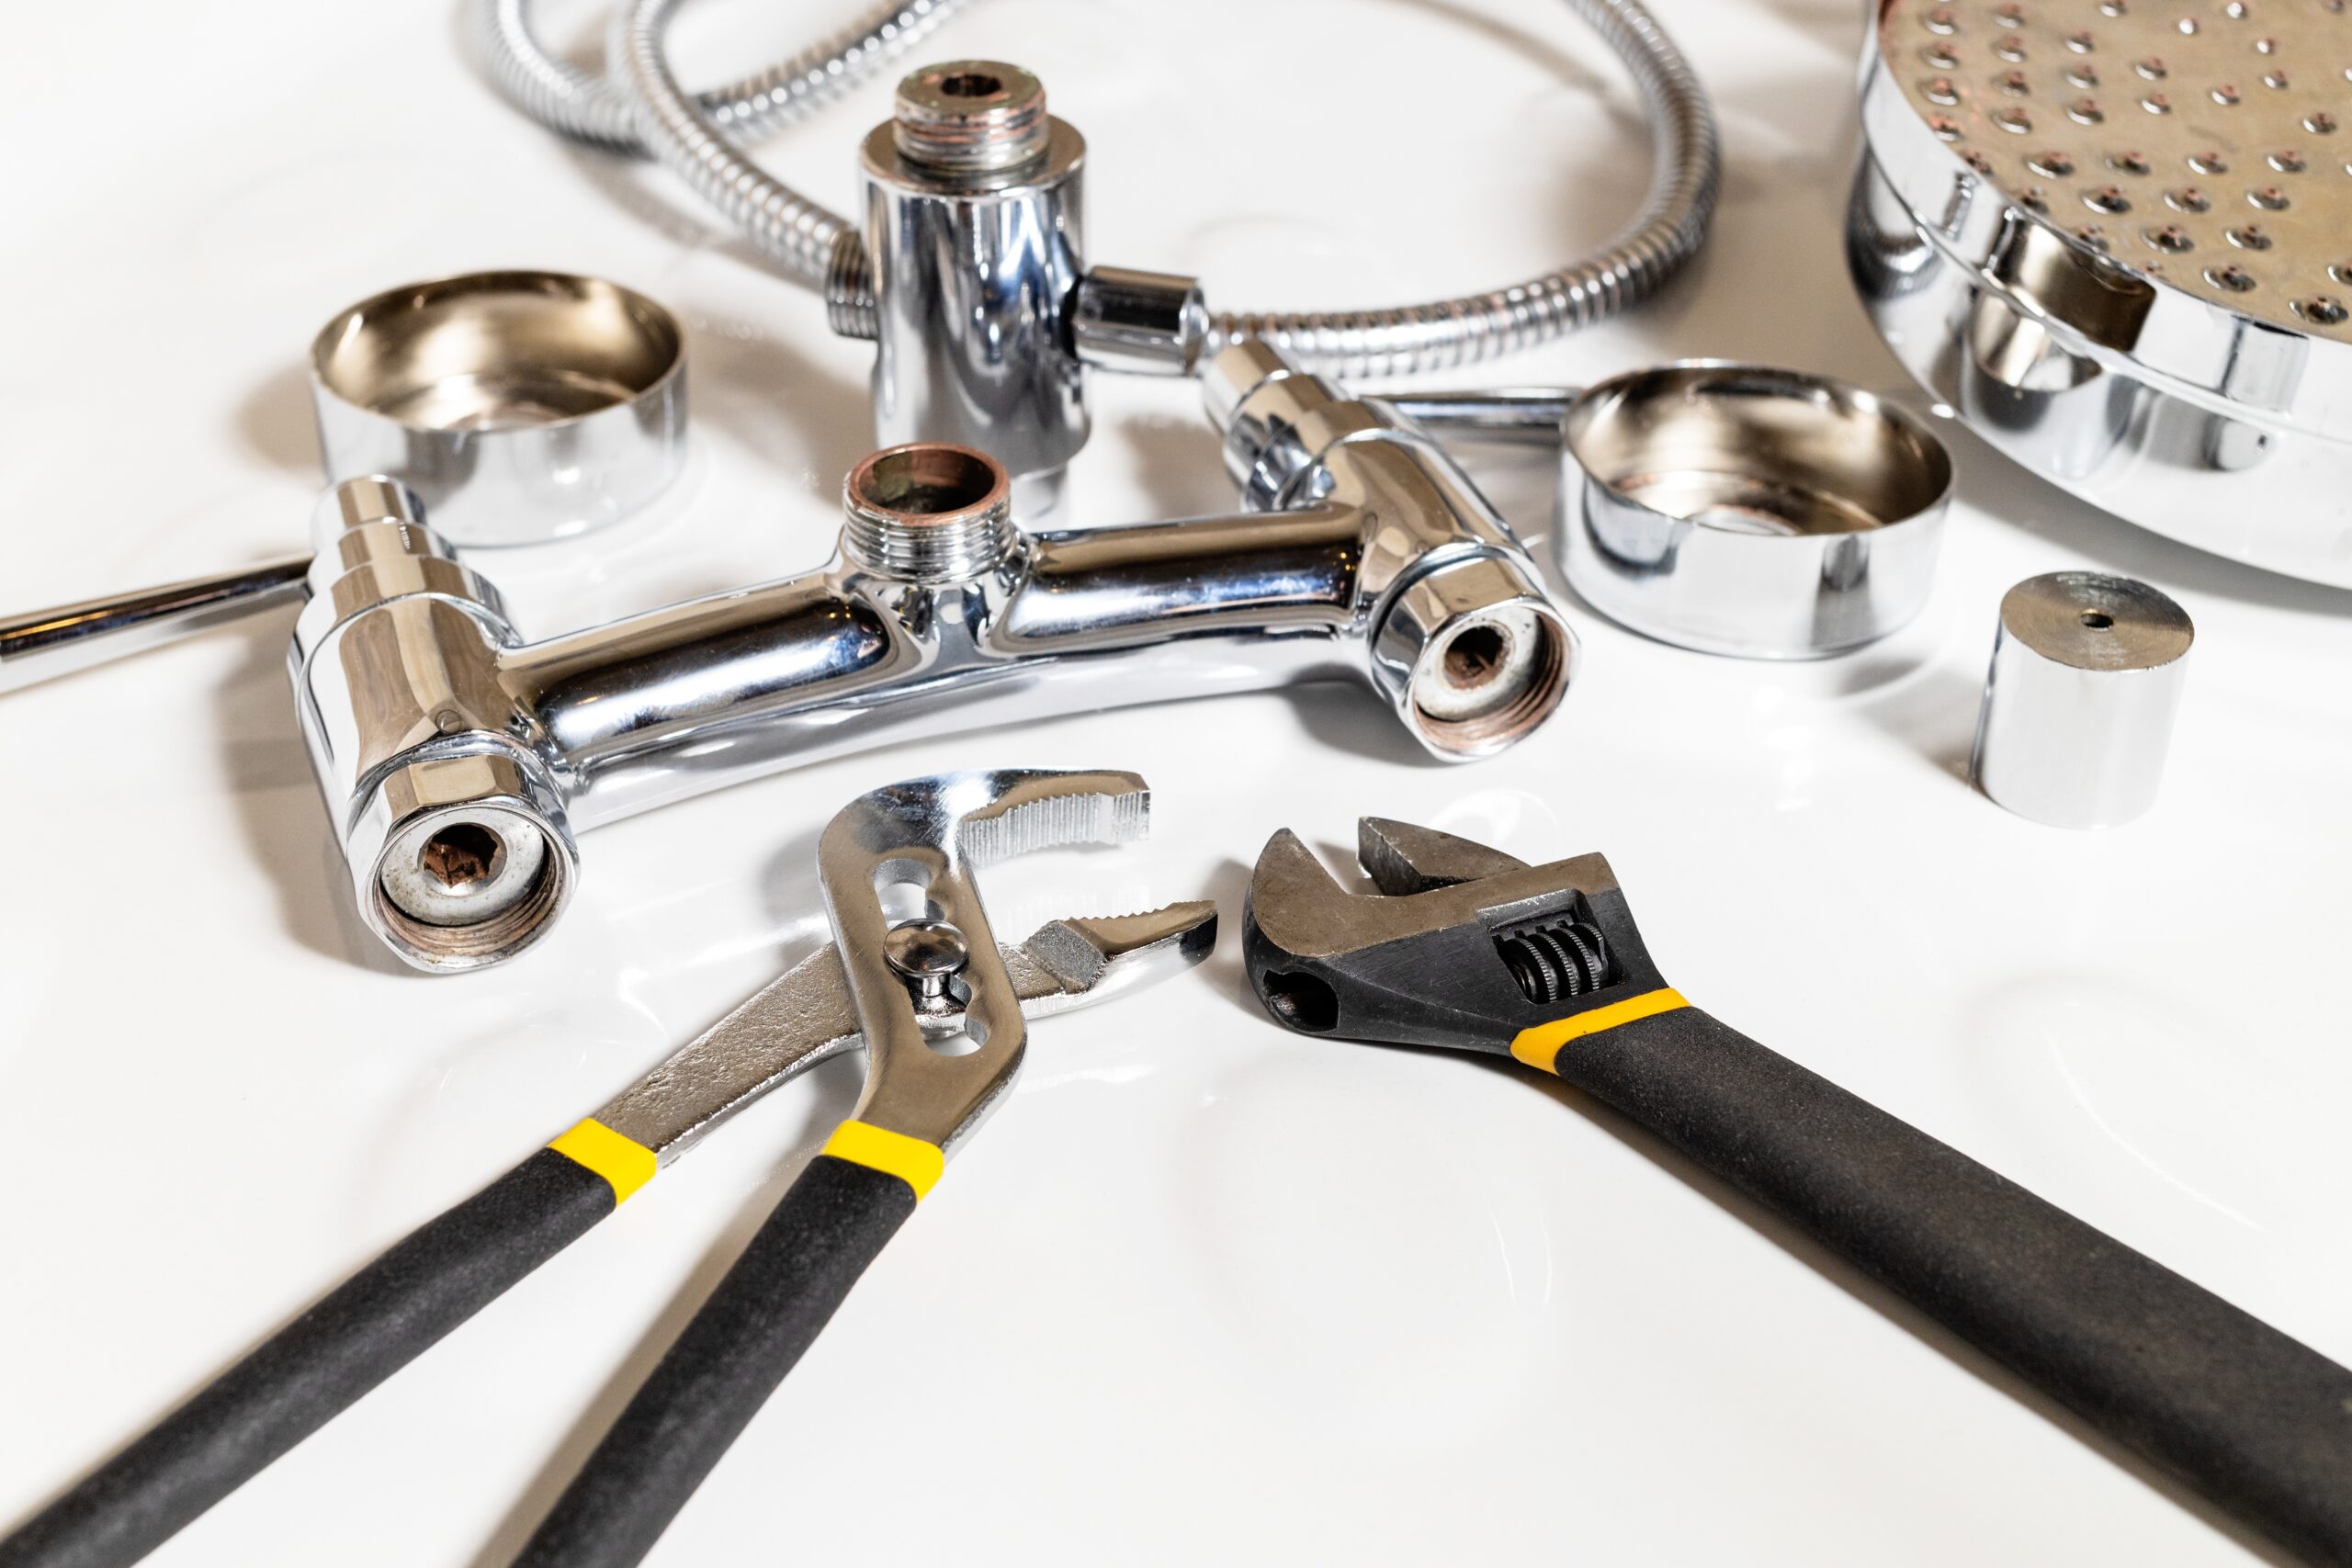
A shower valve that drips behind the wall, runs scalding hot when the toilet flushes, or refuses to shut off all the way isn’t just annoying. Left alone, it costs real money in wasted water and can put homeowners at risk of scald burns. Replacing it is one of the cleaner plumbing jobs a tradesperson handles: no drain work, no venting, no gas. But there’s a right way and a wrong way. The right way starts with knowing exactly what type of valve is in the wall, understanding what the code actually requires, and having the correct rough-in hardware on the truck before the tile comes off.
Here’s a complete walkthrough of the process, from diagnosis to final pressure test.
Pressure-Balancing vs. Thermostatic: Know What’s in the Wall
Not all shower valves are the same, and swapping one type for the other isn’t always a drop-in replacement. Before ordering parts, identify which of the two primary valve types is installed.
| Feature | Pressure-Balancing Valve | Thermostatic Valve |
| How it works | Senses differential between hot and cold supply pressure; adjusts ratio to hold output steady | Uses a wax or bimetallic thermal element to hold a fixed mixed output temperature regardless of supply pressure or temperature swings |
| Code compliance | Meets IPC 412.3 / IRC P2708.4 / ASSE 1016 anti-scald requirement | Also meets IPC 412.3 / IRC P2708.4 / ASSE 1016; adds temperature precision |
| Temperature limit stop | Required; must be set to max 120°F (49°C) at install per ASSE 1016 | Required; factory-preset or field-adjustable to max 120°F |
| Typical application | Single-handle residential shower; standard tub/shower combo | Multi-outlet systems, custom showers, commercial, accessible bathrooms |
| Valve body replacement | Full rough-in required when body cracks, leaks from body, or corrodes | Full rough-in required; thermostatic cartridges can often be serviced without body removal |
The mandate for pressure-balancing or thermostatic shower valves is not a recommendation. IRC Section P2708.4 and IPC Section 412.3 both require individual shower and tub/shower combination valves to be of the pressure-balancing, thermostatic-mixing, or combination type conforming to ASSE 1016. The high limit stop must be set to a maximum of 120°F (49°C), field-adjusted per manufacturer instructions. In residential construction, this requirement has been codified nationally since the 2000 International Residential Code. Any replacement valve installed today must comply.
Cartridge Service vs. Full Valve Body Replacement
Most shower valve problems don’t require pulling the entire rough-in valve from the wall. The valve body is designed to stay in place. The cartridge comes out for service. Understanding when to service and when to replace saves hours on the job.
| Service the cartridge when… | Replace the valve body when… |
| Handle won’t shut off completely | Valve body is cracked or the brass casting is visibly corroded |
| Temperature control is erratic (plus or minus 3°F stability lost) | Leak originates from the body itself, not the cartridge or connections |
| Drip from the showerhead with handle in the off position | Solder joints or threaded inlets are damaged or leaking |
| Balancing spool is stuck (no hot or no cold side) | Trim kit is discontinued and valve brand/series is unknown |
| Valve is functional but trim is being updated | Entire bathroom renovation requiring rough-in relocation |
Tools and Materials
Confirm everything on the truck before the tile comes off. Mid-job hardware runs are the most expensive part of any bathroom service call.
| Tools | Materials | Verified SupplyHouse Links |
| Flathead and Phillips screwdrivers | Replacement valve body (confirm brand and series before ordering) | Tub & Shower Valves |
| Adjustable wrench and basin wrench | Matching trim kit (sold separately in most cases) | Bath & Shower Trim |
| Allen key set (handle set screws vary by brand) | PTFE tape or approved thread sealant | Blue Monster PTFE Thread Seal Tape |
| Torch and solder (copper systems) | Replacement supply drops if existing drops are corroded | Tub & Shower Products |
| PEX crimp or expansion tool (PEX systems) | Escutcheon plate, trim screws, and handle hardware | Replacement Stems & Cartridges |
| Cartridge pulling tool (brand-specific) | Plumber’s silicone grease for O-rings and cartridge seating | Hercules Plumbers Silicone Grease |
| Pressure gauge (hose bib connection for supply verification) | Penetrating oil for corroded retainer nuts and stuck cartridges | Bluefin Water Test Gauge (3/4″ Hose) |
Verified SupplyHouse product pages for this job: Tub & Shower Valves | Bath & Shower Trim | Replacement Stems & Cartridges | Tub & Shower Products
Rough-In Dimensions and Valve Placement
Moen’s installation instructions for Posi-Temp tub/shower valves (INS2166C) specify the following rough-in dimensions, which are representative of most single-handle pressure-balancing valves:
-
- For tub/shower combinations: valve centerline at 32 inches above the tub basin floor
- For shower-only installations: valve centerline at 45 to 48 inches above the shower floor
- Shower arm: 78 inches above the shower floor, installed with a flanged elbow fitting attached to a wood brace
- Hot supply: left inlet. Cold supply: right inlet. Hot on the left is both code (UPC Section 417.5) and manufacturer standard.
Thin wall installations (wall thickness under 1/4 inch, such as fiberglass surrounds) use the plaster ground as structural support. Thick wall installations secure the valve body directly to blocking. Both require solid blocking behind the valve body. Movement at the rough-in translates to stress at every solder or crimp joint downstream.
Step-by-Step: Replacing the Shower Valve Body
Step 1: Shut Off Water and Relieve Pressure
Shut off both hot and cold supplies to the shower. If no dedicated stops exist, close the main. Open the shower handle fully to relieve line pressure and confirm complete shutoff. Per every Moen installation sheet reviewed for this article (MT692C, INS2166C, INS10795): always open the handle before disassembly. Water remaining in the system under pressure will fight the removal of any component.
Step 2: Remove the Trim and Handle
Remove the handle insert or plug button to expose the handle screw. Take out the handle screw and pull the handle straight off. Remove the escutcheon plate and set screws. Set everything aside. On most modern single-handle valves, the escutcheon plate has two mounting screws hidden under the handle.
Step 3: Remove the Old Cartridge and Note Orientation
Before pulling the cartridge, note the orientation. On Moen pressure-balancing valves, the notched flat on the cartridge stem points up in the mixed (open) position. A cartridge installed 180° off will reverse hot and cold. Photograph the orientation before removal. Lift out the retainer clip (Moen uses a U-shaped clip; other brands use snap rings or retaining nuts). Use a cartridge puller or the manufacturer’s twist wrench for stubborn cartridges. Do not pry directly against the valve body. Per MT692C: rotate the cartridge stem until the notched flat points up before removal to relieve pressure and confirm complete shutoff.
Step 4: Disconnect the Valve Body from Supply Lines
On copper systems, use a pipe cutter to cut the supply drops close to the valve inlets. Do not unsolder under pressure. On threaded IPS connections, hold a backup wrench on the interior fitting to prevent torque transfer into the wall cavity. On PEX crimp or expansion systems, cut the pipe behind the fitting and plan to rejoin with a new fitting after the new valve body is secured.
Step 5: Remove the Old Valve Body from Blocking
Most valve bodies are secured to wood blocking with two to four screws at the ears of the casting. Back them out and pull the valve body free. Inspect the blocking. If it moved, shifted, or is water-damaged, address the blocking before proceeding. A valve body without solid backing will vibrate and loosen connections over time.
Step 6: Flush the Lines Before Installing the New Valve
This step is called out specifically in Moen’s MT692C and is non-negotiable. Pipe chips, sand, and sediment in new or renovated plumbing will damage the cartridge sealing surfaces immediately. Temporarily turn on both supplies and run water through the open pipe ends for 15 seconds before the new valve goes in. Close the supplies before installing.
Step 7: Mount and Connect the New Valve Body
Secure the new valve body to solid blocking. Confirm it’s plumb and at the correct rough-in depth for the finished wall thickness. The valve face should be flush with or slightly recessed behind the finished wall surface so the escutcheon seats properly. Connect supply lines: copper gets soldered or pressed, threaded IPS connections get PTFE tape on all threads, PEX gets crimped or expanded per the connection method on the job. Tighten all connections while holding the valve body steady. Per INS2166C: for thick wall installations, secure the plaster ground with screws into the framing. For thin wall (fiberglass surround) installations, the plaster ground acts as the wall support and must not be removed until trim-out.
Step 8: Install the New Cartridge
Push the cartridge straight into the valve body until the ears are flush and aligned with the top and bottom of the body. For Moen valves, the notched flat on the cartridge stem must point UP when mounting the handle. Per INS10795: if hot and cold are reversed after installation, rotate the cartridge stem 180° so the notch faces down toward the drain. Reinstall the retainer clip, making sure the legs straddle the cartridge ears and slide fully into the bottom slot. A cartridge without a properly seated clip can be pushed out by water pressure.
Step 9: Test Before Closing the Wall
Turn on both supplies slowly. Run water through the tub spout for 15 seconds, then divert to the shower for another 15 seconds. Check all connections for leaks: the handle base, the supply connections, and the cartridge seat. The escutcheon should not go on until the wall is closed and the valve has held pressure with no leaks for at least 30 minutes.
Step 10: Set the Temperature Limit Stop
Per ASSE 1016 and IRC P2708.4, the high limit stop must be field-adjusted to a maximum of 120°F (49°C) before the installation is complete. Most manufacturers ship valves with the limit stop at maximum rotation. Turn on the shower to full hot, measure the mixed output temperature with a thermometer, and rotate the limit stop clockwise (to decrease) until the output does not exceed 120°F. Note: if the hot water system temperature is ever changed (new water heater, adjusted thermostat), the limit stop must be rechecked and readjusted.
Step 11: Install Trim and Final Check
With the wall closed and patched, install the escutcheon plate and handle. Confirm clearance between the handle and escutcheon when pushed to the closed (off) position. If the handle contacts the escutcheon before fully closing, the valve will not shut off. Test the full hot and cold range, verify diverter function if applicable, and confirm scald protection by running a simultaneous cold draw (flush a toilet or run a cold faucet) while the shower is on. The mixed temperature should hold within a few degrees.
Connection Types by Pipe Material
The rough-in connection method depends on what’s in the wall. MT662C covers IPS and copper sweat connection options for single-handle valves. Match the new valve to the existing pipe, or convert at the valve body if the trim-out access allows.
| Pipe Type | Connection Method | Notes | Tool Required |
| Copper | Sweat solder or press fitting | Use heat shield behind valve body; allow to cool before pressurizing | Torch and solder, or press tool |
| IPS (Threaded) | PTFE tape on all male threads; back-hold on interior fitting | Hot supply left, cold right | Adjustable wrench, backup wrench |
| PEX Crimp | Brass crimp fitting, metal ring, PEX crimping tool | Verify crimp gauge after each connection | PEX crimping tool |
| PEX Expansion (ProPEX) | Expansion fitting; PEX memory returns to seal | Cold temperatures slow the memory return; allow extra time in winter | PEX expander tool |
| CPVC | Solvent weld with CPVC-compatible cement | Do not use PVC cement on CPVC; wrong chemistry | CPVC primer and cement |
Universal Rough-In Valve Systems: What They Are and Why They Matter
Several manufacturers now offer universal rough-in valve bodies designed to accept multiple cartridge types and trim kits from the same product line. Delta’s MultiChoice system and Moen’s M-PACT system work on this principle: one valve body rough-in can be trimmed out with different handle styles and finishes without touching the valve body.
The Delta R10000-PFS-PX MultiChoice Rough-In Valve Body accepts single, dual, or dual thermostatic cartridges and is compatible with PEX crimp inlets. On a renovation job, swapping trim styles five years later doesn’t require cutting into tile.
For a client who wants the option to upgrade to a thermostatic trim in the future, a universal rough-in valve is worth specifying now. The incremental cost over a standard rough-in is minor. The avoided tile demo is not.
Hansgrohe’s iBox Universal Plus (available at SupplyHouse: SKU 01850181) takes the universal concept further. Its PVC housing penetrates the finished wall to allow direct access to service stops and the cartridge without tile removal. Standard 3/4-inch pipe inlets with reducer compatibility to 1/2-inch for most residential applications.
FAQs
Q: Does every shower valve replacement require opening the wall?
For valve body replacement, yes. The rough-in valve is behind the finished wall by design. On some installations with a dedicated access panel on the opposite side of the wall, the panel provides access without tile removal. Without an access panel, plan on opening the finished wall from the shower side.
Q: Can a pressure-balancing valve be replaced with a thermostatic valve?
Yes, with planning. Both types meet code. The rough-in dimensions and supply connections need to match, and the new trim kit must be compatible with the new valve body. Universal rough-in systems simplify this conversion by keeping the valve body in place and swapping cartridges and trim only.
Q: What does the temperature limit stop do, and does it need to be reset after replacement?
The limit stop physically blocks the handle from rotating to a temperature above its set maximum. IRC P2708.4 and ASSE 1016 require it to be field-set to a maximum of 120°F. Yes, it must be set at every installation. Most new valves ship with the stop at maximum rotation. Set it at trim-out, before the wall closes.
Q: Hot and cold are reversed after cartridge reinstallation. What went wrong?
The cartridge was installed 180° off. Per INS10795, on Moen pressure-balancing valves the notched flat on the stem must point UP for correct hot-left/cold-right orientation. To correct without pulling the cartridge completely: remove the handle, rotate the cartridge stem 180° so the notch faces down toward the drain, and reinstall.
Q: The valve leaks at the body, not the cartridge. Does the whole rough-in need to come out?
Yes. A leak originating from a crack or corrosion in the valve body casting cannot be patched. The body must be replaced. The trim and escutcheon can often be reused if they’re compatible with the new rough-in valve.
Q: Is a permit required to replace a shower valve?
Permit requirements vary by jurisdiction. Many areas require a permit for work on supply systems, especially when valve bodies are involved. Check local code authority requirements before starting. Unpermitted shower valve work can create issues at sale of the property.
Q: What causes a pressure-balancing valve to lose temperature stability?
The most common cause is a worn or stuck balancing spool inside the cartridge. Per MT692C: if the balancing spool becomes stuck, the valve will deliver only a trickle of water, or only hot or cold water. The spool compensates for pressure differentials between hot and cold supply. Mineral buildup or debris can lock it in a fixed position. In most cases, a cartridge replacement restores stability.
Q: What’s the correct rough-in depth for a shower valve?
Rough-in depth determines how far the valve face sits from the finished wall surface. Most escutcheons are designed for a specific depth range. Per INS2166C: the supply piping centerline should be a maximum of 2 inches and a minimum of 1 inch behind the wall surface. Measure rough-in depth based on finished wall thickness and adjust the plaster ground accordingly. Always check the trim kit specifications before setting the valve depth.
Q: What’s the difference between a diverter valve and a shower valve?
A shower valve controls temperature and flow. A diverter routes water between two or more outlets, typically from a tub spout to a showerhead, or between a showerhead and a handshower. On tub/shower combination systems, the diverter is often a separate valve or a built-in function of the tub spout. Some multi-outlet shower valves include an integral diverter as part of the body.
Q: When should the valve body be replaced vs. just the internal O-rings?
O-rings and seat washers can be serviced on some older three-handle and two-handle valves that use compression cartridges. On modern single-handle pressure-balancing valves, the cartridge is the serviceable component. O-rings are part of the cartridge assembly. If the body casting is sound and the leak traces to the cartridge, replace the cartridge. Body replacement is warranted when the casting itself is compromised.
Conclusion
A shower valve replacement done right means the valve stays in the wall for 15 to 20 years without a callback. Done wrong, it means a ceiling demo at the neighbor’s the following week. The difference comes down to a few fundamentals: flush the lines before the new cartridge goes in, set the temperature limit stop before trimming out, verify all connections under pressure before closing the wall, and match the rough-in connection type to whatever pipe is already there. For any shower valve rough-in or trim-out project, SupplyHouse carries the full lineup: Tub & Shower Valves, Bath & Shower Trim, and replacement cartridges and stems, all with fast shipping nationwide.
Shop the full selection: Tub & Shower Valves | Bath & Shower Trim | Replacement Stems & Cartridges | Tub & Shower Products