
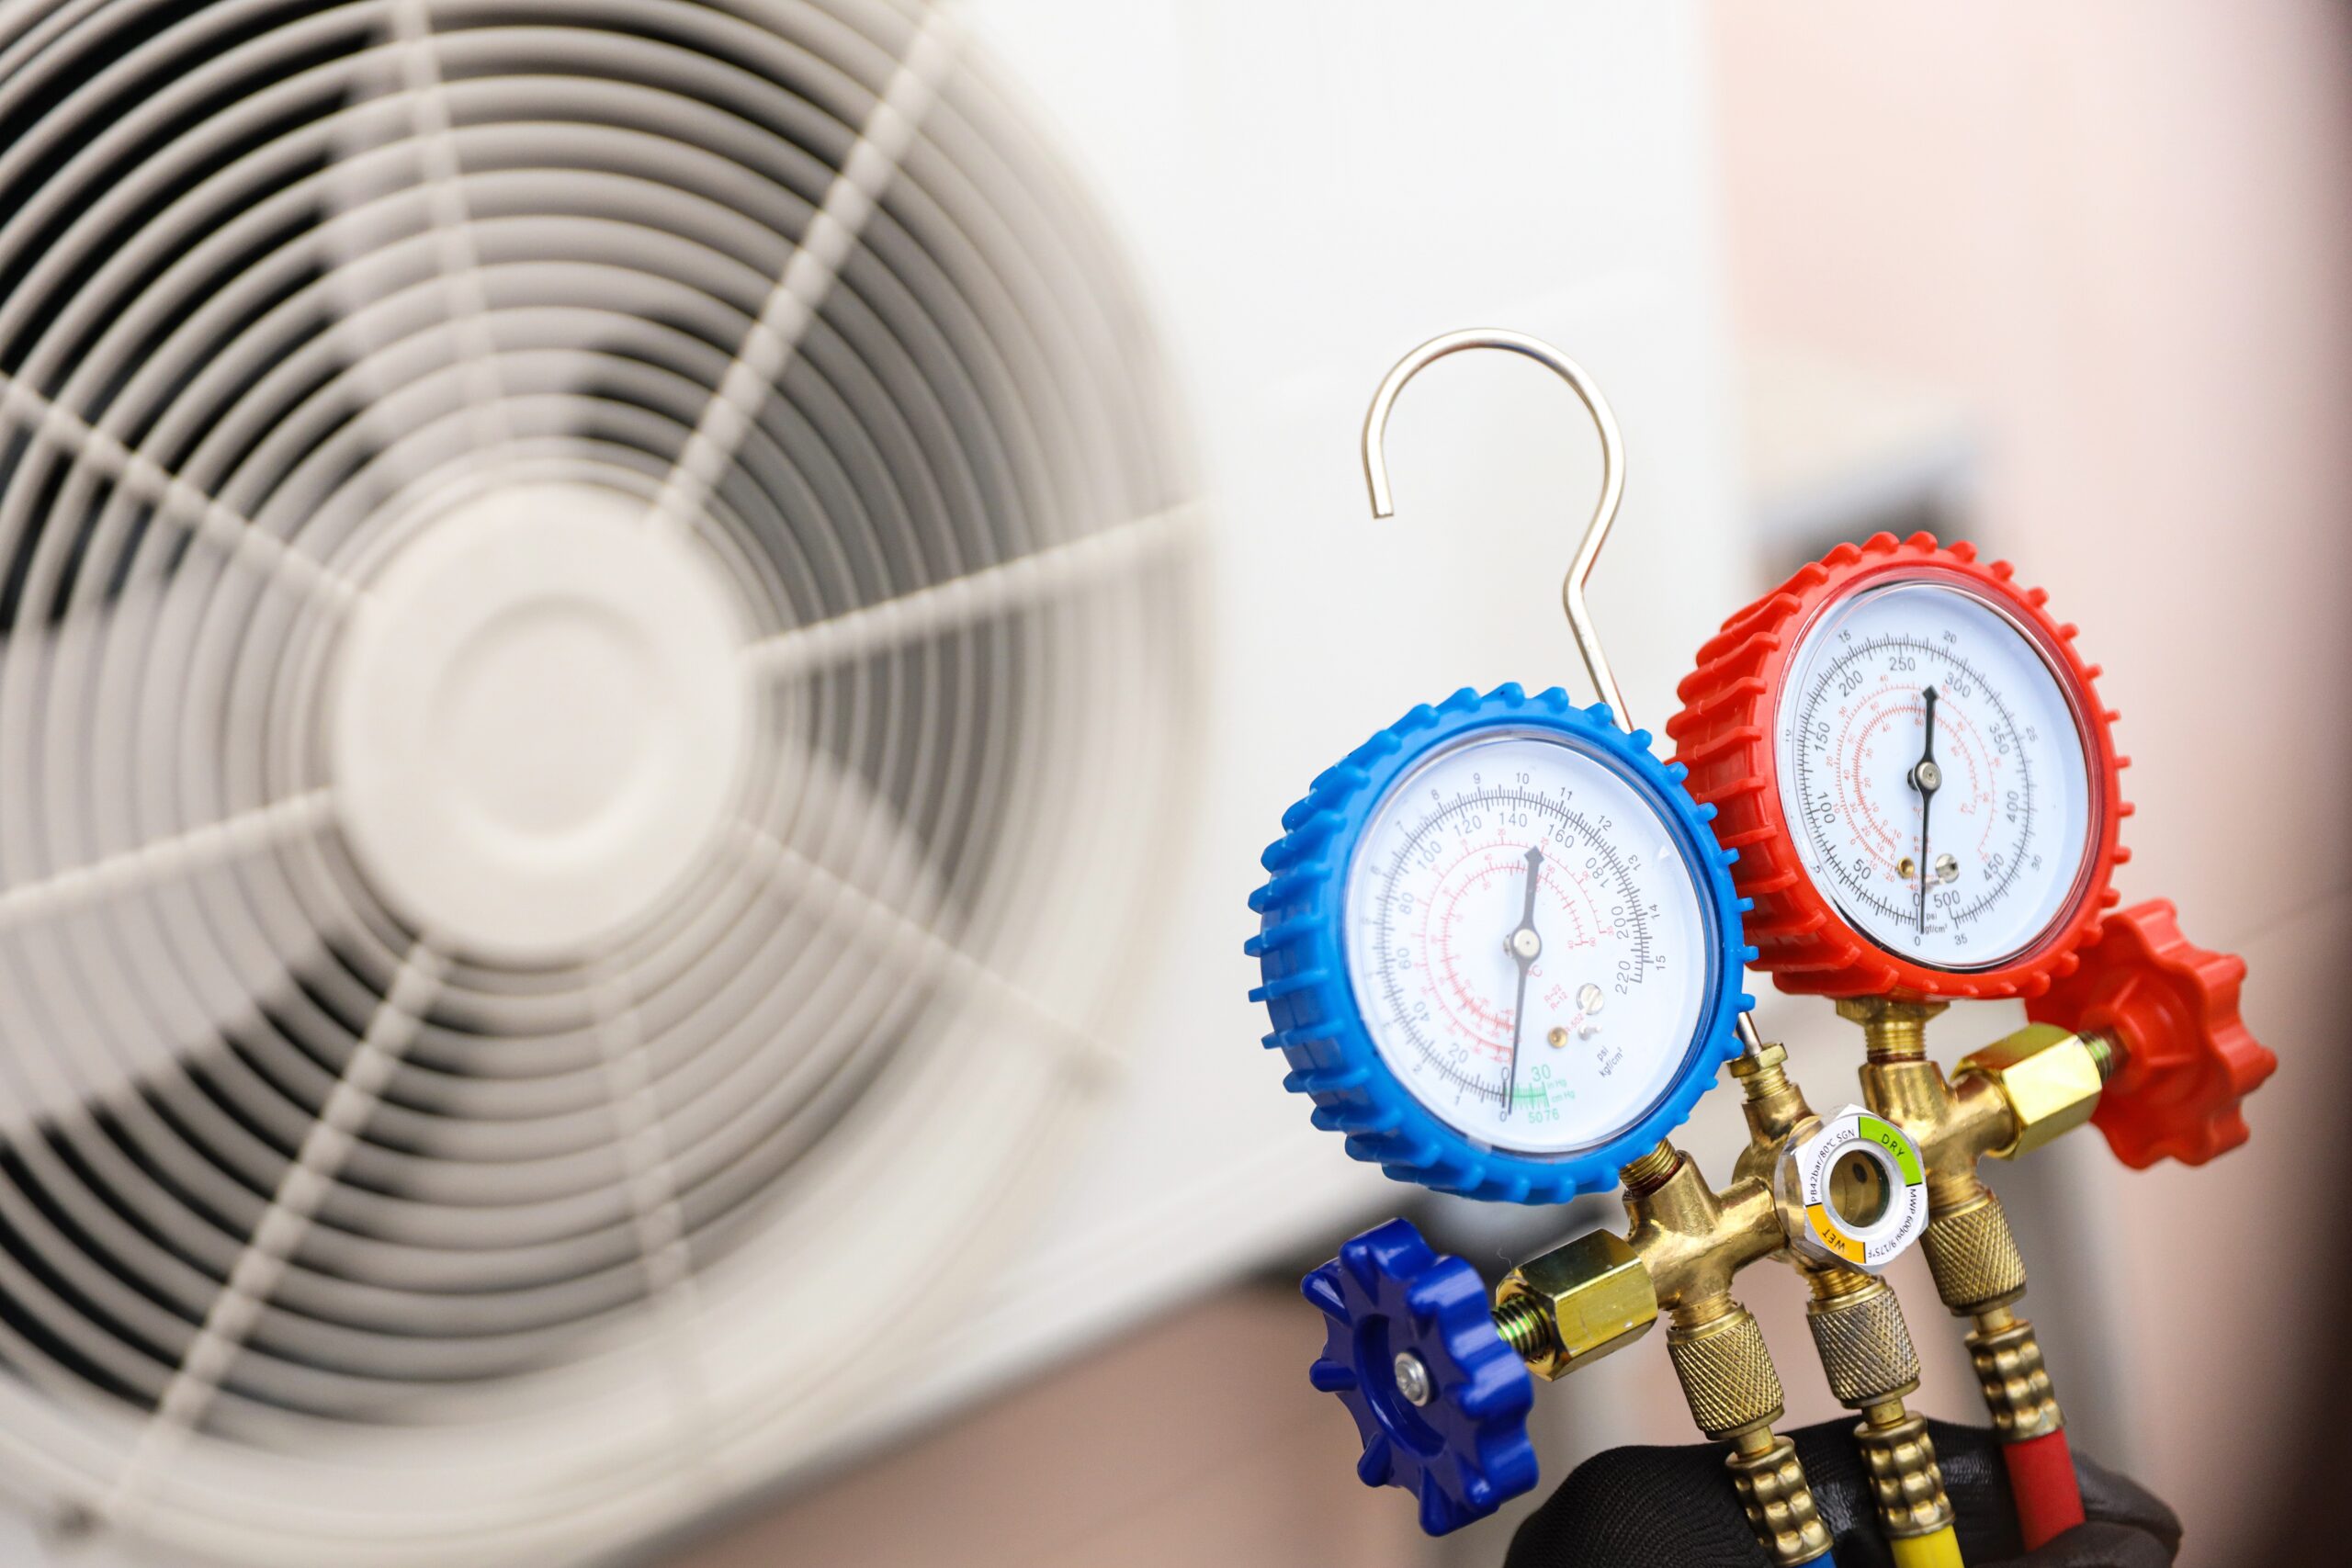

Gauges don’t lie. The refrigerant system tells its whole story through two pressure readings: the low side and the high side. A tech who can connect a manifold set cleanly, read the pressures against the saturation table for the refrigerant in the system, and interpret what’s normal versus what indicates a problem has one of the most versatile diagnostic tools in the trade. Here’s how to use it correctly.
Understanding the Manifold Gauge Set
A two-valve manifold gauge set consists of:
- Blue (low side) gauge and valve: connects to the suction line service port. The low side gauge typically reads 0-250 PSI and includes a compound scale (vacuum below zero).
- Red (high side) gauge and valve: connects to the discharge line service port. The high side gauge typically reads 0-500 or 0-800 PSI.
- Center (yellow) port: connects to a refrigerant cylinder, vacuum pump, or recovery machine via a third hose.
- Two hand valves: when closed, isolate the center port from both sides. When open, allow refrigerant to flow between the side being opened and the center port.
The gauge faces are printed with refrigerant-specific saturation scales. The outer scales are pressure in PSI. The inner colored arcs are saturation temperature for common refrigerants. The saturation temperature reading tells the evaporating or condensing temperature without a temperature probe.
Important: with both hand valves fully closed, the system is isolated and pressures can be read safely. Opening a hand valve allows refrigerant to flow. Never open a hand valve without knowing where the refrigerant will go.
Refrigerant Certification Requirement
Section 608 of the Clean Air Act requires EPA 608 certification to purchase and work with refrigerants. Opening a refrigerant system without certification is subject to EPA refrigerant-management rules and should only be done by certified technicians. This article covers the procedure for certified technicians. The steps are educational reference for licensed HVAC professionals.
How to Connect the Manifold Gauge Set
- Identify the refrigerant in the system. Check the unit data plate. Never assume. R-410A and R-22 systems look similar but operate at very different pressures. The high side pressure on R-410A at 95 degrees outdoor temperature is often much higher than on R-22 under similar conditions, but exact pressures vary with system design, airflow, and operating conditions.
- Locate the service ports. Most residential systems have a Schrader valve on the suction line (larger copper pipe) and on the liquid or discharge line. The suction port uses a larger fitting; the liquid line port is smaller.
- Connect the blue (low side) hose to the suction line service port. Thread the hose fitting onto the Schrader valve and tighten finger-tight, then one-quarter turn with a wrench. The Schrader core depressor in the hose fitting opens the valve when tightened.
- Connect the red (high side) hose to the high side service port in the same manner.
- Confirm both manifold hand valves are fully closed (turned clockwise until snug).
- With valves closed and hoses connected, the gauges now show system pressure. No refrigerant is flowing.
Note: on R-410A systems, do not use R-22 manifolds. R-410A requires gauges and hoses rated for higher pressures. R-410A hoses use 5/16″ fittings; R-22 hoses use 1/4″ fittings. Mixing equipment is both dangerous and inaccurate.
How to Read the Gauges: Normal vs. Problem Readings
Gauges are read at steady-state operation, not during startup. Allow the system to run 10 to 15 minutes before taking diagnostic readings.
Cross-reference the pressure against the refrigerant’s saturation table at ambient conditions. For R-410A on a 95 degree F outdoor day:
| Reading | Typical R-410A Value | What It Indicates |
| Low side (suction) | 105-125 PSI (approx. 40-45F sat. temp) | Normal evaporator operation |
| High side (discharge/liquid) | 380-420 PSI (approx. 110-120F sat. temp) | Normal condensing |
| Low side too low (below 80 PSI) | Below 80 PSI | Low refrigerant charge, restriction, or low load |
| Low side too high (above 150 PSI) | Above 150 PSI | Overcharge, poor condenser airflow, or high load |
| High side too high (above 450 PSI) | Above 450 PSI | Overcharge, condenser restriction, non-condensables |
| High side too low (below 300 PSI) | Below 300 PSI | Low charge, compressor weakness |
Gauge readings alone don’t complete the diagnosis. Superheat (suction line) and subcooling (liquid line) calculations using the saturation scale and a temperature probe confirm the charge condition. See the related superheat and subcooling article for the full calculation procedure.
Diagnosing Common Conditions with Gauges
Low charge: both gauges read low. Suction pressure drops, head pressure drops. Suction line frost or sweat may appear near the evaporator. Superheat reads high.
Overcharge: both gauges read high. Head pressure elevated, suction pressure elevated. Subcooling reads high.
Non-condensables (air or nitrogen in system): head pressure reads high, disproportionately so relative to ambient temperature. Non-condensables don’t condense, they accumulate at the top of the condenser and raise head pressure. Purging the system and recharging solves this.
Restriction (filter drier, TXV, or metering device): suction pressure reads lower than expected, head pressure normal or slightly low. High superheat combined with high subcooling confirms a restriction rather than low charge, this is the key differentiator between the two conditions. A temperature drop across the filter drier confirmed with a clamp probe or thermometer indicates a clogged drier. A hunting or erratic suction pressure can indicate a failing TXV.
Compressor weakness: both pressures equalize toward a mid-range value. The compressor can’t develop differential pressure. Suction pulls up toward head pressure rather than maintaining a proper split.
How to Disconnect the Manifold Gauge Set
- Confirm both hand valves are fully closed.
- On systems with ball-valve style service port caps: close the Schrader core with the core tool before removing hoses to minimize refrigerant loss. On standard Schrader ports without core service valves: the hose fitting holds the core open until it’s removed; a small amount of refrigerant will escape from the hose fitting during disconnect.
- Remove the low side hose first by unscrewing the fitting from the service port.
- Remove the high side hose.
- Immediately replace both service port caps. The caps are the primary seal on Schrader valve ports.
Hose purging: refrigerant trapped in the hoses stays there. Do not open the manifold valves to purge hoses to atmosphere. Refrigerant recovered from hoses during proper recovery procedure; venting is illegal.
Frequently Asked Questions
Can I use the same manifold set for R-22 and R-410A?
No. R-410A requires higher-rated gauges, hoses, and fittings. R-410A hoses use 5/16-inch fittings; R-22 hoses use 1/4-inch fittings. More critically, R-22 gauge sets are not rated for R-410A pressures, which can reach 600 PSI on a hot day. A separate set is required for each refrigerant type.
What does the compound scale on the low side gauge mean?
The compound scale reads below zero into vacuum territory, measured in inches of mercury (in. Hg). This is used when pulling a vacuum on the system during service or installation. A deep vacuum (below 500 microns) confirms the system is free of moisture and non-condensables before charging. A standard manifold compound gauge typically reads to -30 in. Hg.
The gauges read the same on both sides when connected. What does that mean?
Pressure equalization between high and low sides occurs when the compressor is off and the pressures have balanced. This is normal at shutdown. If the gauges equalize while the compressor is running, the compressor has lost its ability to develop pressure differential. Weak or failed compressor.
Do I need to run the system to get a reading?
Static pressure (system off) readings give the equilibrium pressure at the current refrigerant temperature, which can approximate charge level in a rough sense. But diagnostic readings require the system running at steady state (10 to 15 minutes minimum). Static readings alone cannot diagnose charge condition accurately.
What is a digital manifold and is it worth it?
Digital manifolds display pressure, saturation temperature, superheat, and subcooling simultaneously, eliminating manual calculations. Many also log data over time and connect to apps for reporting. For frequent refrigerant work, a digital manifold reduces errors and speeds diagnosis significantly. Yellow Jacket, Fieldpiece, and Testo all make well-regarded digital manifolds.
Can I leave the hoses connected to a system overnight?
Not without sealing the hose ends first. Hose cores and fittings eventually leak. More importantly, service port caps must be installed when gauges are not connected. If hoses must stay connected during an extended service procedure, ensure service port caps on the manifold center port are in place and no hand valves are inadvertently open.
Reading the System
Connecting gauges correctly, reading them against the saturation table, and interpreting the differential between high and low side pressures covers most refrigerant system diagnostics. The manifold gauge set isn’t complicated but it’s easy to use wrong: wrong refrigerant fittings, open hand valves, or misreading the scale all lead to bad diagnoses. Clean connections, both valves closed, system at steady state, and saturation table in hand gives the real picture of what the refrigerant system is doing.
Browse Yellow Jacket HVAC tools and refrigeration equipment and all HVAC tools at SupplyHouse