
A dirty condenser coil doesn’t announce itself. The system still runs. The air still comes out cool, at first. But head pressure climbs, the compressor works harder, amp draw rises, and on the hottest days of July, when the coil is already fighting 95-degree ambient air, a unit caked with cottonwood and debris hits its thermal limits and shuts off. Clean the coil before that happens. Here’s how.
Why Condenser Coil Cleanliness Matters
The condenser coil rejects heat. Refrigerant enters as hot, high-pressure vapor and exits as subcooled liquid. That heat transfer happens across thousands of thin aluminum fins passing outdoor air over the refrigerant tubing. When those fins clog with dirt, pollen, cottonwood, and debris, airflow drops. Less airflow means less heat rejection, higher condensing temperature, and higher head pressure. Higher head pressure means:
- Increased compressor discharge temperature
- Higher amp draw on the compressor motor
- Reduced system cooling capacity
- In severe cases, high-pressure lockout or compressor thermal protection trips
A 10% reduction in condenser airflow can drop system efficiency by 5 to 10%. A heavily fouled coil on a 95-degree day can push head pressure high enough to trip the high-pressure cutout entirely. The unit that needed a 30-minute cleaning becomes a no-cooling emergency call.
When to Clean
- Minimum: once per year, at or before the start of cooling season
- High-debris environments: twice per year. Fall clears cottonwood and seeding grasses; spring removes winter debris before peak season.
- Cottonwood zones: monthly checks during peak shed, typically May to June in Northern states
- Commercial rooftop units: more frequently. Rooftop environments accumulate grease, exhaust, and particulates faster than residential ground-level installations.
Tools and Materials
- Garden hose with adjustable nozzle (rinse setting, not high pressure)
- Non-contact voltage tester
- Foaming alkaline condenser coil cleaner (no-rinse or rinse-required depending on soil level)
- Fin comb for straightening bent fins
- Soft brush or fin whisk for dry debris removal
- Safety glasses and gloves
For condenser coils, the Nu-Calgon Cal-Green Condenser Coil Cleaner (1 gal) is a low-foaming, environmentally friendly rinse-required cleaner that meets OEM specifications for all aluminum coils including microchannel designs. For evaporator coils, the Nu-Calgon Evap Pow’r-C (1 gal) is a no-rinse formula that drains with condensate. Browse all HVAC coil cleaners and chemicals at SupplyHouse.
Step-by-Step Condenser Coil Cleaning
- Shut off power. Turn off at the thermostat, then at the disconnect near the outdoor unit. Verify power is off with a non-contact voltage tester before removing any panels.
- Remove loose exterior debris. Brush or blow out leaves, grass clippings, cottonwood, and debris from the top grille and around the cabinet.
- Inspect the fins. Look for bent or crushed fin sections where airflow is blocked mechanically. A fin comb straightens these and restores airflow. Fin damage is common from hail, trimmer line, and compressed-air cleaning done too close to the coil surface.
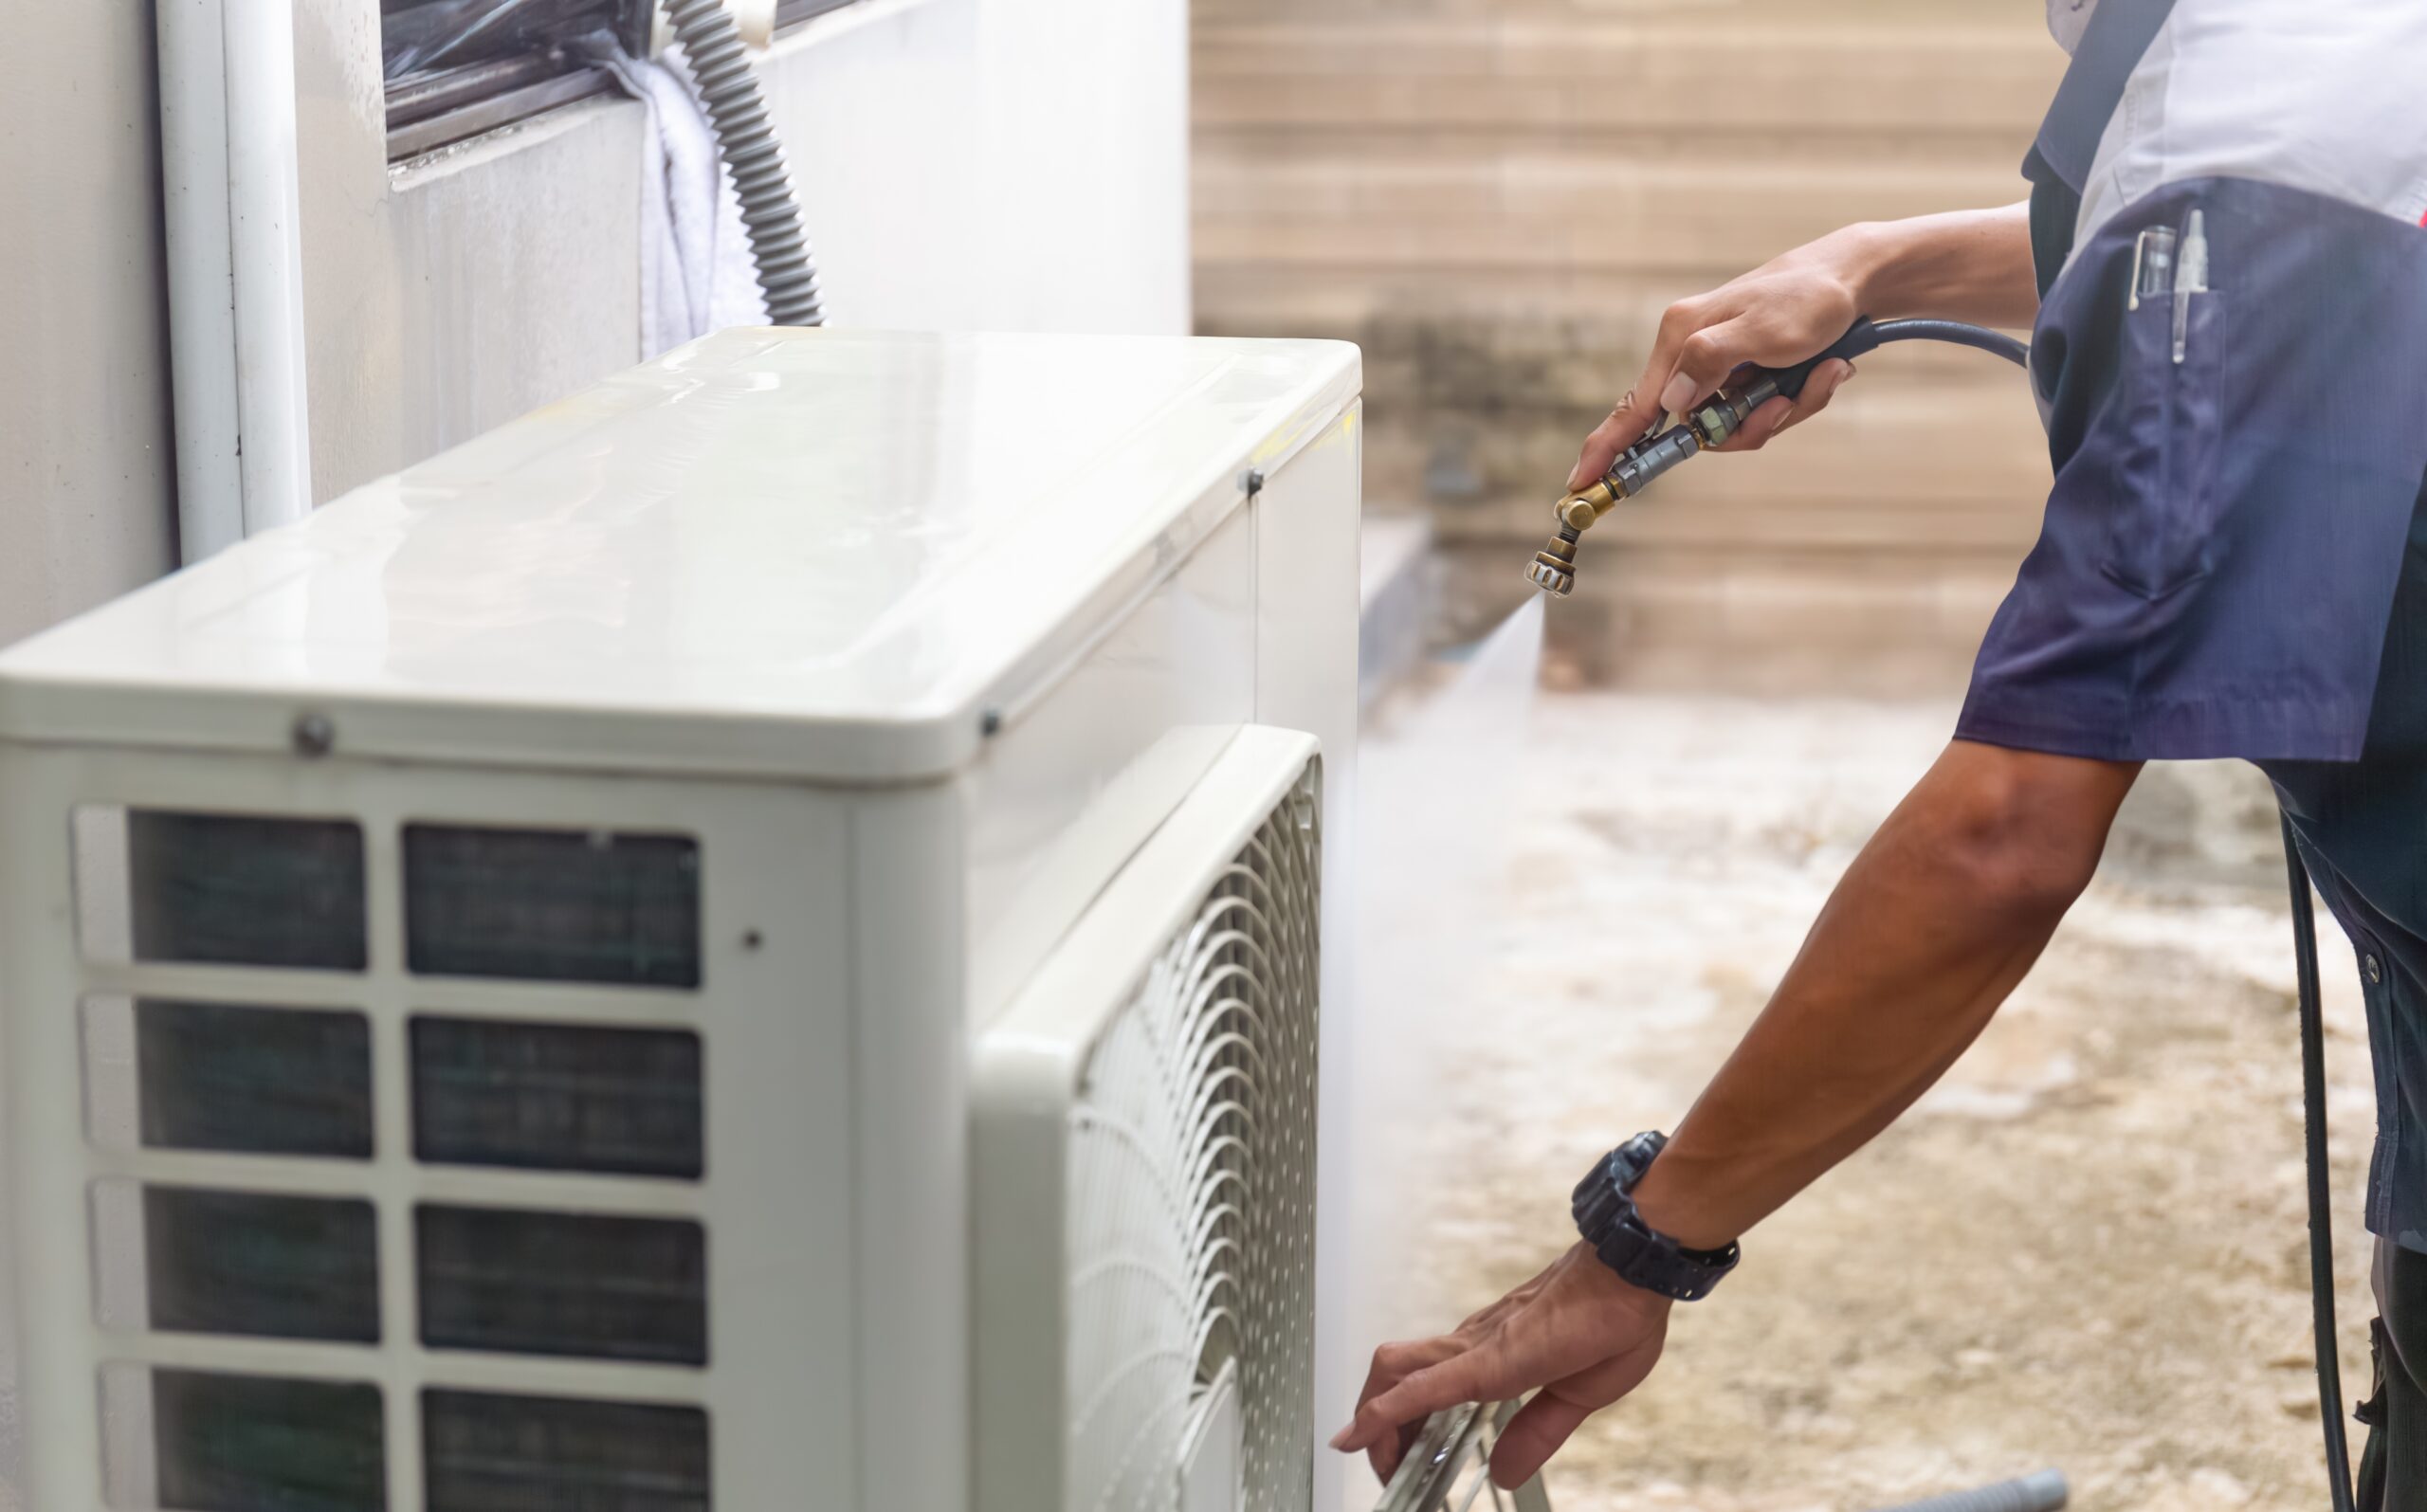
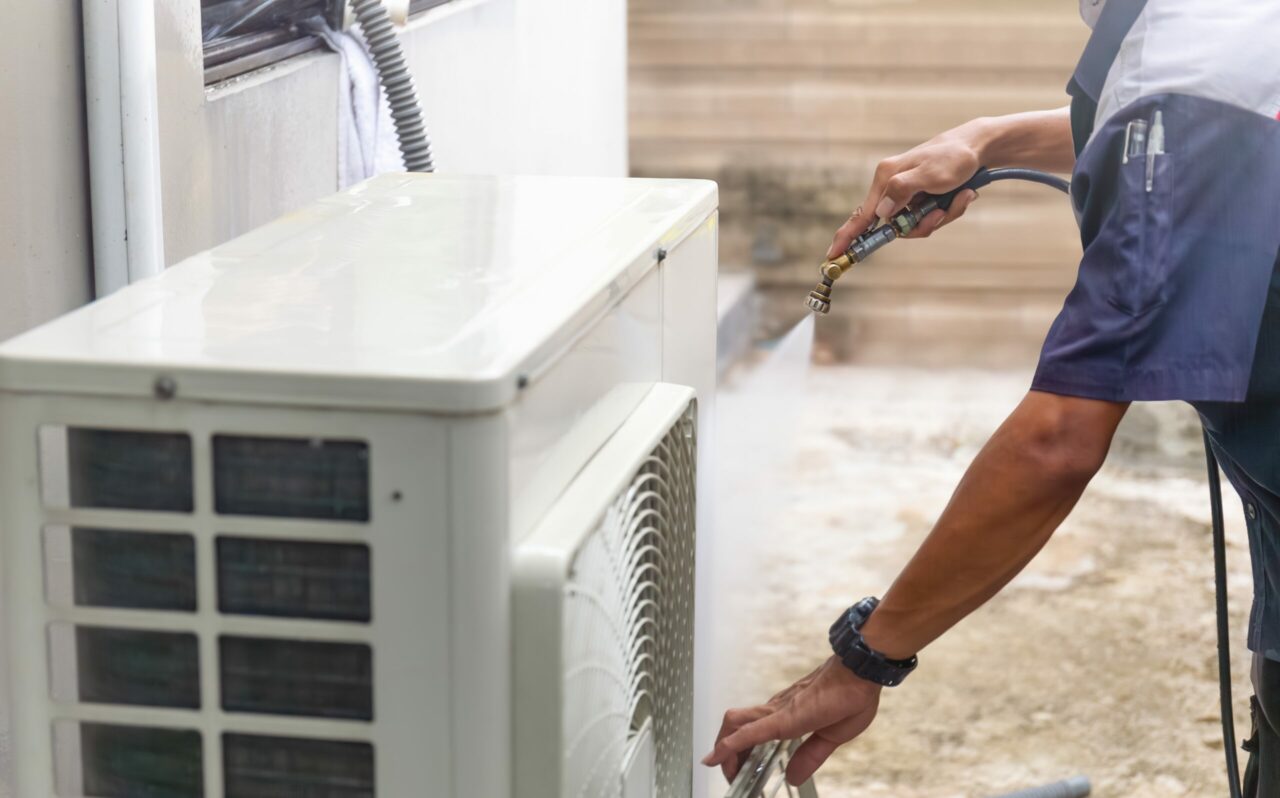
- Wet the coil from inside out. Using a garden hose on a gentle rinse setting, wet the coil from the inside outward. This pushes debris out the way it entered rather than packing it deeper into the fins.
- Apply coil cleaner. Spray from the inside out, covering all fin surfaces. Allow the cleaner to dwell per the label, typically 5 to 10 minutes. The solution lifts and emulsifies grease, pollen, and dirt.
- Rinse thoroughly from inside out with a gentle hose stream until the water runs clear. Avoid high-pressure spray. Concentrated streams bend aluminum fins.
- Inspect after rinsing. A second pass of cleaner may be needed on heavily fouled areas.
- Restore power and verify operation. Run the system and take head pressure and amperage readings. A clean coil should show lower head pressure and lower amp draw compared to the fouled baseline.
Fin Comb Sizing
Fin combs are sized by fins-per-inch (FPI), which varies by coil age and manufacturer. Using the wrong FPI can worsen the damage.
| FPI Range | Common Application |
| 10 to 12 FPI | Older residential split systems |
| 14 to 16 FPI | Modern residential split systems (most common) |
| 18 to 20 FPI | High-efficiency residential and commercial equipment |
Count fins per inch before selecting a comb.
Performance Delta: Before and After
| Measurement | Before Cleaning (fouled coil) | After Cleaning |
| Head pressure (R-410A) | 450+ PSI | 380 to 420 PSI |
| Compressor amp draw | 20 to 25% above nameplate | Near nameplate |
| Discharge temperature | Elevated | Normalized |
| Subcooling | Below target | On target |
A unit running hot and struggling to maintain setpoint in 90-degree weather will often return to normal operation after a thorough condenser cleaning. It doesn’t always need refrigerant.
When Cleaning Reveals a Motor Problem
A post-cleaning inspection sometimes turns up a condenser fan motor that’s drawing high amps, running hot, or struggling to reach full speed. Replacing the motor at that point, while the unit is already down and open, saves a second trip.
SupplyHouse carries replacement condenser fan motors for all standard residential applications. The DiversiTech WG840728 1/4 HP 208-230V condenser fan motor and DiversiTech WG840204 1/4 HP 825 RPM install on all standard 48-frame mounting brackets. Browse the full condenser fan motor category for the complete selection.
Frequently Asked Questions
Can I clean the condenser coil with a pressure washer?
No. High-pressure water bends aluminum fins, reducing airflow and requiring fin comb work that could have been avoided. Use a standard garden hose on a gentle rinse or fan spray setting. The coil cleaner does the work. The water just carries the loosened debris away.
Is it safe to spray water into the unit while it’s running?
Always shut off power before cleaning. Never spray water into an energized unit.
How do I know if the evaporator coil also needs cleaning?
High static pressure across the evaporator coil, ice formation on the suction line, and low airflow at supply registers are the usual indicators. If the condenser is clean and head pressure is still elevated, the problem may be on the evaporator side.
What coil cleaner should I use on a brand-new unit?
Mild alkaline or no-rinse coil cleaner for light soiling. Avoid acid-based cleaners on aluminum fin coils. They corrode fins with repeated use.
How do I prevent cottonwood from clogging the condenser?
Cottonwood is seasonal and unavoidable in affected regions. Check the coil weekly during peak shed season (roughly May to June) and rinse as needed. Some techs install temporary mesh screens during this period. Verify with the equipment manufacturer first, as additional restriction affects airflow on some units.
Will cleaning the condenser coil improve cooling?
On a system with a fouled coil, yes, often significantly. Reduced head pressure, lower compressor amp draw, better heat rejection, and improved subcooling all contribute to measurably better cooling performance.
How long does condenser coil cleaning take?
For a standard residential split system in moderate condition: 20 to 30 minutes including dwell time. Heavily fouled coils or units requiring top panel removal can take 45 to 60 minutes.
Should the condenser coil be cleaned before checking refrigerant charge?
Yes, always. A dirty condenser coil produces artificially high head pressure and distorted subcooling readings. Cleaning the coil first ensures charge measurements reflect actual system performance, not fouling-induced pressure elevation.
Does coil cleaner void the equipment warranty?
Using an appropriate coil cleaner per label instructions on compatible coil materials does not void warranty. Using an incompatible chemical that damages fins or tubing can. Stick with products designed for HVAC coil cleaning.
What about evaporator coil cleaning?
Evaporator coil cleaning follows similar principles but different chemistry. No-rinse foaming evaporator coil cleaners that drain with condensate are standard. Heavily fouled evaporator coils may require removal and deep cleaning.
Clean Coils, Cool Results
A clean condenser coil is the foundation of peak cooling performance in the months that matter most. Head pressure numbers don’t lie: a fouled coil pushes the compressor harder, costs the customer money in energy use, and shortens equipment life. On the right customer with the right setup, condenser cleaning before peak season is the most valuable 30 minutes on the maintenance call.
Shop HVAC coil cleaners at SupplyHouse, including the Nu-Calgon Cal-Green Condenser Coil Cleaner and Nu-Calgon Evap Pow’r-C Evaporator Coil Cleaner. For motors, browse condenser fan motors for units where cleaning reveals a motor that won’t survive another season.