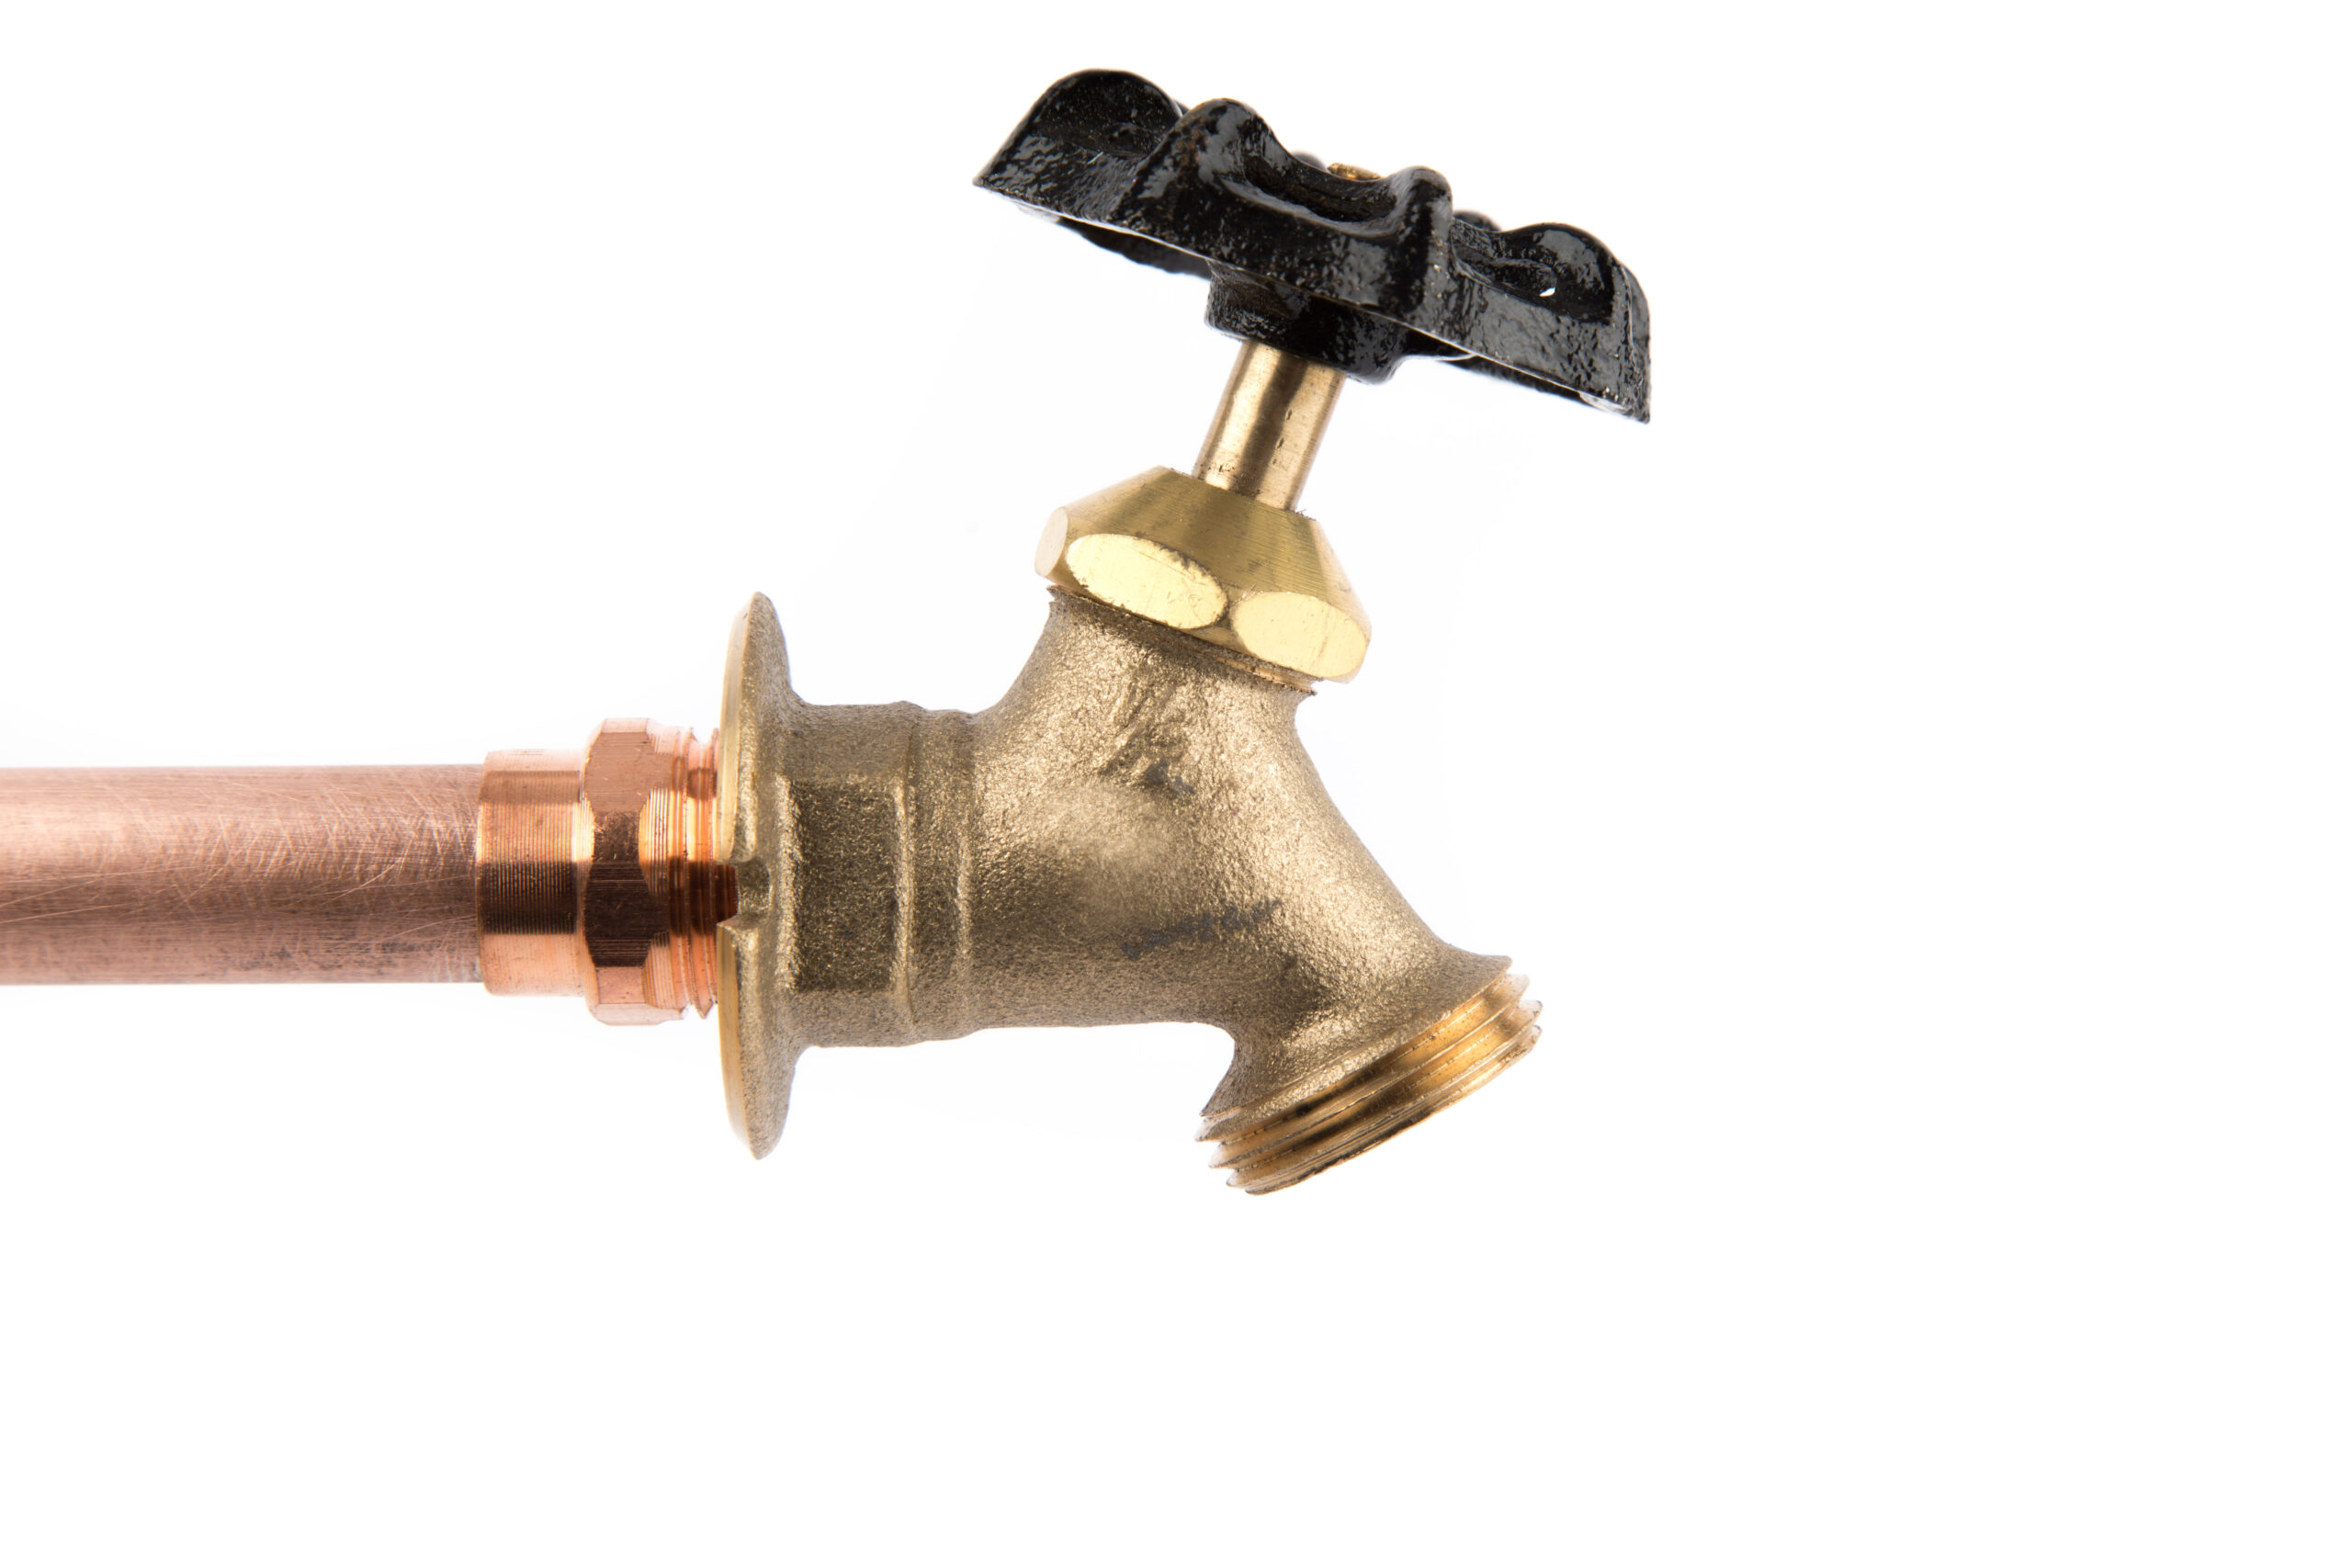

A standard hose bib looks simple from the outside. From the inside, replacement can range from a five-minute threaded swap to a small piping job that needs cutting, reconnecting, mounting, sealing, and leak testing.
Most problems start the same way. The faucet drips. The handle starts leaking. The body cracks after a freeze. Water shows up inside the wall. Then comes the part that matters: figuring out how the faucet connects to the house piping before taking anything apart. That connection type decides the repair path.
A threaded hose bib usually unscrews. A sweat connection needs cutting and rebuilding. A PEX connection needs the right barb, crimp, or clamp method. A press connection needs compatible fittings and a press tool.
Get the connection type right, support the faucet properly, and test the joint under pressure. That is the difference between a clean replacement and a wet drywall surprise.
What This Guide Covers
This guide focuses on standard non frost-free hose bibs. In other words, outdoor faucets that shut off near the wall rather than deeper inside the heated space.
If the faucet has a long body extending into the house, it is probably a frost-free sillcock, which follows a different replacement process.
When a Standard Hose Bib Should Be Replaced
Some hose bib problems can be repaired. Others are not worth the time.
|
Symptom |
Likely Cause | Repair Possible |
Replacement Recommended |
|
Drip from spout when closed |
Worn washer or damaged seat | Yes | Sometimes |
| Leak around handle | Packing nut or stem packing worn | Yes |
Sometimes |
|
Body cracked |
Freeze damage |
No | Yes |
|
Faucet loose at wall |
Failed screws or damaged backing |
Sometimes |
Often |
|
Faucet spins or will not tighten |
Thread damage or worn stem |
Sometimes |
Often |
|
Water leaks inside wall |
Failed connection or cracked body | Rarely |
Yes |
|
Heavy corrosion on body or inlet |
Age and water exposure |
Rarely |
Yes |
Replacement usually makes more sense when:
- The brass body is cracked
- The inlet connection is damaged
- The faucet is badly corroded
- The wall-side joint is leaking
- Repair parts are not worth chasing
Standard Hose Bib vs. Frost-Free Sillcock
Knowing which valve is in the wall matters before ordering parts.
|
Feature |
Standard Hose Bib |
Frost-Free Sillcock |
|
Shutoff point |
Near exterior wall |
Inside heated space |
|
Body length |
Short | Long |
| Freeze resistance | Low |
Higher |
|
Common use |
Mild climates or older homes |
Colder climates |
|
Replacement complexity |
Usually lower |
Often higher |
A standard hose bib is shorter and simpler. It does not drain out through a long barrel the way a frost-free sillcock does. That makes it easier to replace, but more vulnerable to freeze damage.
For a quick primer on the difference, see What are Sillcocks and Hose Bibbs?.
Connection Types at a Glance
Most standard hose bib replacements fall into one of four inlet connection types.
| Connection Type | What It Connects To | Common in | Typical Difficulty |
| Threaded | Female threaded adapter | Older copper, brass, galvanized | Low to medium |
| Sweat | Copper pipe soldered directly | Traditional copper systems | Medium |
| PEX | PEX tubing with barb or adapter | Newer homes, remodels | Medium |
| Press | Copper press fitting system | Pro installs, newer repipes | Medium to high |
Before Starting: Identify the Pipe and Fitting Type
Do not guess from the outside. The only reliable way to know the connection type is to inspect the interior side.
What to look for inside the house
Threaded
- Hose bib screws into a female adapter
- Visible hex or threaded fitting
- Often brass into brass, brass into copper adapter, or brass into galvanized
Sweat
- Smooth copper-to-brass joint
- No threads visible
- Solder bead may be visible around the fitting
PEX
- Flexible tubing
- Crimp ring, clamp ring, or threaded adapter tied into PEX
- Usually blue, red, white, or translucent tubing
Press
- Copper pipe with press sleeve or press profile
- No solder
- Often seen on newer professional installs
Access points that make identification easier
- Basement ceiling below the hose bib
- Crawlspace
- Utility room wall
- Garage wall
- Unfinished mechanical room
If the line disappears into a finished wall with no access, replacement is still possible, but extra care matters because the wall-side piping cannot be watched during removal.
Tools and Materials
The exact list depends on the connection type, but most jobs use the same base kit.
Core tools
- Adjustable wrench
- Second wrench for back-up
- Screwdriver or nut driver
- Utility knife
- Flashlight
- Bucket and towels
- Small level
- Drill or driver for mounting screws
Extra Tools by Connection Type
| Connection Type | Extra Tools Needed |
| Threaded | Pipe wrench or second large wrench |
| Sweat | Tubing cutter, torch, flux, solder, heat shield, abrasive cloth |
| PEX | PEX tools, crimp tool or clamp tool, go/no-go gauge if applicable |
| Press | Copper cutter, press tool, correct jaw size |
Materials
- New standard hose bib
- PTFE tape or approved thread sealant for threaded pipe joints
- Matching adapter or coupling if needed
- Mounting screws
- Exterior-grade silicone caulk
- Repair coupling or short section of pipe if cutting back damaged pipe
- Wall backing or blocking if support is poor
Choose the Right Replacement Hose Bib
A hose bib is not just “an outdoor faucet.” A few details decide whether replacement goes smoothly.
Check these before buying
- Inlet size, usually 1/2 inch, sometimes 3/4 inch
- Outlet thread, usually 3/4 inch hose thread
- Connection style, threaded, sweat, PEX barb, or adapter-based
- Handle orientation and clearance
- Body pattern, straight or angled
- Flange size and screw hole position
Common Replacement Mistake
Buying a hose bib with the correct outlet but the wrong inlet. The hose end may look right while the wall-side connection is completely wrong.
Browse matching options here: Hose Bibbs.
Step 1: Shut off the water supply
Shut off the valve feeding the hose bib.
Many homes have an interior shutoff dedicated to the outdoor faucet. If there is no dedicated stop, shut off the main water supply.
Then:
- Open the hose bib to relieve pressure
- Open a nearby indoor faucet briefly
- Disconnect any hose, splitter, nozzle, or timer
- Keep a towel and bucket ready
A hose left attached can keep pressure on the outlet and gets in the way during removal.
Step 2: Inspect the wall and mounting condition
Before removing anything, check the condition of the mounting area.
Look for:
- Rot around the siding or trim
- Loose mounting screws
- Cracked mortar or masonry
- Oversized penetration around the faucet body
- Missing backing behind the flange
A replacement faucet needs solid support. If the old valve moved every time the handle turned, the wall support probably needs attention too.
Step 3: Remove the mounting screws and cut old sealant
Most hose bibs are secured with two screws at the flange.
- Remove the screws
- Score old caulk around the flange with a utility knife
- Gently pull the faucet outward just enough to confirm it is free at the wall
Do not force it. The inlet connection still controls what happens next.
Threaded Hose Bib Replacement
Threaded hose bibs are the simplest replacement, but they still create problems if the piping behind the wall twists.
How to identify a threaded connection
- Faucet screws into a female adapter
- Threads are visible once the joint is exposed
- Often connected to brass, copper with a threaded adapter, or galvanized pipe
Removal
- Place one wrench on the hose bib body
- Place a second wrench on the interior adapter as a back-up
- Turn the hose bib counterclockwise
- Keep steady pressure, avoid jerking
Why the back-up wrench matters
Without one, the fitting behind the wall can rotate. That can crack solder joints, loosen PEX adapters, or stress old galvanized piping.
If the faucet will not budge
- Apply penetrating oil if exterior corrosion is heavy
- Support the interior fitting more firmly
- Avoid extreme force if the piping is old or hidden in a finished wall
- If needed, cut and rebuild instead of forcing the threaded joint
Installation
- Inspect the female adapter threads
- Clean debris or old sealant from the threads
- Wrap male threads with PTFE tape or apply approved thread sealant
- Thread the new hose bib in by hand first
- Tighten until snug and properly oriented
- Do not over-tighten
Correct orientation
The spout should face downward naturally once tightened. Do not back the faucet off to fix alignment. If alignment is wrong, adjust sealing method or fitting choice, not final looseness.
Sweat Hose Bib Replacement
Sweat connections are common on copper systems and often require the cleanest prep work of the four methods.
How to identify a sweat connection;
- Copper pipe enters directly into the faucet or brass adapter
- No threads visible
- Solder bead may be visible at the joint
Removal
Sweat-connected hose bibs are usually removed by cutting the pipe rather than trying to unsolder the old faucet in place.
- Confirm the line is fully drained
- Use a tubing cutter to cut the copper pipe behind the old faucet
- Remove the old hose bib
- Deburr the cut pipe
- Check whether enough straight pipe remains for reconnection
Why cutting is usually better than desoldering
Desoldering at an exterior wall is possible, but it often creates more trouble than it saves:
- Tight working area
- Heat risk to framing and siding
- Old solder joints may be dirty
- Pipe can shift during heating
Installation Options for Sweat Systems
Option 1: Sweat in a new hose bib
Best when:
- The replacement hose bib has a sweat inlet
- Access is open
- The installer is comfortable soldering
Steps:
- Clean the copper pipe to bright metal
- Clean the inside of the fitting cup
- Apply flux lightly
- Assemble fully
- Protect surrounding area with heat shield
- Heat the joint evenly
- Feed solder until the joint fills
- Let cool fully before pressurizing
Option 2: Sweat on a female adapter, then install a threaded hose bib
Best when:
- Future replacement should be easier
- The installer wants a more serviceable setup
Steps:
- Solder a female threaded adapter to the copper pipe
- Allow it to cool
- Install a threaded hose bib using tape or sealant
- Support the adapter with a back-up wrench during tightening
This approach makes the next replacement much easier.
Common sweat mistakes
- Soldering with water still in the line
- Dirty copper or dirty fitting cup
- Too much flux
- Overheating the fitting
- Skipping support while tightening a threaded bib into a soldered adapter
PEX Hose Bib Replacement
PEX systems are flexible, fast to work with, and common in remodels and new construction. The details still matter.
How to identify a PEX connection
- Flexible tubing instead of rigid copper
- Crimp ring or clamp ring visible
- Hose bib may connect directly with a barb or through a threaded adapter
Two common PEX setups
| PEX Setup | What You Will See | Replacement Approach |
| Direct barb connection | PEX tubing over hose bib barb with ring | Cut ring, replace with matching barb style |
| PEX to threaded adapter | PEX connected to female threaded adapter | Unthread old hose bib, install new threaded bib |
Removal, direct barb style
- Cut off the old crimp ring or clamp ring
- Remove the PEX tubing from the barb
- Inspect tubing end for damage
- Cut back to clean tubing if needed
Installation, direct barb style
- Slide new ring onto the tubing
- Push the tubing fully onto the barb
- Position the ring correctly
- Crimp or clamp using the proper tool
- Check crimp with a gauge if the system requires it
Removal, threaded adapter style
If the hose bib is threaded into a female adapter connected to PEX:
- Hold the adapter with a back-up wrench
- Unthread the old faucet
- Install the new one using approved sealant method
PEX tips that save time
- Cut tubing square
- Do not reuse old crimp rings
- Check tool calibration if crimps are inconsistent
- Leave enough tubing slack to avoid stress at the wall
- Support the faucet so handle movement does not transmit into the tubing
Press Hose Bib Replacement
Press systems are fast and clean, especially on copper, but they require the correct fittings and tool.
How to identify a press connection
- Copper piping with press fittings
- Visible press profile or sleeve
- No solder bead
- Often seen in professionally repiped systems
Removal
Press fittings are permanent. They do not come apart.
- Cut the copper pipe behind the old fitting
- Remove the old faucet assembly
- Deburr and prep the remaining copper
- Confirm enough pipe remains for the new press fitting
Installation
- Mark insertion depth if required
- Insert the pipe fully into the press fitting or adapter
- Align the hose bib and fitting
- Press with the correct jaw size
- Confirm the press cycle completes properly
Common press mistakes
- Skipping deburring
- Incomplete insertion depth
- Using the wrong jaw profile
- Pressing a misaligned fitting
- Forgetting to support the finished faucet at the wall
A press joint may seal perfectly and still fail long term if the faucet body is allowed to wobble.
Best Replacement Strategy by Connection Type
| Existing Connection | Fastest Good Repair | Most Serviceable Upgrade |
| Threaded | Replace with threaded hose bib | Same |
| Sweat | Sweat in new bib | Sweat female adapter plus threaded bib |
| PEX direct barb | Replace with matching PEX barb bib | PEX to threaded adapter plus threaded bib |
| Press | Replace with press-compatible setup | Press adapter plus threaded bib |
In many cases, converting the final wall-side connection to threaded makes future hose bib replacement easier.
Step 1: Mount the new hose bib correctly
After making the plumbing connection, secure the faucet body.
- Slide the flange flat to the exterior surface
- Confirm the spout points correctly
- Fasten into solid backing if possible
- Replace damaged screws with corrosion-resistant screws
Why mounting matters
A hose bib is not static. It gets twisted every time someone connects a hose, cranks the handle, or drags a hose sideways across the yard. If the valve is not supported, all of that movement transfers into the wall-side joint.
Step 2: Seal the flange properly
- Apply exterior-grade silicone caulk around the top and sides of the flange.
- Leave the bottom edge open so incidental moisture can drain.
- This keeps bulk rainwater out while avoiding trapped moisture behind the faucet.
Step 3: Turn the water back on slowly
Bring the water back slowly, not all at once.
- Close the hose bib
- Open the shutoff valve slowly
- Check the interior connection first
- Use a dry paper towel to detect minor leaks
- Open the hose bib and run water
- Shut it off and recheck the joint
Leak test checklist
| Test Point | What to Check |
| Inlet joint | No beads, drips, or seepage |
| Hose bib body | No cracks or casting leaks |
| Packing area | No leakage around stem when operating |
| Flange area | No water entering wall penetration |
| Mounting | No movement when handle turns |
Run the faucet long enough to put the joint under real pressure. A five-second test is not enough.
Common Mistakes That Cause Callbacks
| Mistake | Result |
| Replacing without identifying connection type first | Wrong parts, wasted time |
| No back-up wrench on threaded removal | Twisted wall-side piping |
| Poor copper prep on sweat joints | Leaks |
| Misplaced PEX crimp ring | Leaks |
| Incomplete press insertion | Failed press joint |
| No mounting screws or weak backing | Joint stress over time |
| Caulking the entire flange shut | Trapped moisture |
| Skipping pressure test | Hidden leaks |
When to Upgrade Instead of Replace Like-for-Like
A standard hose bib can often be replaced exactly as found. Sometimes an upgrade makes more sense.
Good reasons to upgrade
- Repeated freeze damage in a cold climate
- No interior shutoff valve exists
- Existing wall-side connection is awkward to service
- Current setup has poor support or poor sealing
- Future maintenance access matters
Smart upgrades during replacement
- Add a threaded adapter on copper or press systems for easier future swaps
- Add an interior shutoff valve if access is open
- Improve wall backing
- Seal the penetration properly
- Consider switching to a frost-free sillcock in cold climates if wall conditions allow
Troubleshooting After Installation
Leak at threaded inlet
Likely causes:
- Not enough sealant
- Cross-threading
- Cracked female adapter
- Over-tightening damage
Leak at sweat joint
Likely causes:
- Water in line during soldering
- Inadequate cleaning
- Poor heat distribution
- Incomplete solder fill
Leak at PEX connection
Likely causes:
- Ring too close or too far from tubing end
- Tubing not fully seated on barb
- Wrong tool or bad crimp
- Damaged tubing end
Leak at press fitting
Likely causes:
- Pipe not fully inserted
- Wrong jaw
- Missed press
- Debris on pipe or fitting
Faucet moves when handle turns
Likely causes:
- Missing backing
- Loose screws
- Oversized wall opening
- Unsupported tubing or piping behind wall
FAQs
What is a standard hose bib?
A standard hose bib is a short outdoor faucet that shuts off near the exterior wall. It does not have the long internal stem used in frost-free sillcocks.
Can a standard hose bib be replaced without opening the wall?
Sometimes, yes. If the interior connection is accessible from a basement, crawlspace, or utility area, replacement can happen without wall demolition. Finished walls with hidden connections are harder to service safely.
What inlet size is most common?
Half-inch is the most common inlet size for residential hose bibs, though three-quarter-inch exists in some higher-flow or older systems.
Can a sweat hose bib be replaced with a threaded hose bib?
Yes, often by soldering on a female threaded adapter first. That setup makes the next replacement easier.
Can PEX connect directly to a hose bib?
Yes, if the hose bib has a compatible barb inlet or if the system uses a threaded adapter tied into PEX.
Are press fittings a good option for hose bib replacement?
Yes, especially in copper systems where press tools and compatible fittings are already part of the install method. Proper prep and support still matter.
Why do standard hose bibs crack in winter?
Water left inside the valve body freezes, expands, and splits the brass. Standard hose bibs are more vulnerable than frost-free designs because the shutoff point sits near the cold exterior wall.
Is thread tape always required?
For threaded pipe joints, PTFE tape or approved thread sealant is usually used based on fitting type and manufacturer guidance. Hose thread outlet connections seal differently and do not use pipe thread sealant the same way.
How long should replacement take?
A straightforward threaded swap with good access can take well under an hour. Sweat, PEX, and press replacements may take longer depending on access, fitting changes, and whether support or wall repair is needed.
Key Takeaways
- Identify the connection type before buying parts
- Use a back-up wrench on threaded setups
- Cut and rebuild sweat, PEX, and press systems cleanly
- Support the faucet at the wall, not just the pipe
- Seal the wall penetration and flange appropriately
- Pressure test the joint before calling the job done
Wrap-Up
Replacing a standard hose bib is simple only after the connection type is clear. Threaded, sweat, PEX, and press setups all solve the same problem in different ways, and each one has its own failure points.
The best replacement is not just leak-free on day one. It is mounted solidly, sealed properly at the wall, and connected in a way that does not stress the piping every time the faucet gets used.
Get the connection right, support the body, and test it under pressure. That is how a basic outdoor faucet replacement stays basic.