
Freeze-Proof Outdoor Faucet Replacement Guide for Homeowners and Pros.
Frozen hose bibbs follow a predictable pattern. Winter hits, water trapped in the barrel expands, the tube splits, and the first spring use sends water into the wall cavity instead of the garden hose.
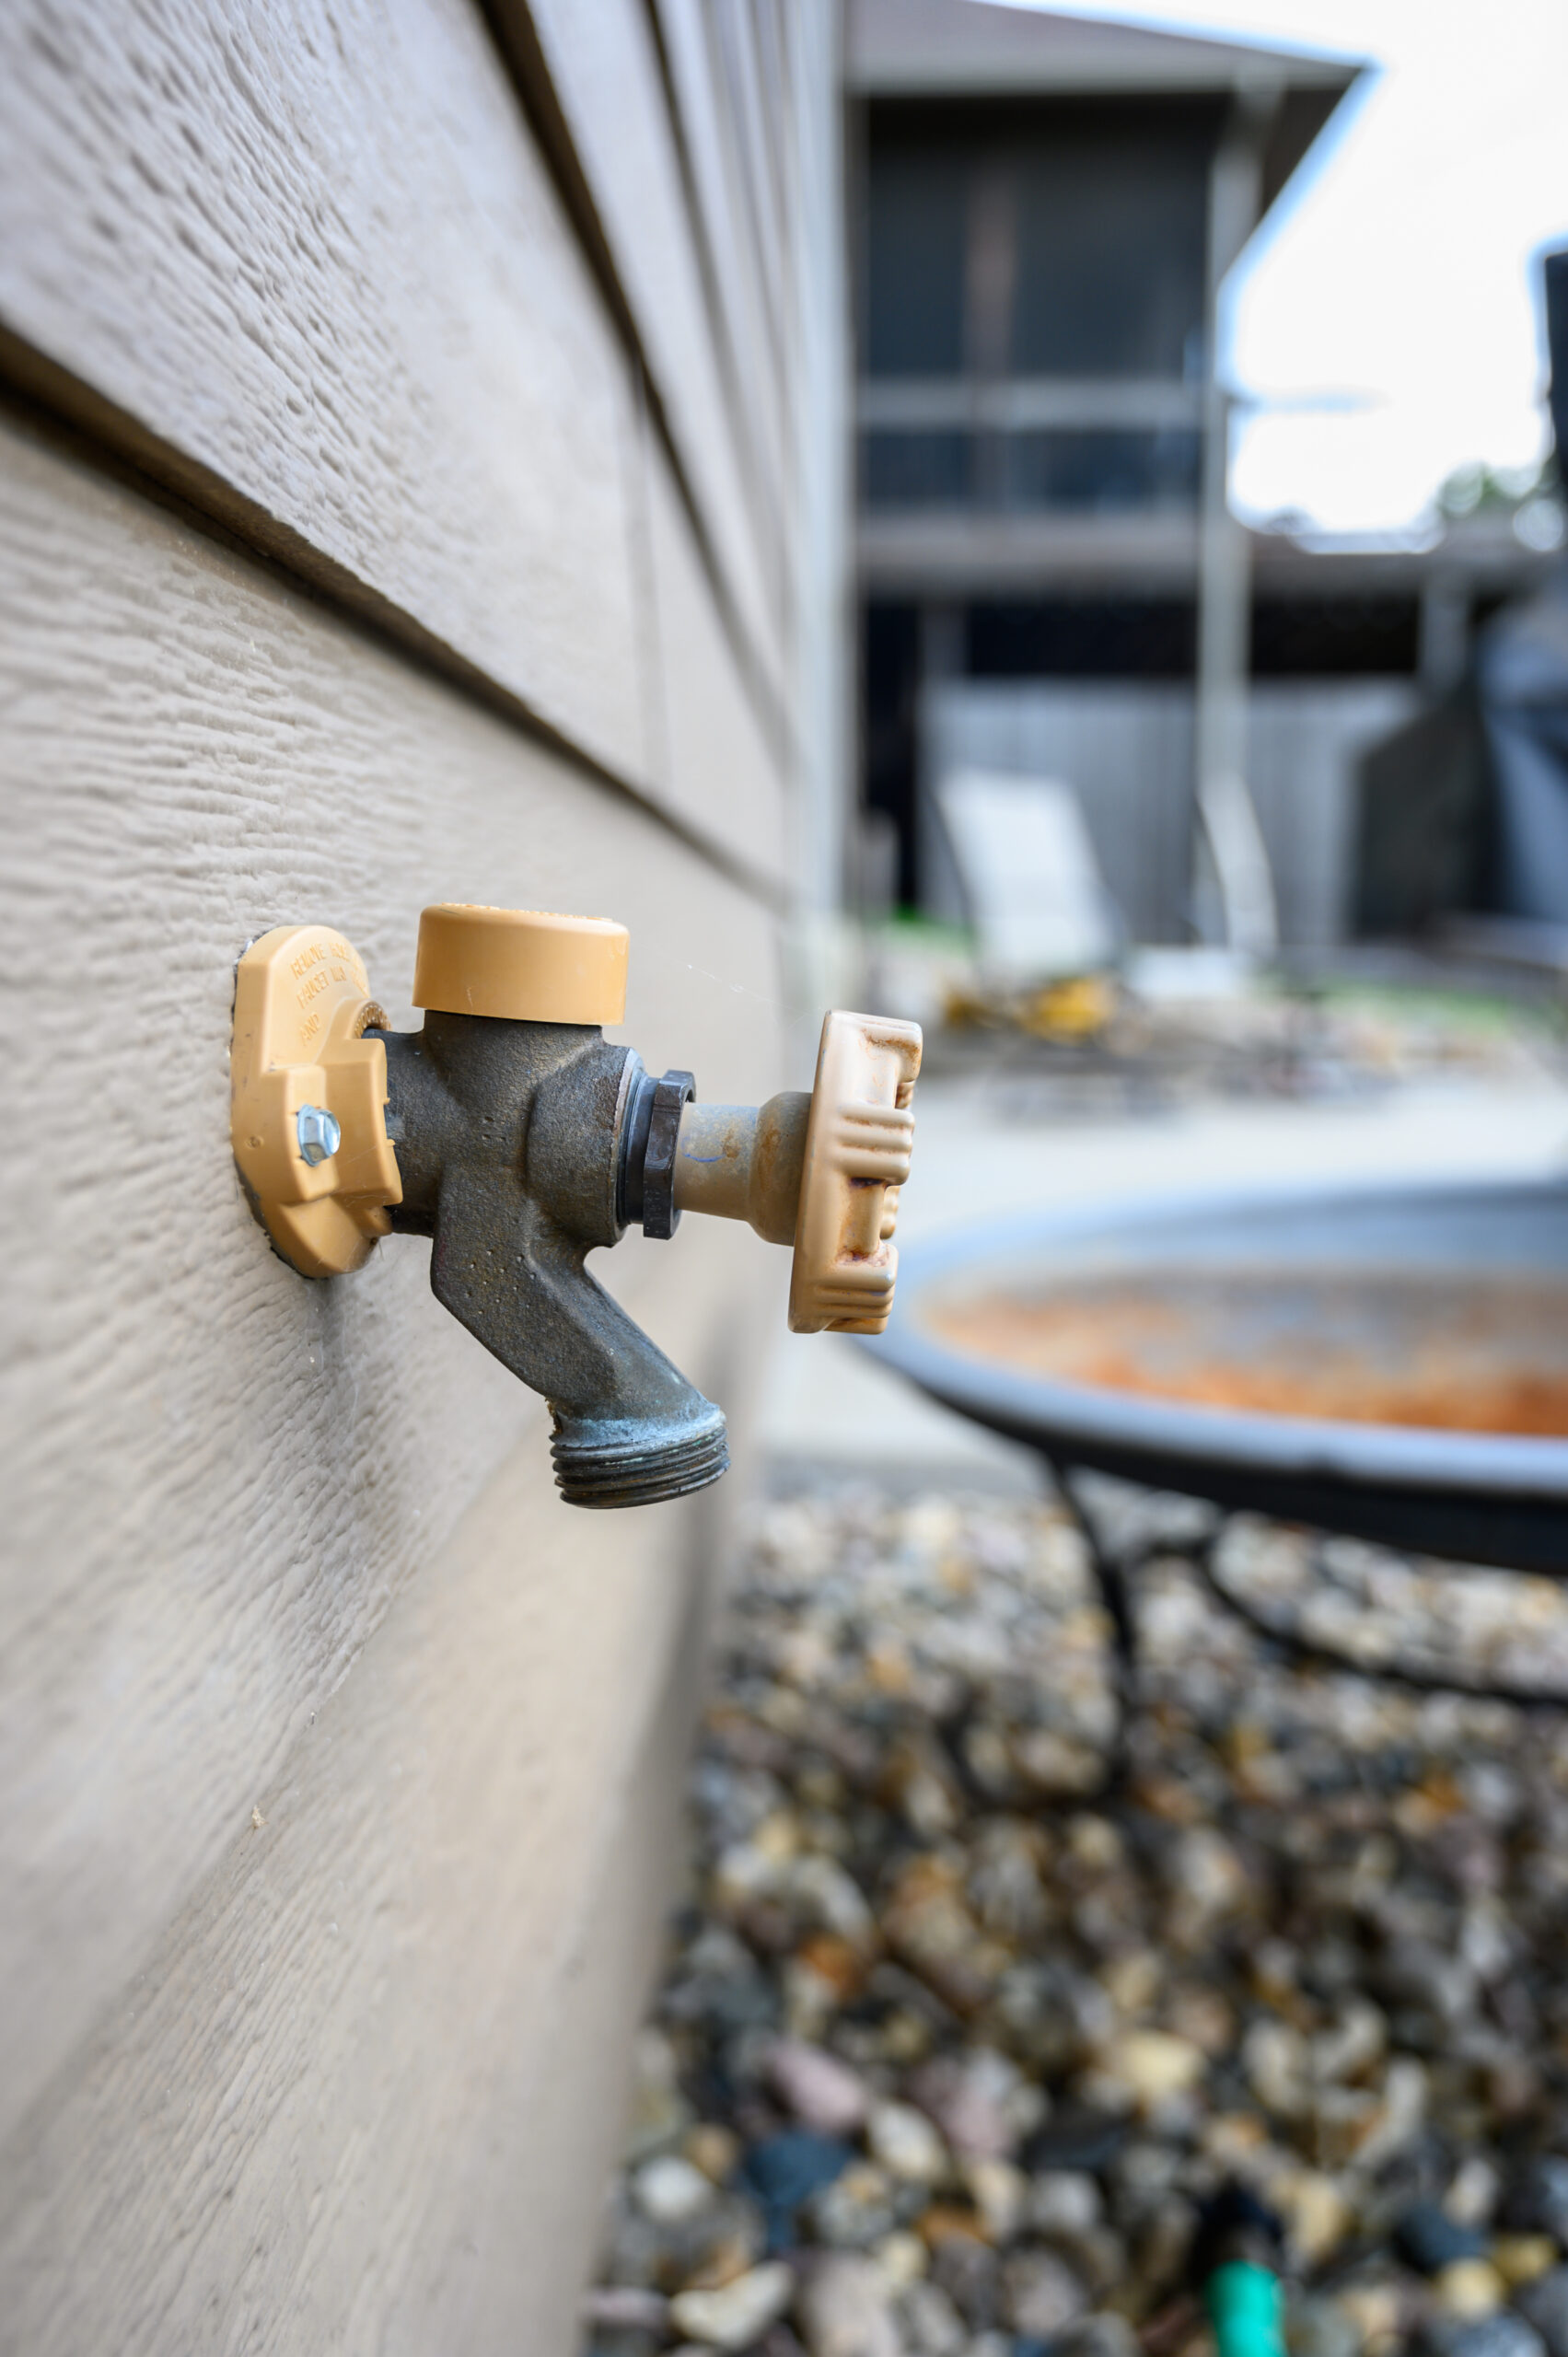
A frost-free sillcock is designed to prevent that failure. The shutoff seat sits deeper inside the heated space. When installed with proper slope and no hose attached, the exposed section drains after each use.
Replacement is straightforward, but small details decide whether the valve drains correctly and whether the interior joint stays dry.
Quick decision: repair kit or full replacement?
Many outdoor faucet problems do not require full replacement. Split barrels do.
| Symptom | Likely cause | Repair possible | Replacement recommended |
| Drip at spout with handle off | Worn washer or debris on seat | Yes, on serviceable models | If seat is integral or body is damaged |
| Leak at handle | Packing nut loose or packing worn | Yes | No, unless body is compromised |
| Water inside wall | Split barrel or failed wall-side joint | Rarely | Yes |
| Vacuum breaker sprays | Failed breaker or backpressure | Often | Sometimes |
| Faucet froze over winter | Hose left attached or poor slope | Sometimes | Often |
If water has reached the wall cavity, assume more than a cosmetic problem. Drying and inspection matter as much as the valve swap.
Pre-flight checklist before buying parts
Most errors happen before the first wrench turns.
- Confirm valve length
- Confirm inlet connection type
- Confirm nominal pipe size, usually 1/2 inch, sometimes 3/4 inch
- Confirm backflow protection method
- Confirm interior access location
- Confirm wall thickness and siding type
Length and inlet type are the two details that derail most installs.
Tools and materials
Tools
- Two adjustable wrenches or correct open-end sizes
- Screwdriver or drill driver
- Tubing cutter for copper, PEX cutter for PEX
- PEX crimp or clamp tool if applicable
- Torch, flux, solder, and heat shield for sweat connections
- Flashlight and inspection mirror
- Bucket, towels, shop vac
- Small level
Materials
- Frost-free sillcock, correct length and inlet style
- Vacuum breaker if separate
- PTFE tape or approved thread sealant
- Exterior-grade silicone caulk
- Corrosion-resistant mounting screws
- Optional: interior shutoff with drain
Step 1: Identify the inlet connection
Access the interior side first whenever possible.
| Inlet type | Visual clue | Typical removal method |
| MIP threaded | Male threads on valve inlet | Unthread with back-up wrench |
| Sweat copper | Soldered copper cup | Cut and rebuild or desolder |
| PEX barb | Ribbed barb with crimp ring | Cut ring and remove |
| Press | Press fitting profile | Cut and re-press |
| Push-to-connect | Release collar present | Depress collar and remove |
Never unthread a valve without holding a back-up wrench on the interior fitting. Twisted pipe inside a wall creates a bigger job.
Step 2: Measure the correct length
Match the existing valve length whenever possible.
Practical notes:
- Most manufacturers measure from the mounting flange to the inlet end.
- The shutoff seat must sit inside heated space.
- Finished walls can hide the connection point. Too short often forces a splice inside a sealed cavity.
When in doubt, remove the old valve and measure it directly.
Step 3: Confirm downward pitch
Drain-down only works with slope.
- Barrel should tip slightly downward toward the exterior.
- Use a small level to confirm.
- Add blocking if needed to hold the angle.
No slope means trapped water. Trapped water means freeze risk.
Step 4: Shut off and drain
- Close the dedicated interior shutoff if present.
- If none exists, close the main water supply.
- Open the outdoor faucet to relieve pressure.
- Open a nearby indoor faucet to reduce trapped pressure.

Step 5: Remove the old sillcock
Exterior
- Remove mounting screws.
- Cut caulk around the flange.
- Pull the valve outward once the interior connection is free.
Interior
Threaded
- Hold back-up wrench on interior fitting.
- Unthread carefully.
Sweat
- Cut back and rebuild is often faster than fighting an old joint.
PEX
- Cut off crimp ring or clamp.
- Remove tubing from barb.
Step 6: Prepare the opening
A frost-free sillcock should feel rigid when operating.
- Clean old caulk and debris.
- Confirm slight downward angle is possible.
- Add solid blocking behind the valve body.
Movement at the flange leads to stress at the interior joint.
Step 7: Install and seal
- Slide the new sillcock in from outside.
- Confirm pitch.
- Fasten securely into backing.
Caulk method
- Seal top and sides of flange.
- Leave bottom edge open to allow drainage.
Over-sealing traps water.
Step 8: Connect interior plumbing
Threaded MIP inlet
- Wrap male threads with PTFE tape or apply thread sealant.
- Tighten while holding interior fitting steady.
Sweat copper
- Clean to bright metal.
- Apply flux lightly.
- Use heat shield.
- Solder evenly and allow to cool before pressurizing.
PEX barb
- Cut square.
- Seat tubing fully.
- Position ring correctly and crimp.
- Verify crimp with gauge if available.
Adding an interior shutoff with drain during replacement makes winterizing easier and reduces future risk.
Step 9: Pressure test and verify drain-down
- Close outdoor faucet.
- Restore water slowly.
- Check interior joint with a dry towel.
- Run outdoor faucet for 30 to 60 seconds.
- Shut off and watch for drain-down.
A short trickle after shutoff is common. No drain-down suggests:
- Hose attached
- Incorrect pitch
- Internal blockage or defect
Testing is not optional. Hidden leaks damage framing and insulation quickly.
Common mistakes
| Mistake | Result | Prevention |
| Hose left attached in winter | Barrel freezes and splits | Remove hoses before freezing |
| Wrong valve length | Interior joint inaccessible | Measure old valve first |
| No slope | Water trapped in barrel | Confirm pitch with level |
| No blocking | Valve flexes, joint fatigue | Anchor to solid backing |
| Over-tightening threads | Cracked fittings | Tighten snug, not extreme |
Installation details pros focus on
Blocking and fasteners
Solid anchoring prevents handle torque from stressing the joint inside the wall.
Air sealing
Large gaps around the penetration allow cold air into the cavity. Seal gaps while allowing drainage at the flange.
Pressure
High static pressure shortens washer life. A quick pressure reading can explain repeated failures.
Troubleshooting after replacement
Drip at spout
- Flush debris.
- Confirm handle closes fully.
- Inspect washer if model is serviceable.
Leak inside wall
- Reseal threaded joint.
- Rework solder joint.
- Verify PEX crimp placement.
Vacuum breaker spray
- Minor discharge on shutoff can be normal.
- Continuous spray suggests failed breaker.
Act quickly if moisture appears in the cavity. Shut water and dry the area.
FAQs
Why did a frost-free sillcock freeze?
Most failures occur when a hose remains attached, preventing drain-down. Improper slope and air leakage into the cavity increase risk.
Can replacement happen without opening drywall?
Sometimes. Basements and crawlspaces often provide access. Finished walls may require an access panel for proper connection and inspection.
Are frost-free and anti-siphon the same?
No. Frost-free refers to freeze resistance through internal shutoff location. Anti-siphon refers to backflow protection. Many modern valves combine both.
What size is most common?
Half-inch supply is common. Three-quarter-inch appears in higher-flow setups. Visual confirmation inside the wall is best.
Is full caulking required around the flange?
Seal top and sides to keep bulk water out. Leave bottom open for drainage.
How long does replacement take?
Good access with simple threaded connection can be under 90 minutes. Sweat or finished wall conditions extend time.
Conclusion
Replacing a frost-free sillcock is not just a hardware swap. Length, slope, anchoring, and a clean interior connection determine whether the faucet drains properly and whether the wall stays dry for the next decade.
Most freeze failures trace back to two issues: water trapped in the barrel or movement stressing the joint inside the wall. Correct pitch, solid blocking, and proper testing eliminate both.
For homeowners, careful measurement and methodical pressure testing make the difference between a clean upgrade and a drywall repair. For tradespeople, attention to slope, support, and drain-down behavior prevents repeat visits when the next cold snap hits.
A frost-free sillcock does its job quietly when installed correctly. Get the details right once, and winter becomes someone else’s problem.