
Why the flush valve matters
Running toilets usually come down to one thing: the flush valve.
That’s the opening at the bottom of the tank that sends water to the bowl. Once it warps or wears, you’ll see ghost flushes, nonstop running, weak performance, or a steady seep between tank and bowl.
Replacing the full flush valve assembly solves it in one shot—restores the seal, stops the waste, and brings back a reliable flush your customers will notice right away.
On our Flush Valves page, you can match replacements by brand and size fast—no guesswork, no callbacks.
And if the job turns into a bigger “should I just replace the toilet?” conversation, we’ve got a Real Talk guide, The Dos and Don’ts of Replacing a Toilet, that lays it all out for them.
Pick the right replacement before you start
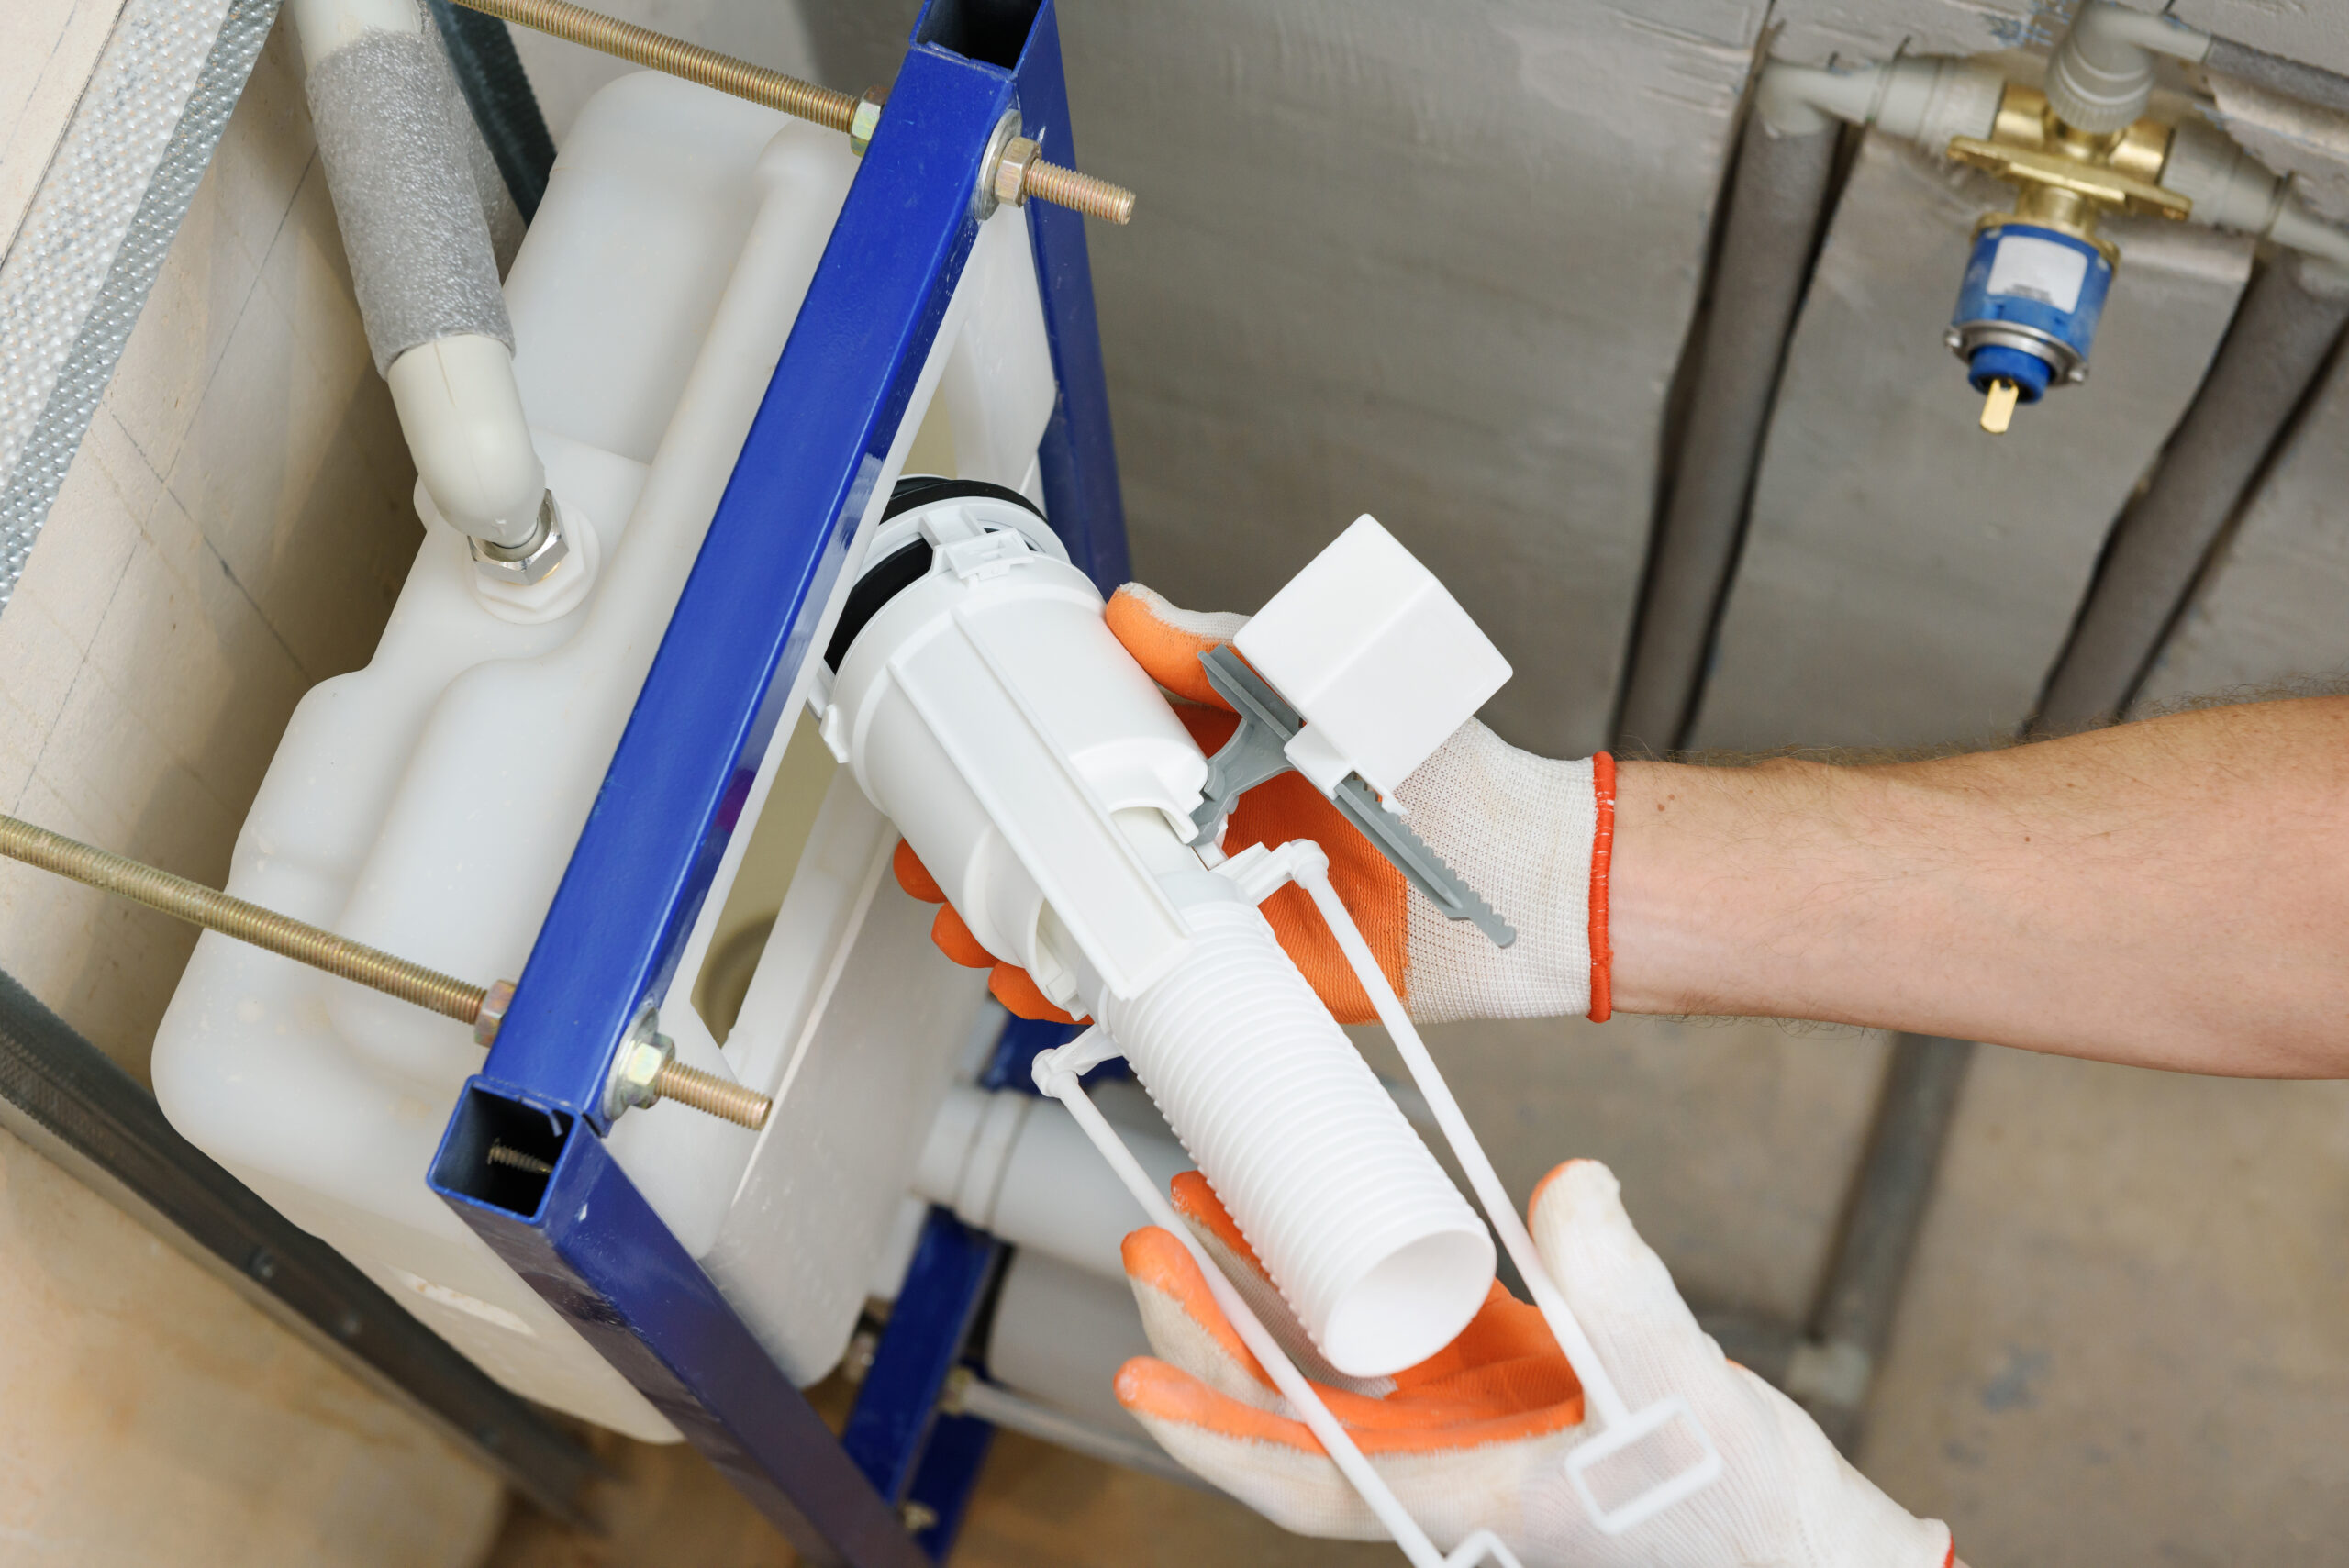
Size: 2 inch or 3 inch
Most older or standard toilets use a 2 inch flush valve. Many newer high-efficiency models use a 3 inch valve for a faster dump with less water. Measure the diameter of the opening in the tank or the old flapper. If the opening looks closer to a softball than a baseball, you likely have a 3 inch model. A popular 3 inch option is the Korky 5030BP Large 3″ Adjustable Flush Valve Kit which includes the gasket and hardware you will need.
Style: flapper, canister, or tower
Some brands use canister or tower mechanisms. Match the style you have so the lever and chain geometry stays correct.
Replace related parts while the tank is off
Always plan on a new tank-to-bowl gasket and fresh bolts. Old rubber compresses and leaks when reused. If the fill valve hisses, cycles, or is more than a few years old, swap it for a quiet, adjustable fill valve during the same visit.
Tools you will actually use
- Adjustable wrench or a small socket set for the tank bolts and supply line
- Flathead screwdriver to hold bolt heads inside the tank
- Pliers for snugging the large locknut
- Sponge and a small bucket for draining
- Towels to protect the floor and cradle the tank
- Penetrating oil and a mini hacksaw if bolts are rusted
- Optional new braided connector if the supply line looks tired, such as Fluidmaster’s B1T12 12″ braided toilet connector
If you prefer one box that covers everything, the Fluidmaster PRO45K Complete Toilet Repair Kit includes the fill valve, flush valve with flapper, tank lever, and hardware.
Step-by-step: replace a toilet flush valve
Follow each step closely. The details here are what separate a clean first-time fix from a weekend of chasing drips.
1) Shut off the water properly
- Find the stop valve feeding the toilet. It is usually on the wall or floor behind the left side of the tank.
- Turn the handle clockwise until it stops. Quarter-turn valves align the handle perpendicular to the pipe when closed. Multi-turn valves feel like a standard faucet and will stop after several turns.
- Test the shutoff by lifting the tank lid and watching the fill stream. If water still trickles in, turn a little more. If the valve is stuck, apply a light shot of penetrating oil to the stem and work it gently back and forth.
- If the stop will not close, shut the main water valve for the home, then return to the toilet. The main is commonly near the meter or where the service line enters the building.
2) Drain the tank completely
- Flush once and hold the handle down so the tank empties as far as it can.
- Soak up the last inch or two of water with a sponge into a bucket.
- Remove the refill tube from the overflow so it does not snag later.
3) Disconnect the supply line without stressing the fill valve
- Place a towel or shallow tray under the connection.
- Use one wrench to hold the fill valve shank inside the tank and another to loosen the supply line nut below.
- If you have a rigid supply tube and it fights you, replace it with a braided connector during reassembly. Hand thread first to avoid cross-threads, then snug a quarter turn.
4) Remove the tank safely
- Inside the tank, hold the bolt heads with a flathead screwdriver.
- From below, loosen the nuts with an adjustable wrench.
- If a nut spins or is fused, add penetrating oil and wait a few minutes. If still stuck, cut the nut with a mini hacksaw and plan on new bolts.
- Lift the tank straight up. Set it on a folded towel or a flat piece of cardboard so porcelain does not chip.
5) Pull the old flush valve and prep the seat
- Unhook the flapper chain and remove the flapper or canister.
- From underneath the tank, unscrew the large locknut that holds the flush valve. A pair of pliers helps.
- Lift the valve body and overflow tube out of the tank.
- Clean the porcelain opening and the surrounding seat with a non-scratch pad. Any grit under a new seal invites leaks.
6) Install the new flush valve the right way
- Place the new rubber washer on the valve so it sits on the inside of the tank. The locknut goes underneath the tank.
- Insert the valve through the opening. Hand-tighten the locknut until the washer compresses evenly. Add a gentle quarter turn with pliers. Do not crank down hard. Porcelain cracks when over-tightened.
- Adjust the overflow tube height. The top of the tube should be below the tank handle opening and above the fill line.
- Reinstall the flapper or canister seal and connect the chain to the handle lever with about one quarter inch of slack.
7) Install a new tank-to-bowl gasket and hardware
- Press the new gasket over the valve outlet so it seats squarely.
- Place new bolts with rubber washers inside the tank. Metal washers and nuts go on the underside.
- Lower the tank onto the bowl, lining up the bolts with the holes.
- Tighten the nuts evenly, alternating sides. Stop when the tank is level and does not wobble. Do not try to pull the tank all the way to the bowl with force. Compression, not brute strength, makes the seal.
8) Reconnect the supply and set the fill level
- Reattach the supply line at the tank and the stop valve. Hand thread first, then snug gently.
- Open the stop valve. Watch for any weeping at connections as the tank fills.
- Adjust the fill valve to the molded waterline mark inside the tank. Most modern fill valves have a height slide or a dial. If your current fill valve hisses or short cycles, consider a new fill valve now instead of later.
9) Test, tune, and leak check like a pro
- Flush three times and watch the chain. You want clean lift and a full drop without the chain snagging.
- Lay dry tissue around bolt heads, the tank-to-bowl seam, and the supply connection. Any damp spot means you need a small, even snug on both bolts or a reseat of the gasket.
- Add a few drops of food dye to the tank and wait five minutes. Color in the bowl without a flush means the seal is not perfect. Rinse the seat, reseat the flapper, and retest.
Troubleshooting after the swap
- Water keeps running: Look for a chain that is too tight, debris on the seat, or a fill level set above the overflow tube.
- Weak or double flushes: Raise the waterline to the mark, give the chain one more link of slack, or confirm the valve size matches the toilet design.
- Drip at the tank-to-bowl seam: The gasket may be off center or the bolts may not be tightened evenly. Loosen, re-center, and tighten in small alternating turns.
If you want a deeper refresher while you are working in the bathroom, the Real Talk blog has guides like How to Connect PEX to Faucets and Toilets that show how to update supply lines at the same time.
Frequently asked questions
How do I confirm the valve size without pulling the tank first?
Measure the flapper or the tank outlet. A typical 2 inch flapper is close to baseball size. A 3 inch opening is closer to softball size. When in doubt, look up your toilet model and cross-reference parts, or be ready with both sizes.
Do I need to remove the entire toilet?
No. Only the tank comes off for a flush valve replacement. The bowl stays in place.
Should I replace the fill valve at the same time?
Yes if the fill valve is old, noisy, or refills in short bursts. Doing both while the tank is off saves time and repeat labor. You will find options in the fill valves category.
What if the shutoff valve will not close?
Work it gently clockwise. If it will not move, shut the main water valve for the home, then replace the toilet stop as part of the job.
Can I reuse tank bolts and the old gasket?
You can, but it is a common source of callbacks. Fresh hardware and a new tank-to-bowl gasket are inexpensive insurance.
Quick parts list for easy ordering
- Main category for Flush Valves
- All-in-one rebuild option, Fluidmaster PRO45K Complete Kit
- Individual braided connector, Fluidmaster B1T12
- Core hand tool category, Adjustable wrenches
Conclusion
A worn flush valve is one of the most common reasons toilets waste water or perform poorly, and it is also one of the easiest fixes when you know the steps. Shutting off the water correctly, draining the tank fully, handling the porcelain with care, and replacing gaskets and hardware every time are the details that separate a lasting repair from a short-term patch.
For DIYers, it is a confidence-building project that saves on water bills. For tradespeople, it is a fast, reliable service call that keeps customers happy and eliminates repeat visits. Stocking both 2-inch and 3-inch flush valves, along with fresh tank gaskets and fill valves, means you are always ready for the job.
If you want to take on bigger bathroom upgrades, the Real Talk guide to replacing a toilet is the next step. But for most homes, a straightforward flush valve replacement will bring the toilet back to life, conserve water, and provide peace of mind every time the handle is pressed.